Deep-sky Astrophotography secrets revealed
-
![astro start]()
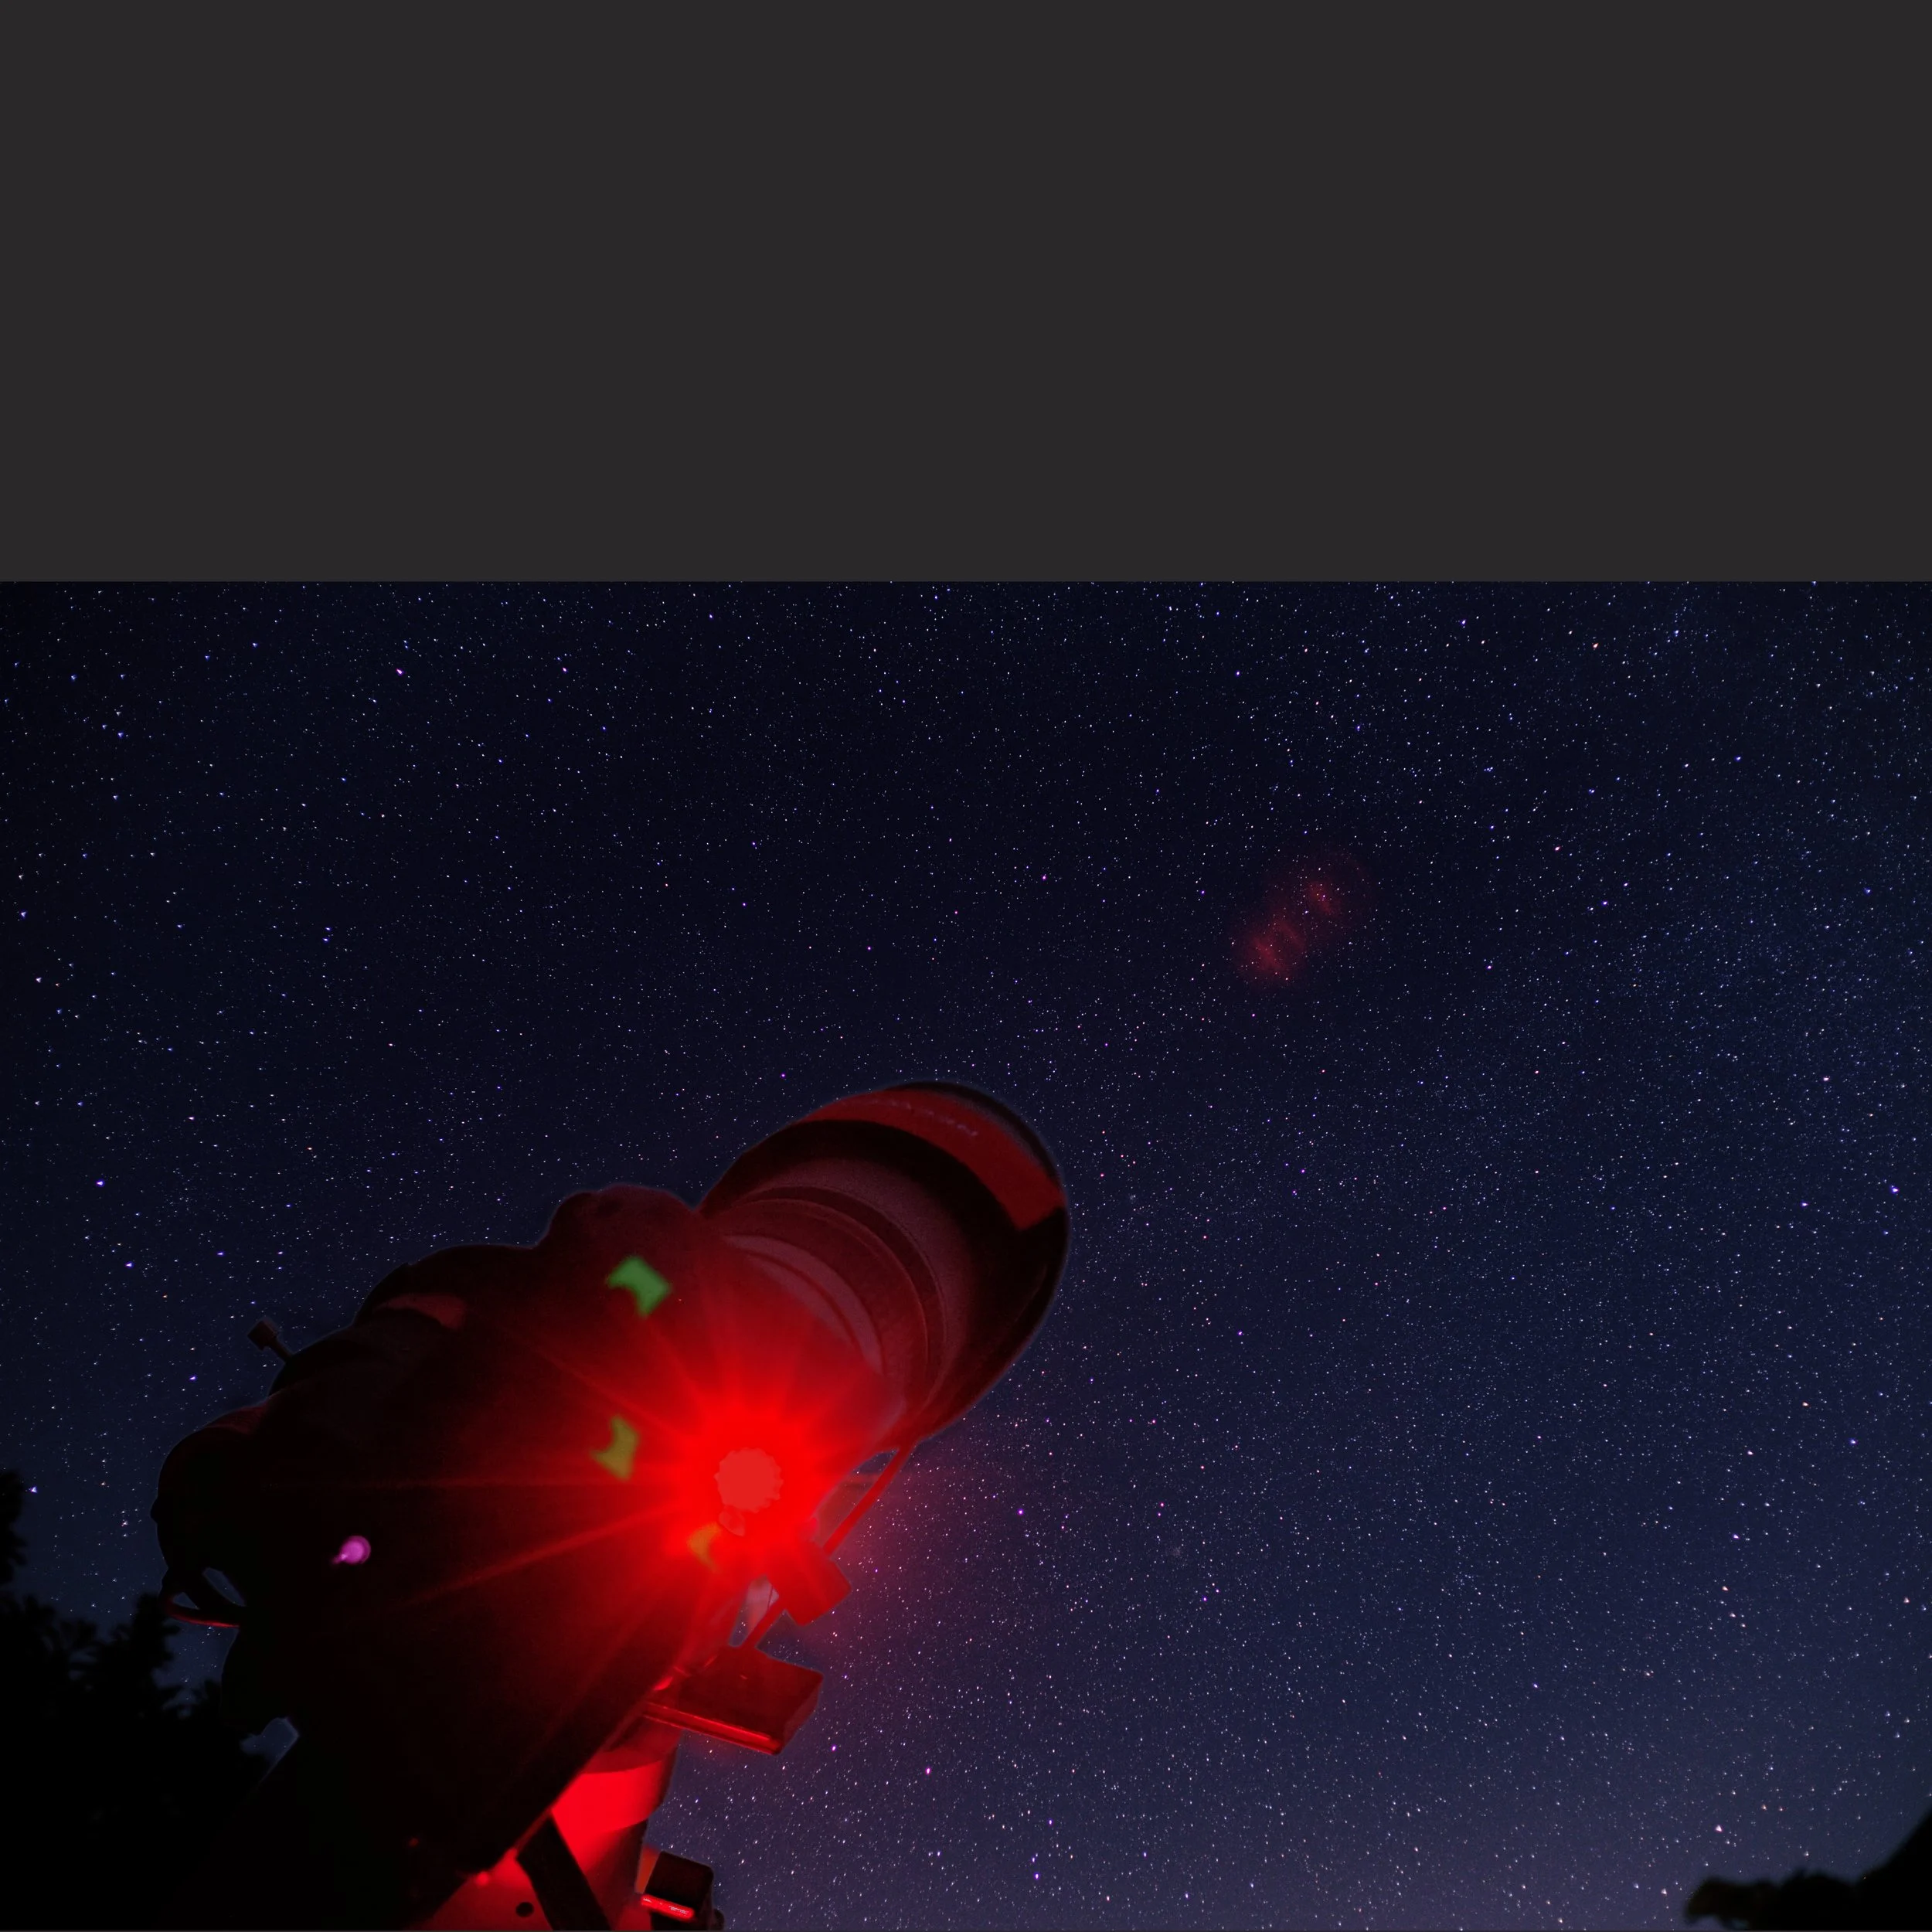
Clear sky
A rare totally clear night sky means it’s Astrophotography time. Camera and lens, along with a guide scope camera and a couple of lens heaters are set up on an equatorial star tracking mount. Camera interval timer and autoguiding computer are connected up, and various adjustments and calibrations are carried out…
-
![astro single frame]()
One single 150 second exposure
…but just one photo of the night sky from a light polluted area isn’t very exciting, the nebula is hardly visible and there are only a handful of stars…
-
![Astro image stack]()
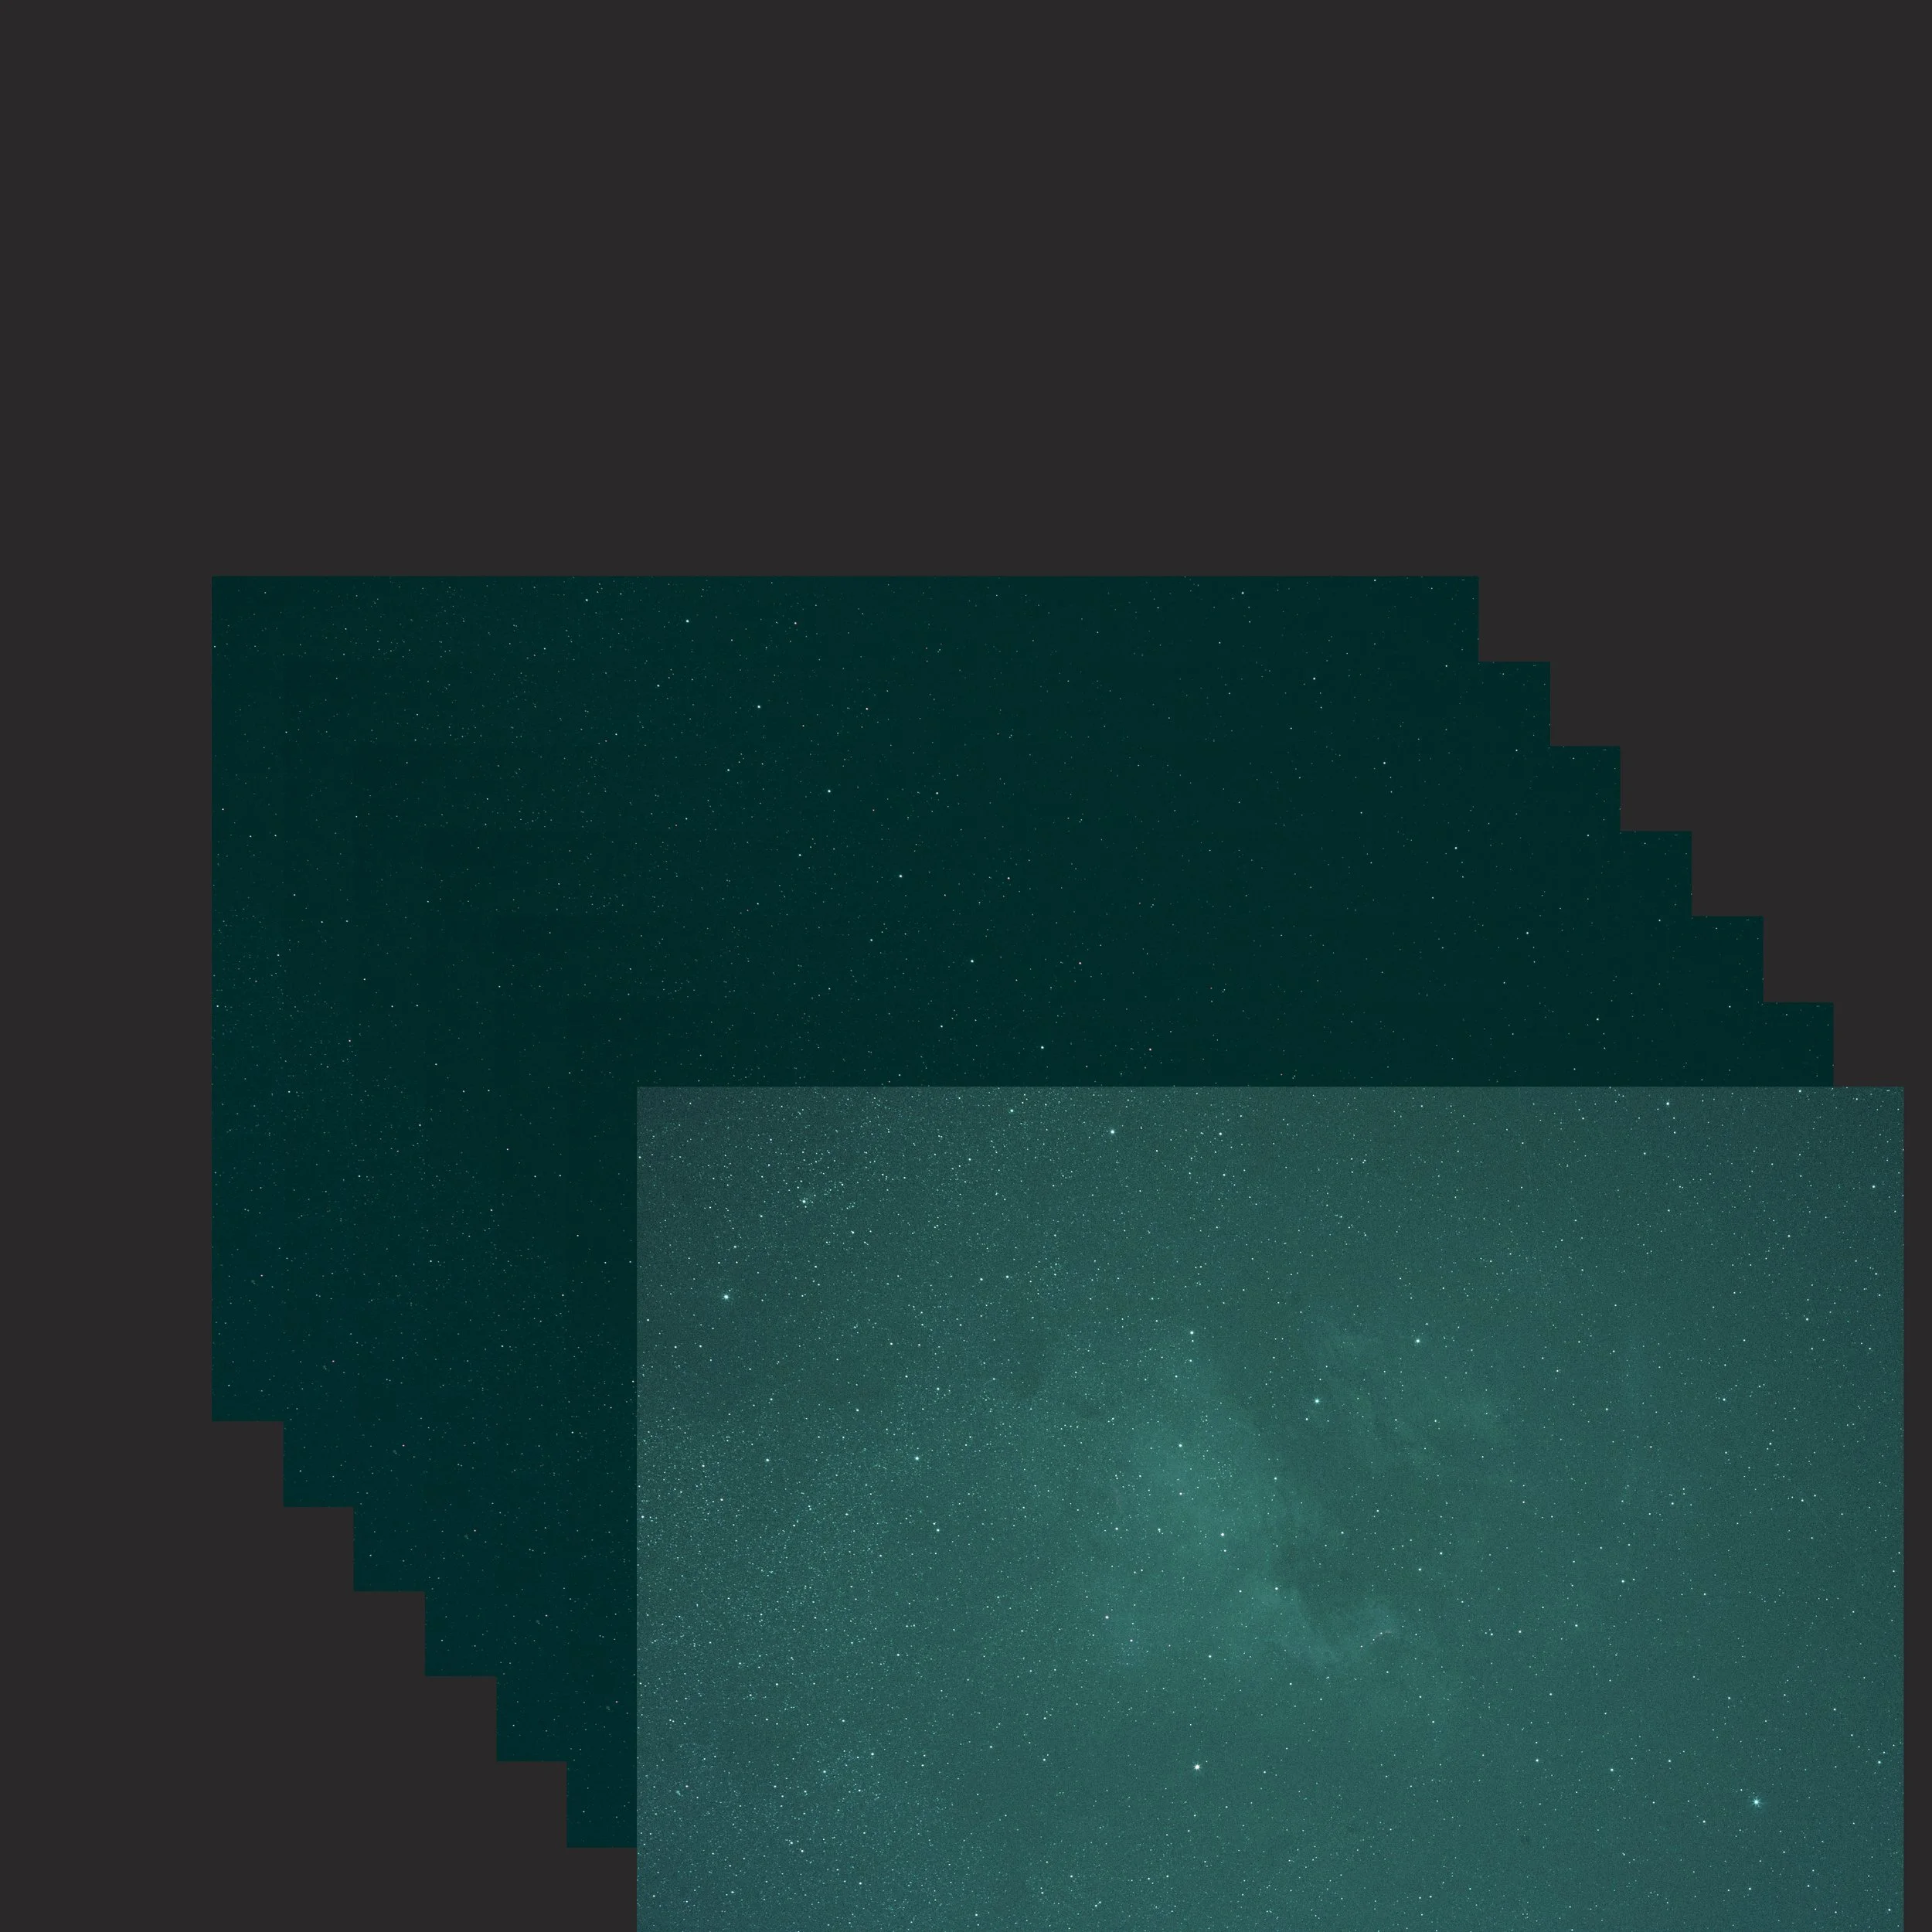
Over 100 stacked exposures
…So we take multiple photos of exactly the same area, and use clever computer software to produce an average of them…
-
![astro calibration]()
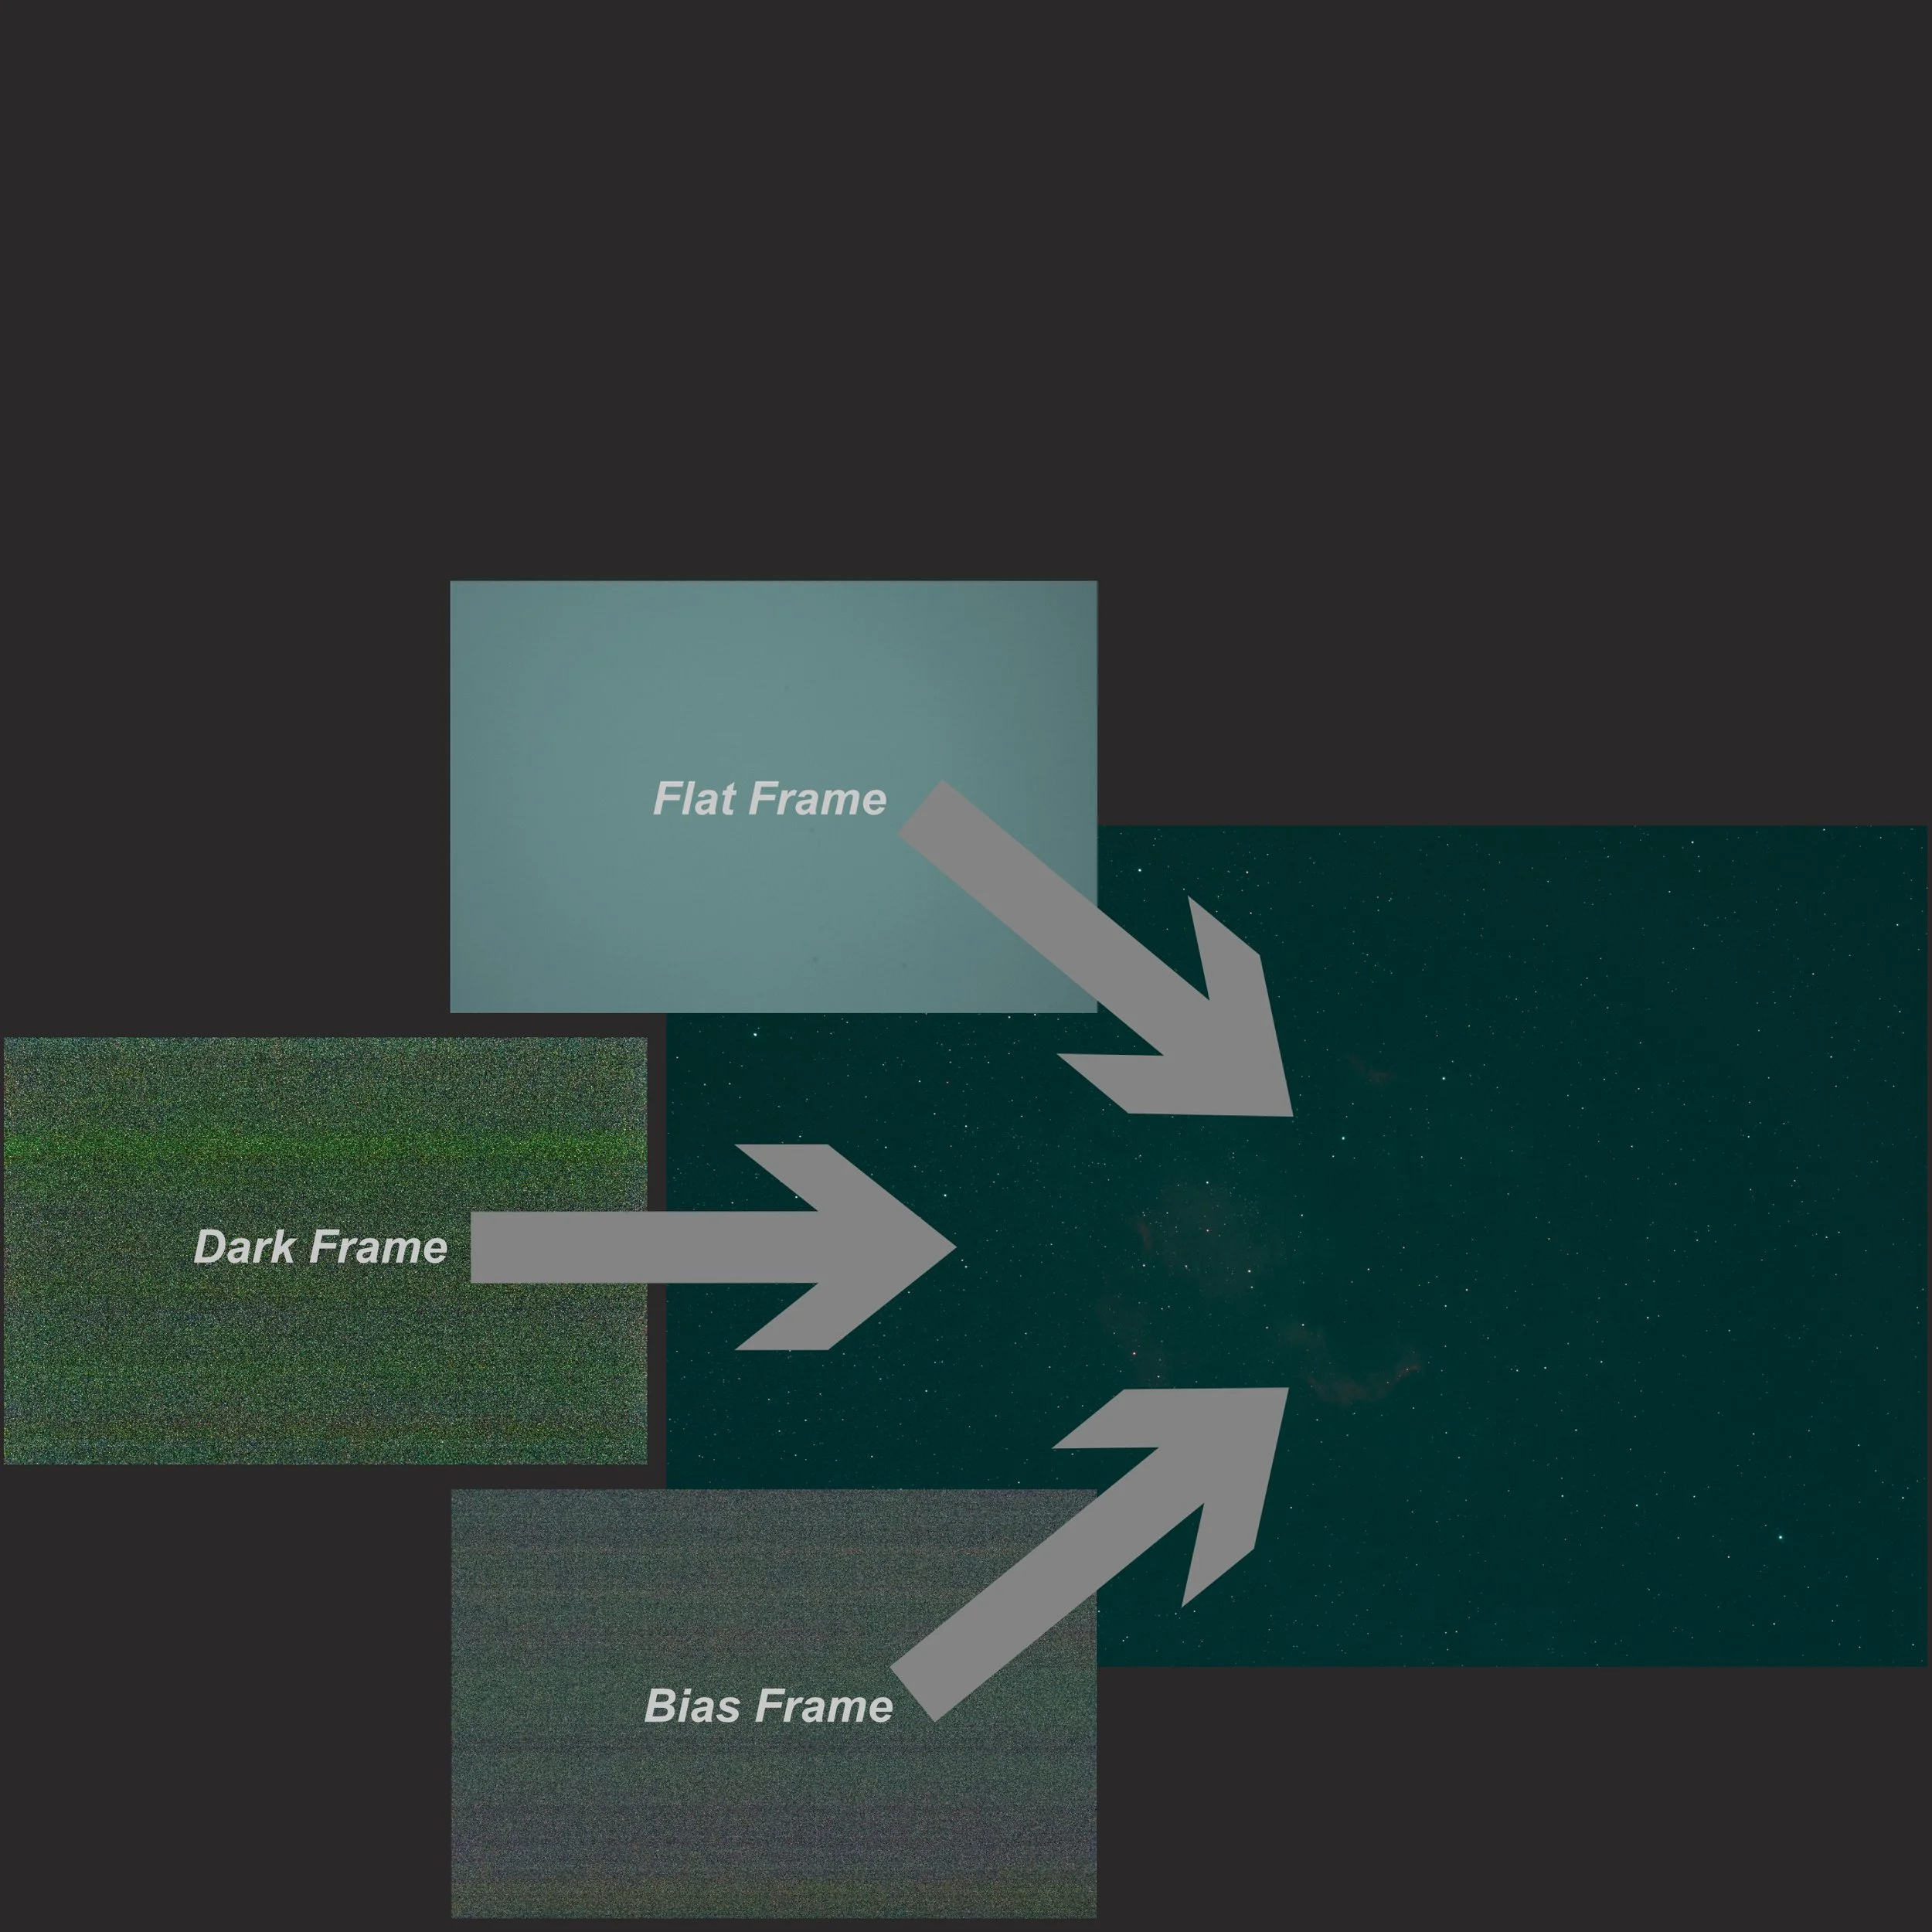
Calibration frames
…On the same night as the photos are taken (known as Light Frames), we also take calibration images, known as Flat Frames, Dark frames and Bias Frames. These images create a map of all the problems caused by taking such long duration photographs, including thermal noise and banding lines on the camera sensor, dust inside the lens, and vignetting from the lens hood. The computer software subtracts these calibration frames from each of the Light Frames during the stacking process…
-
![astro stretch]()
Stretching the data
…The final result after stacking and calibrating is known as a linear image. It appears to lack vivid colour and detail, but all the digital information required to make a stunning image is hidden in the data. There is one more important step before we reveal all this detail though…
-
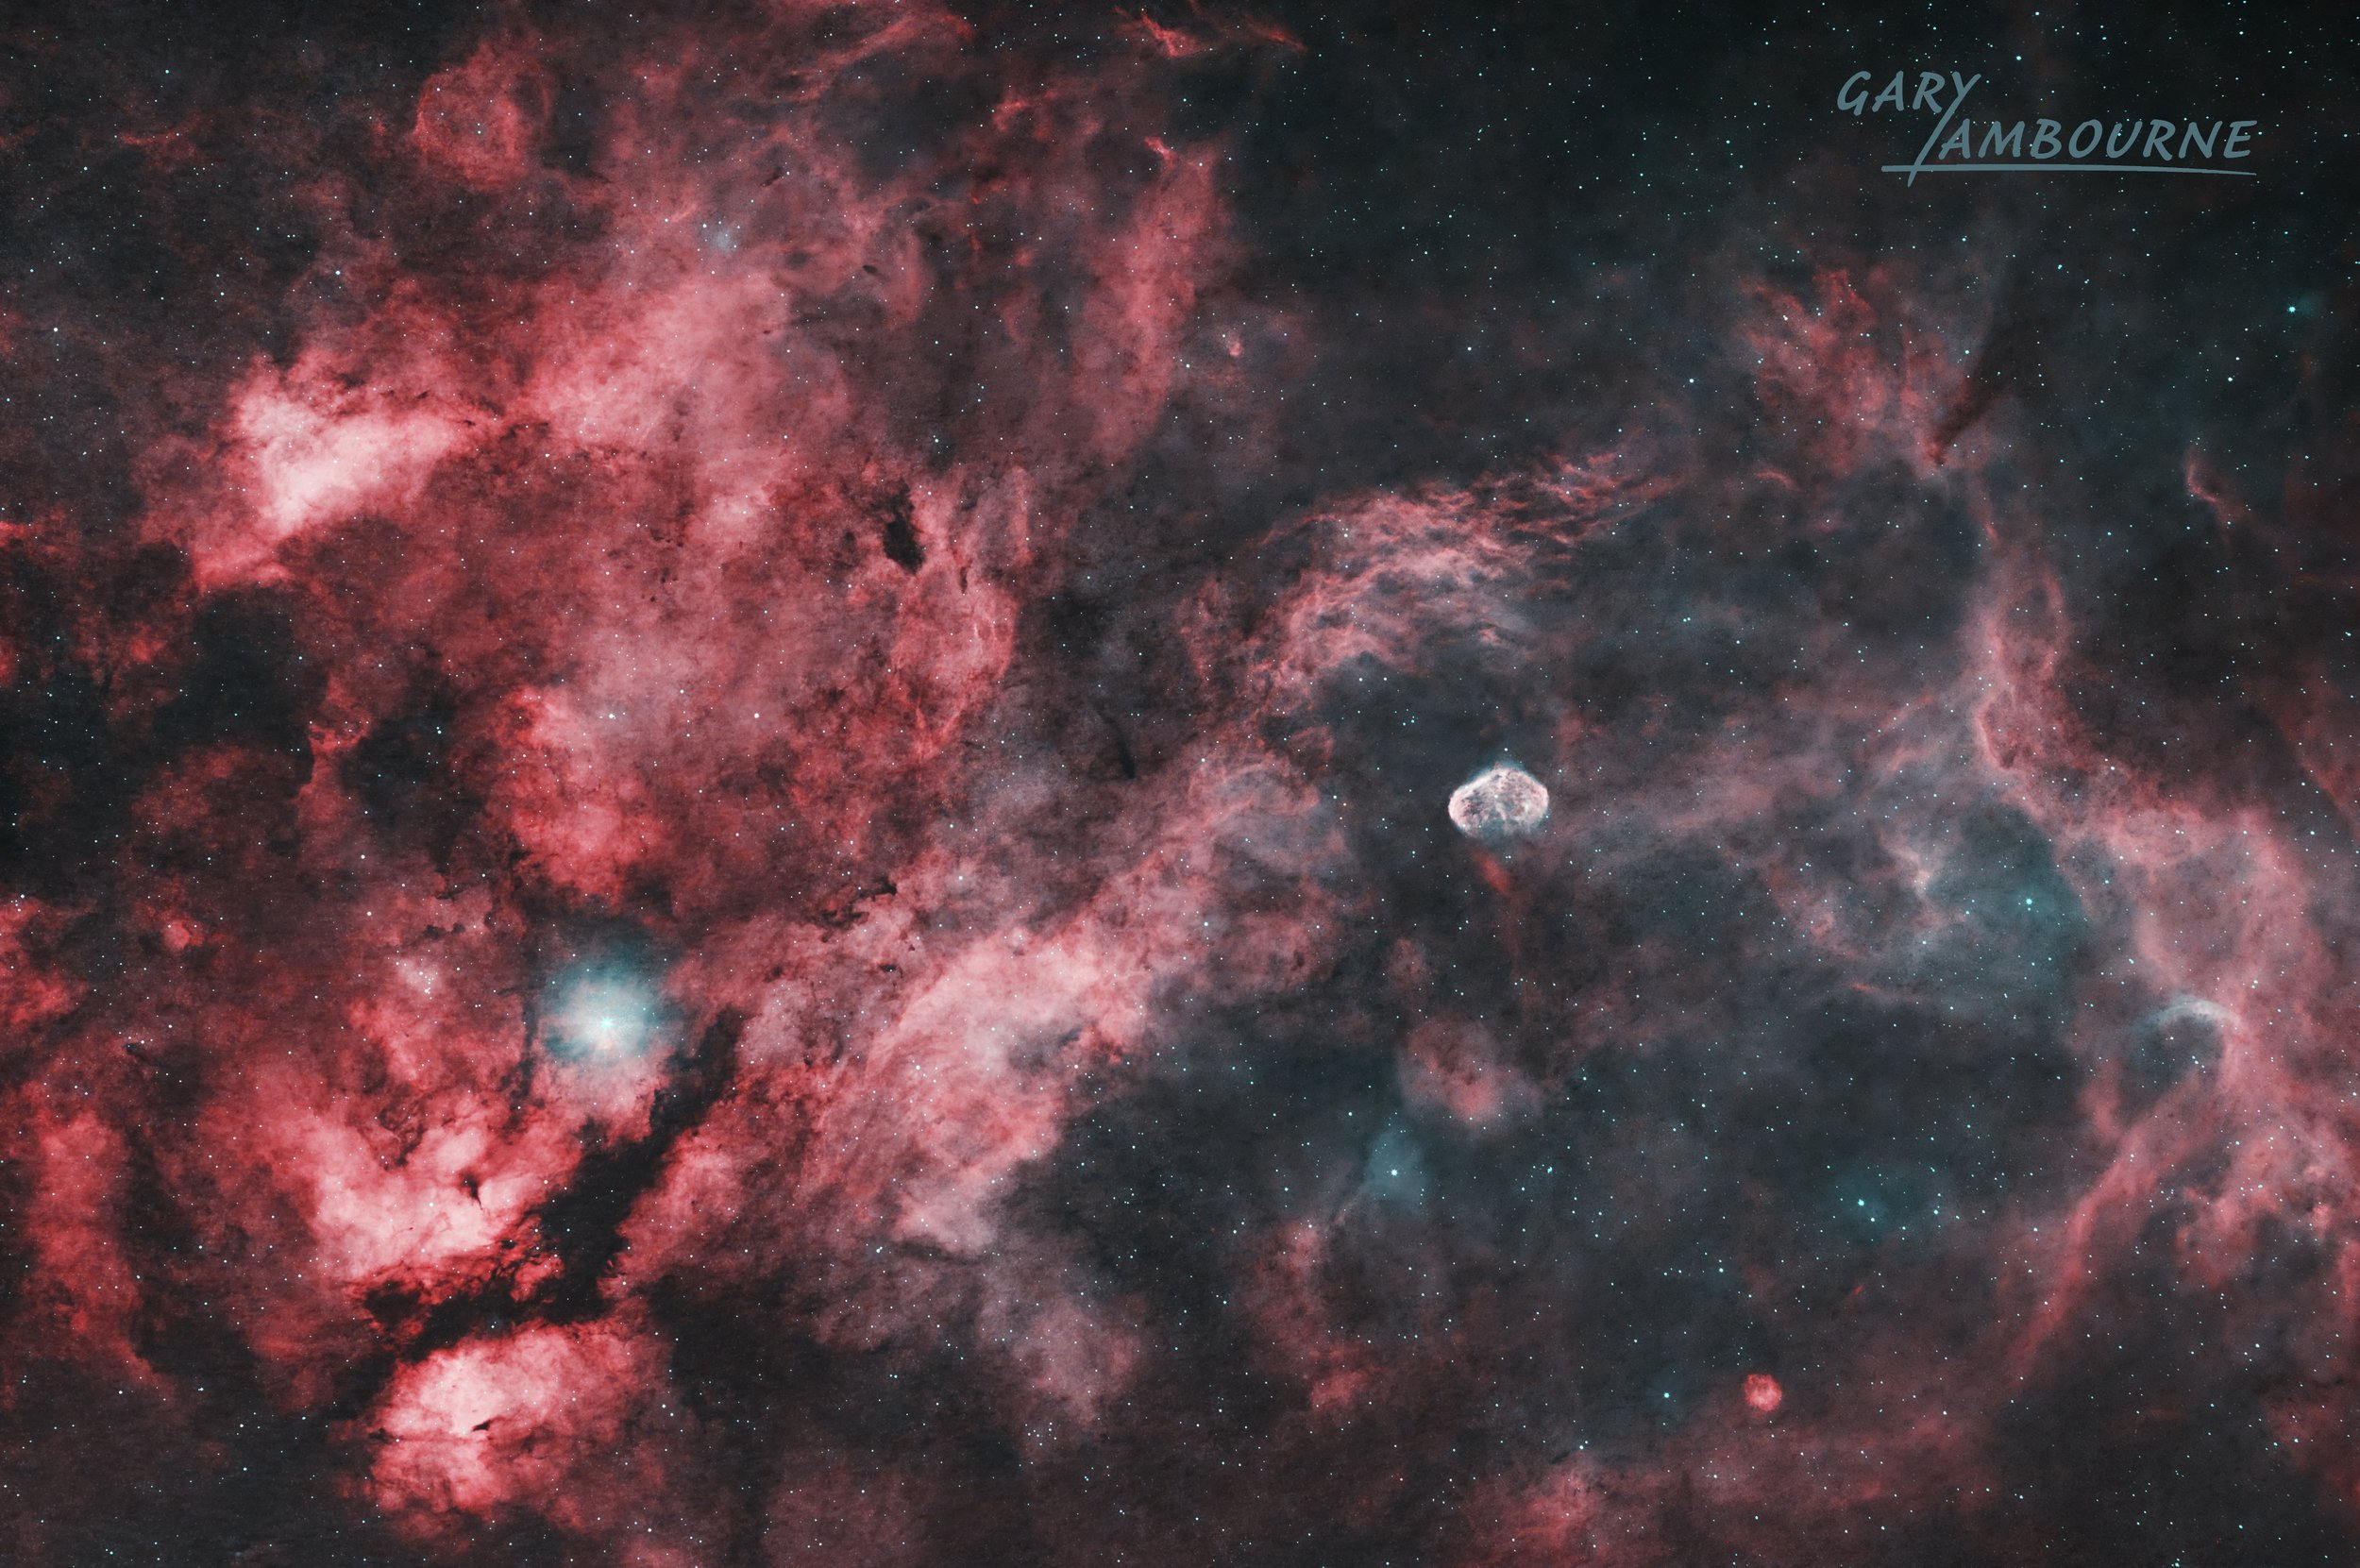
![astro starless]()
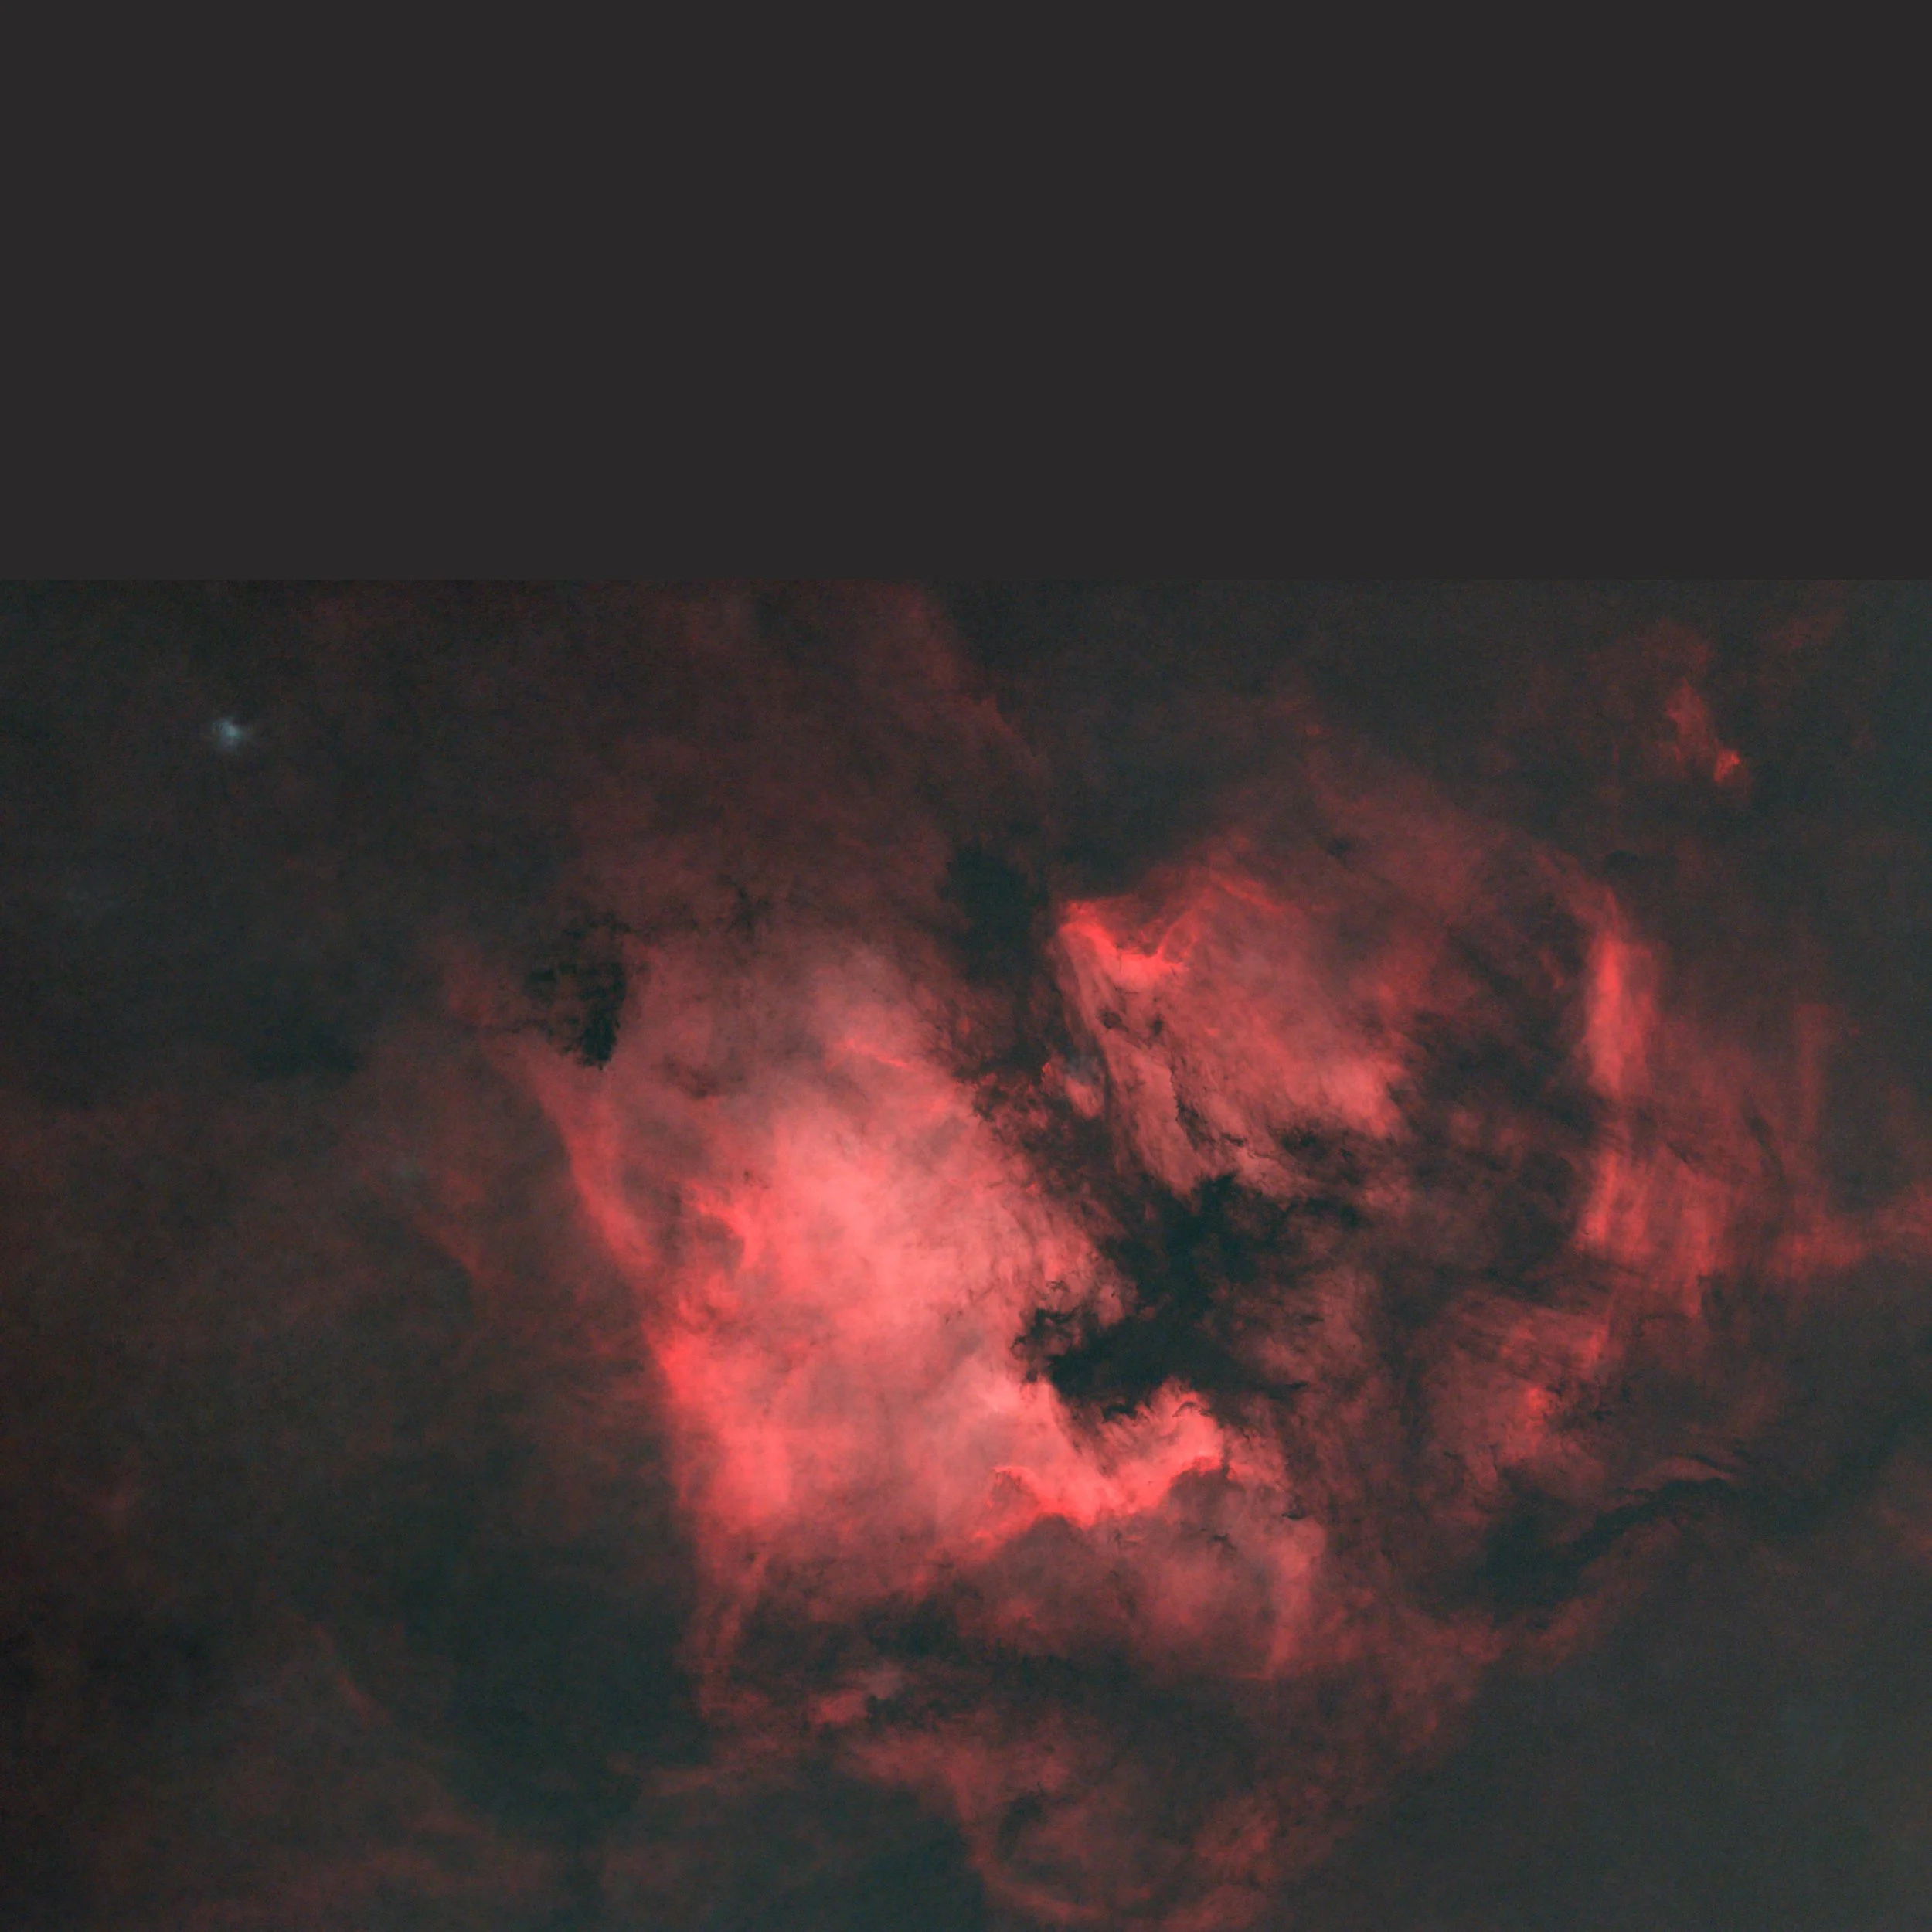
No more stars!
…The stars must be temporarily removed from the image. This means we can work on bringing out the colours and details of the nebula without distorting the size and appearance of the stars. Image processing software is used to stretch the linear data, producing a much more dynamic image…
-
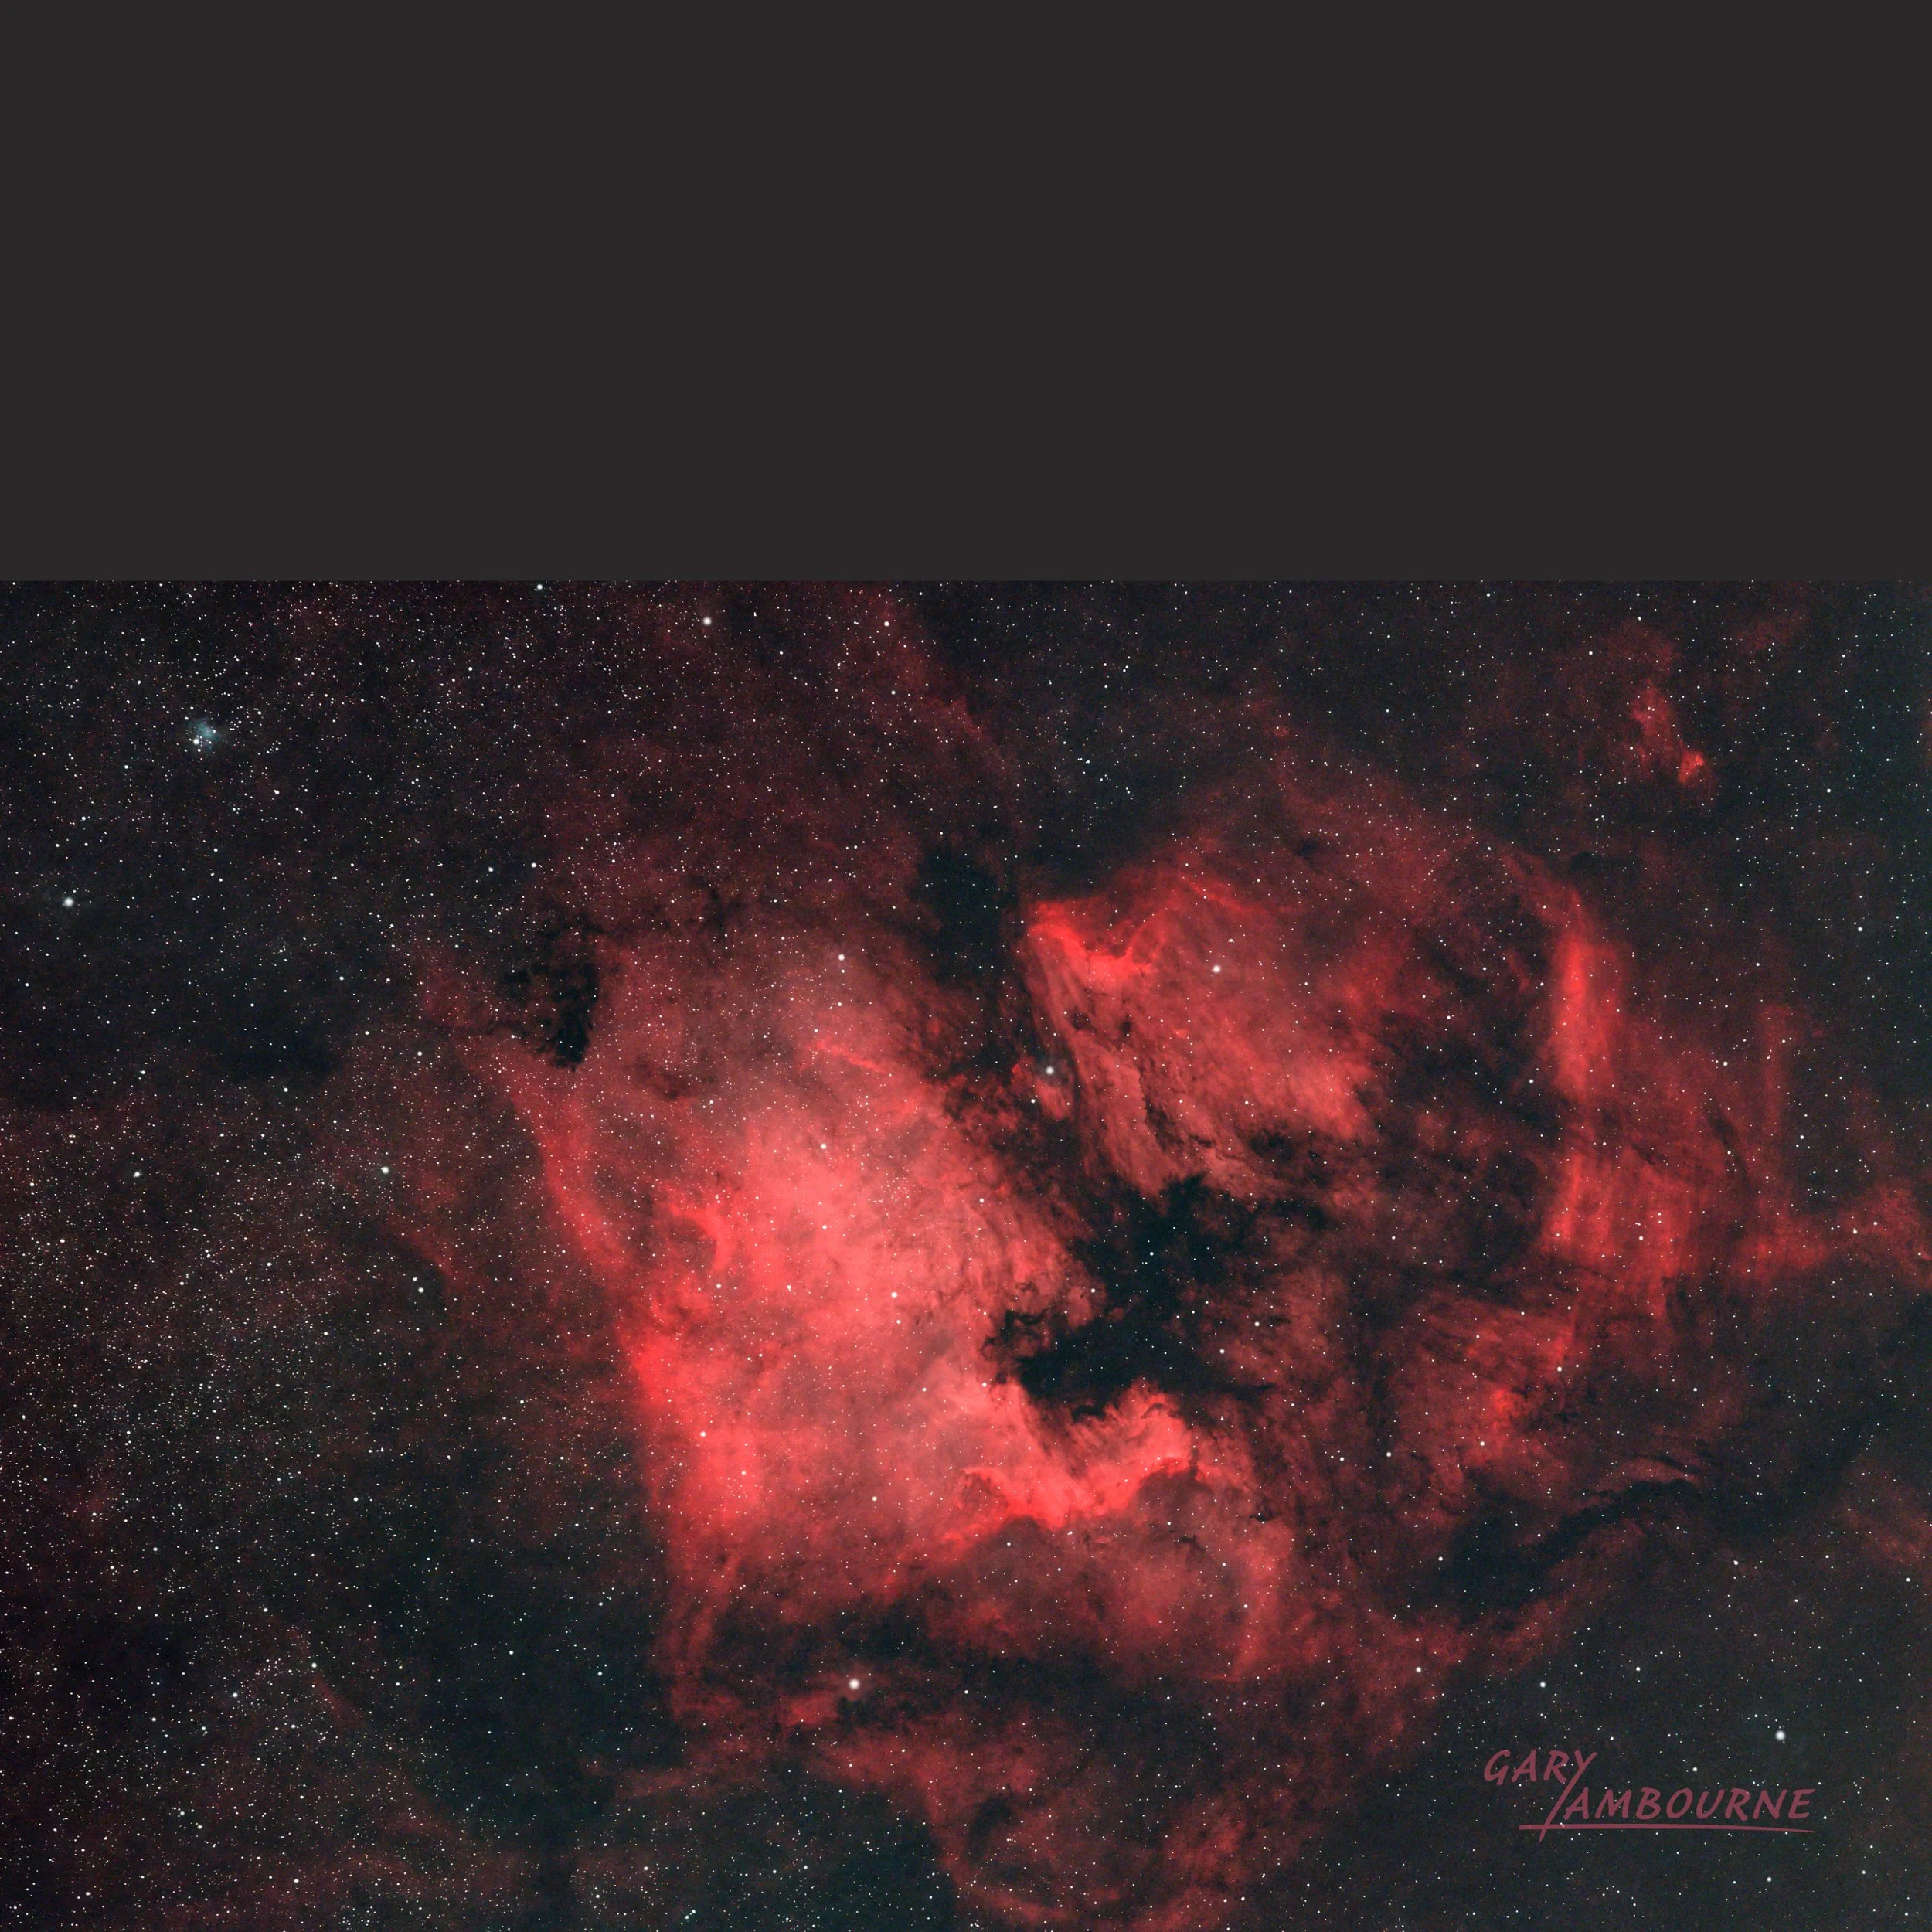
![astro finished]()
The final result
…After some more adjustments to things like colour hue, saturation, contrast and sharpening, the stars can be added back to produce the finished image.