

Capturing the August 2026 partial Solar Eclipse in the UK
In this article I will share my experience preparing for the August 2026 partial Solar Eclipse, and then capturing images of the event.
On August 12th 2026 the mainland UK experienced a partial Solar Eclipse, visible from all areas of the country. Southwest regions, especially Cornwall, saw the most dramatic effect with up to 95% of the Sun covered by the Moon. From my location in Southern England approximately 91% of the Sun was covered. It was the deepest Solar Eclipse seen in the UK since 1999, and the next total Solar Eclipse in the UK won’t happen until 2090.
To safely photograph the Sun even when partially obscured during an eclipse, the correct filter must be used to avoid permanently damaging the camera sensor and lens.
Assembling the Solar Filter
A popular and well-proven filter material is available from Baader Planetarium. The included instructions suggested using card to create a rigid frame for the filter film, several online tutorials also used this method. I decided to make something a bit more substantial out of wood, which would hopefully be more durable and therefore useable for several solar imaging sessions.
I had an offcut of moisture resistant MDF 6mm thick, which seemed ideal for the task. The aperture needed to be around 95mm to work with the Canon RF 100-400mm lens which I was planning to use for the eclipse photography session. It needed to fit easily onto the lens hood, in a similar way to how a Bahtinov Mask fits, using three legs to hold it in place.
Baader AstroSolar Safety Film is available in several different sized sheets, luckily the smallest size was just right for making a 95mm filter with some extra around the edge for glueing. After cutting out the MDF frame on a scrollsaw and drilling 4mm holes for the legs, the filter film was carefully glued into place and left to dry. The filter film is extremely thin and fragile, and shouldn’t be touched with bare hands to avoid damaging the surface.
Once the glue had dried, the edges were trimmed flush with a scalpel and then the legs were screwed into place. M4 allen screws and M4 barrel nuts were used for the legs, with a covering of black heat shrink material applied so they don’t scratch the lens hood.
Testing the Solar filter
To allow plenty of time for testing and adjustments, the filter was assembled a couple of weeks before the eclipse. With 12 days to go, outdoor testing began on a fairly clear sunny afternoon which I hoped would be similar conditions to the actual day.
My Skywatcher Star Adventurer star tracker also has Lunar and Solar tracking functions, which makes things much easier when trying to follow the Sun and take multiple exposures. Taking sharp images handheld would be very difficult, and I wanted to get as many sharp images as possible so that composite photographs of the whole event could be created.
Testing went surprisingly well, the complete rig needed to be easy to set up and use, and entirely battery powered. Polar alignment of the star tracker during the day was the only real problem, but a rough alignment was possible using a compass to find north. The filter worked exactly as expected, and with the added bonus that it revealed Sunspots on the surface of the Sun. Camera settings were noted down, and I also decided that an external shutter release would be handy to avoid camera shake. The Canon R5 has a built-in interval timer but in the past I’ve found it’s not always reliable, so I wanted the backup of being able to take a few extra shots manually.
Setting up on the day
The whole area where I live has experienced a severe drought over the past few months, with no significant rain since June 8th. Looking at the weather forecasts, it originally seemed like the drought was going to break on the 12th August with heavy rain predicted! The forecast changed completely as the event drew nearer, and actual conditions on the day of the eclipse were very hot and dry with clear skies.
Setting up at 5.45pm was extremely hot, with air temperatures above 30 degrees. The Canon RF 100-400mm lens in made of black plastic, so i made a reflective cover from some tin foil to try and protect it. My previous 400mm prime lens would have been better suited with it's metal construction and heat reflective white paint. Polar alignment was done with a compass and actually worked much better than expected, - I didn’t have to recenter the Sun at all during the 2 hour session.
Focusing was done manually by zooming in on some Sunspots, and then the interval timer activated to take exposures every two minutes. I used the external shutter release to take a few extra ‘safety’ shots just in case, but the timer actually behaved itself and worked fine.
With all the setting up done, it was time to put on some solar sunglasses and enjoy the event!
Processing the images
I was pleased to have captured two hours worth of decently sharp images during the eclipse. Only using a 400mm focal length lens on a full-frame camera meant the Sun was fairly small in each image, but this was offset by the camera’s 45mp sensor resolution. Cropping each photo produced no loss of image quality, and some Sunspots were clearly visible again.
I knew I wanted to produce a composite image showing several stages of the eclipse and also if possible a timelapse video, which is why I took photos every two minutes. My preferred image processing software is Affinity Photo 2, which is a Photoshop rival but without the monthly subscription fee. I bought it a few years ago, apparently there is a free version now but I haven’t tried it.
I chose seven images which represented the main stages of the eclipse, and combined them to produce a nice simple panorama of the event. Not much processing was required because the Solar filter blocks out so much light there were no blown out highlights to correct, and the background sky was nice and black with minimal noise. A few small enhancements to saturation, contrast and brightness were applied, and a small amount of noise reduction. I like how the Sun changes colour as it sinks towards the horizon in the final image. To get the individual Sun images exactly in line, I created a temporary layer with a template of evenly-spaced circles on it, and then moved the image layers around until they all fitted in the circles.
Timelapse video
The last challenge was to create a short timelapse video using the individual images collected. To avoid the video being jerky I needed to align all the images perfectly, some software programs can do this automatically and generate a video. First I tried aligning them all in Siril, my usual astrophotography processing program. Unfortunately because the Sun changes shape through the sequence it couldn’t detect and align properly. I couldn’t find a way in Affinity Photo 2 to do this automatically, so I had to go through each frame one at a time and recenter the Sun, then crop out the wasted space around it. I created a template layer to get each frame lined up, and the process was actually quite easy. The final stage was to convert all the corrected frames into .jpeg file format and use Microsoft Time Lapse Creator (free software) to build the finished video. In hindsight I should have taken a photo every thirty seconds rather than two minutes, which would have made a much smoother video, but apart from that it worked out quite well. The video shows two hours of the eclipse in about eight seconds.
I hope you were able to experience the partial Solar Eclipse, or even travel to the path of totality and experience the full Solar Eclipse, something we will not see from the UK mainland until 2090.
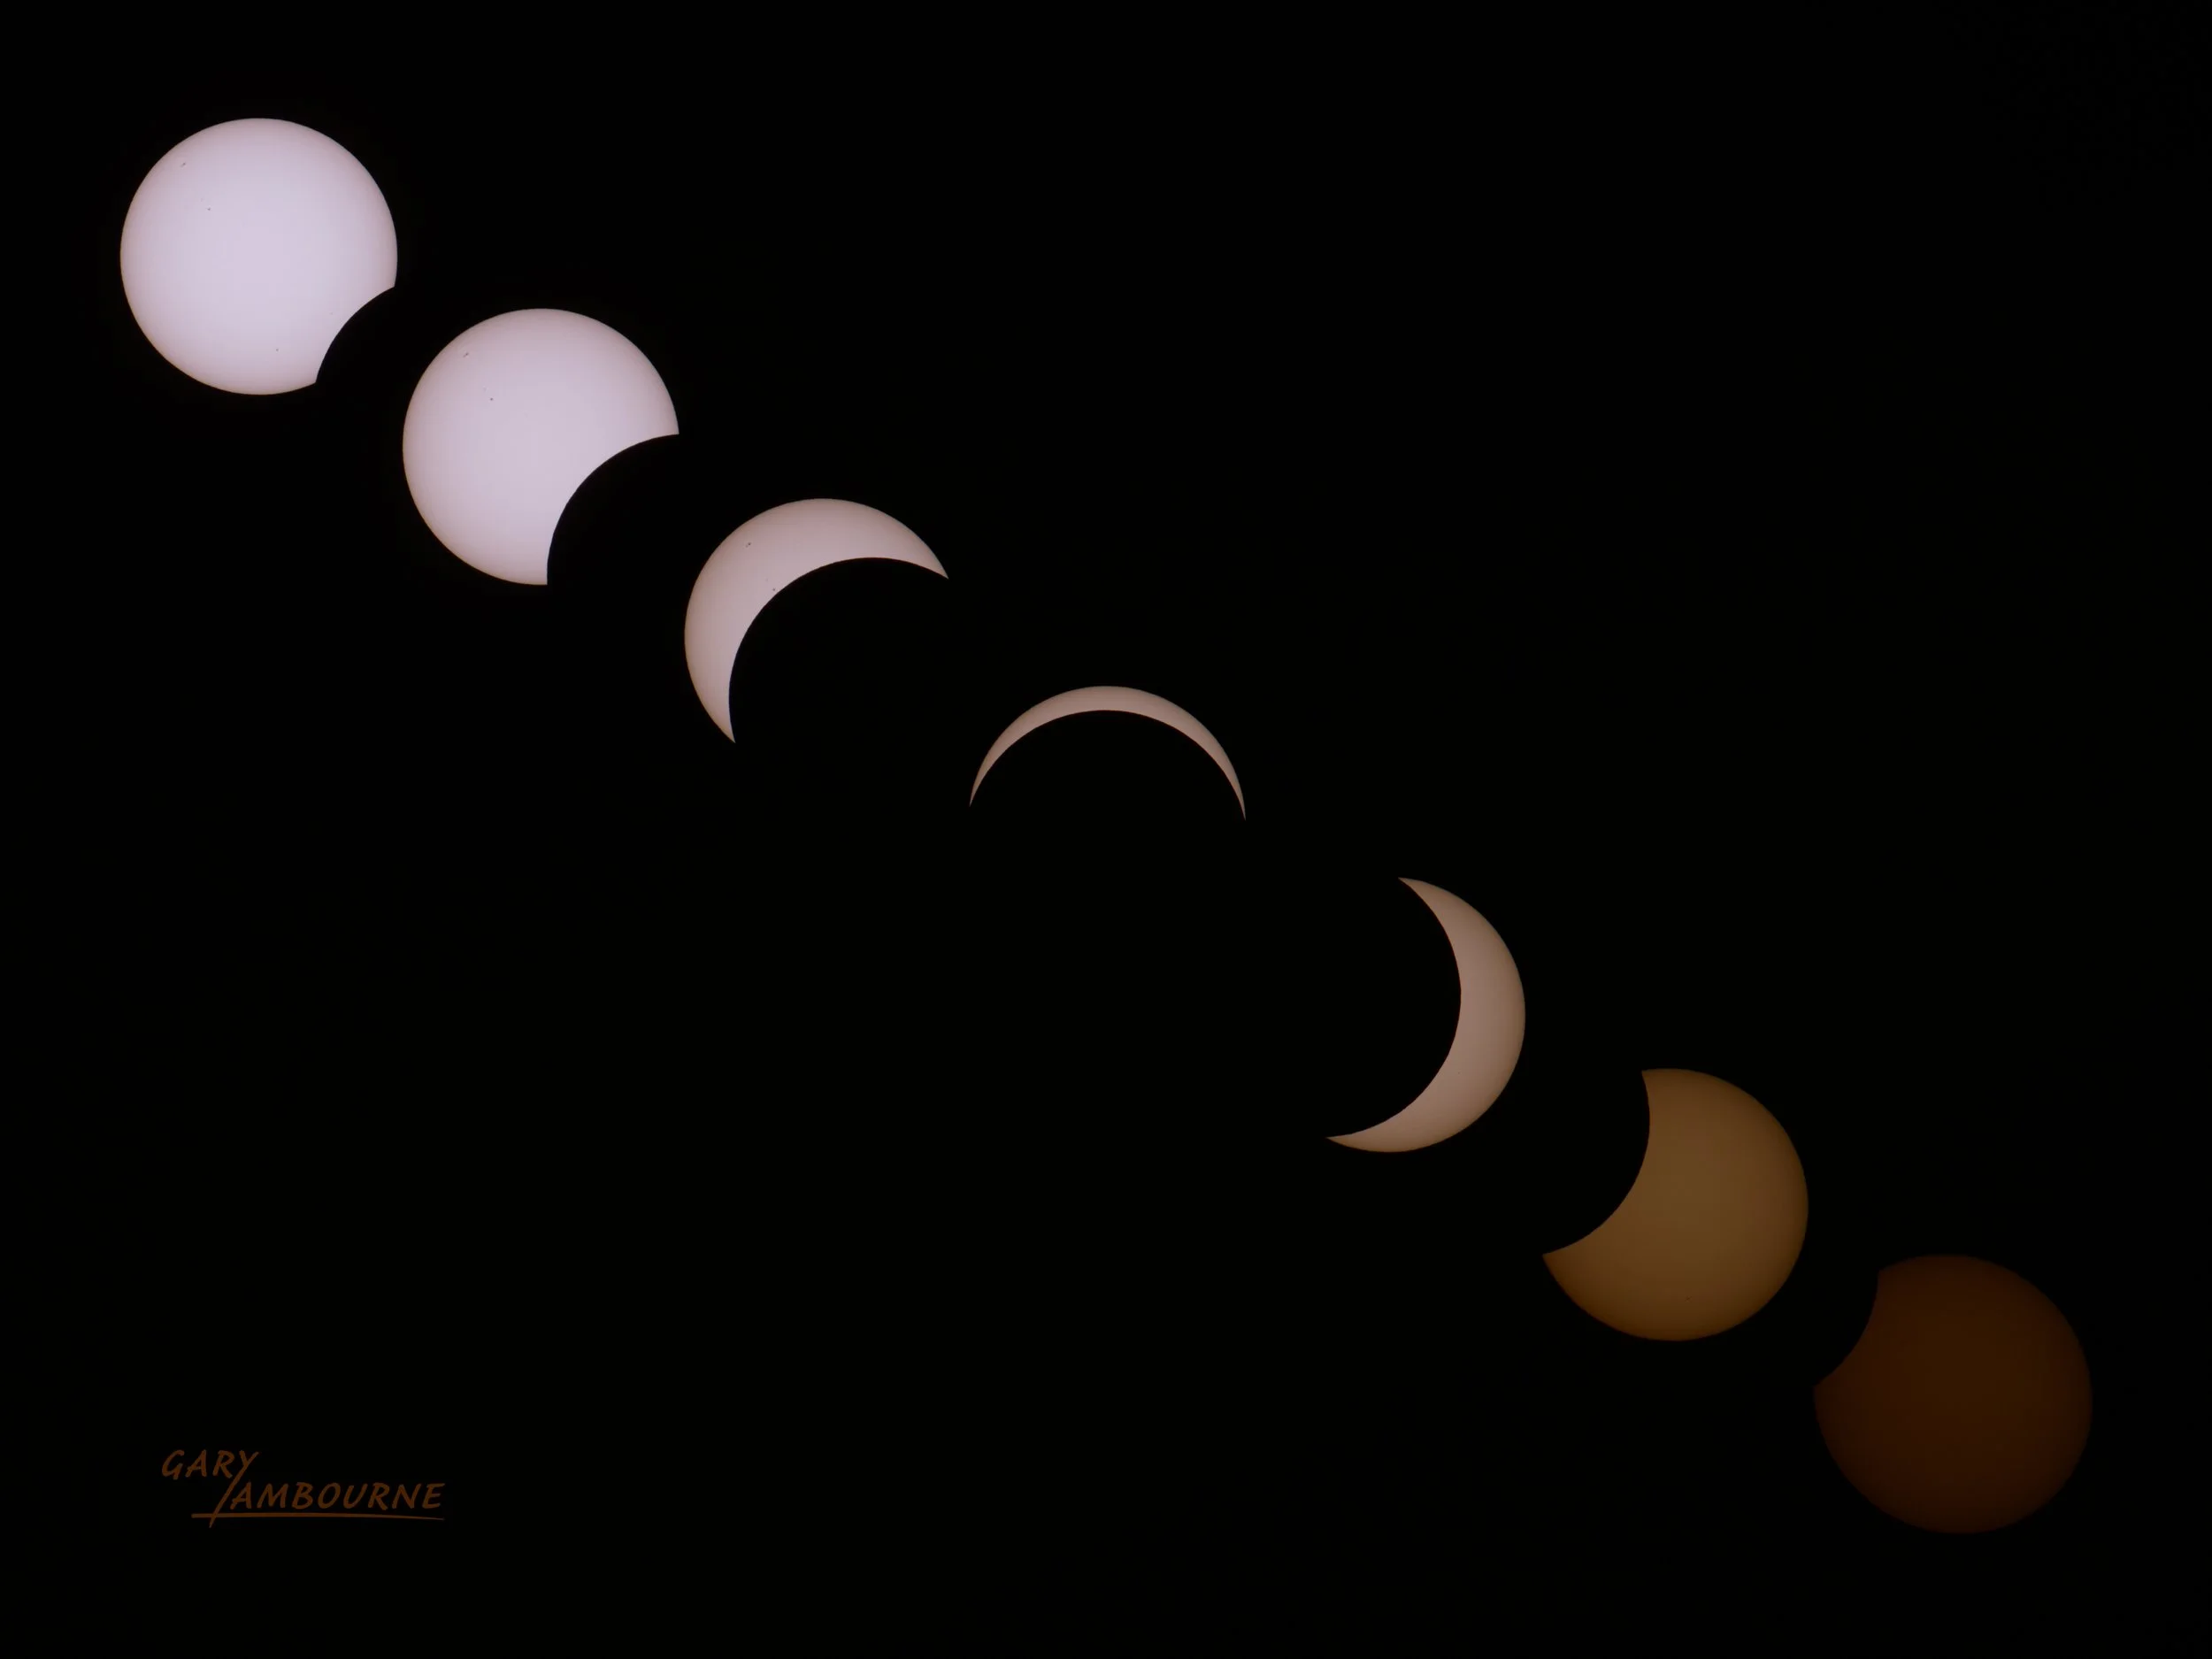
The August 2026 partial Solar Eclipse
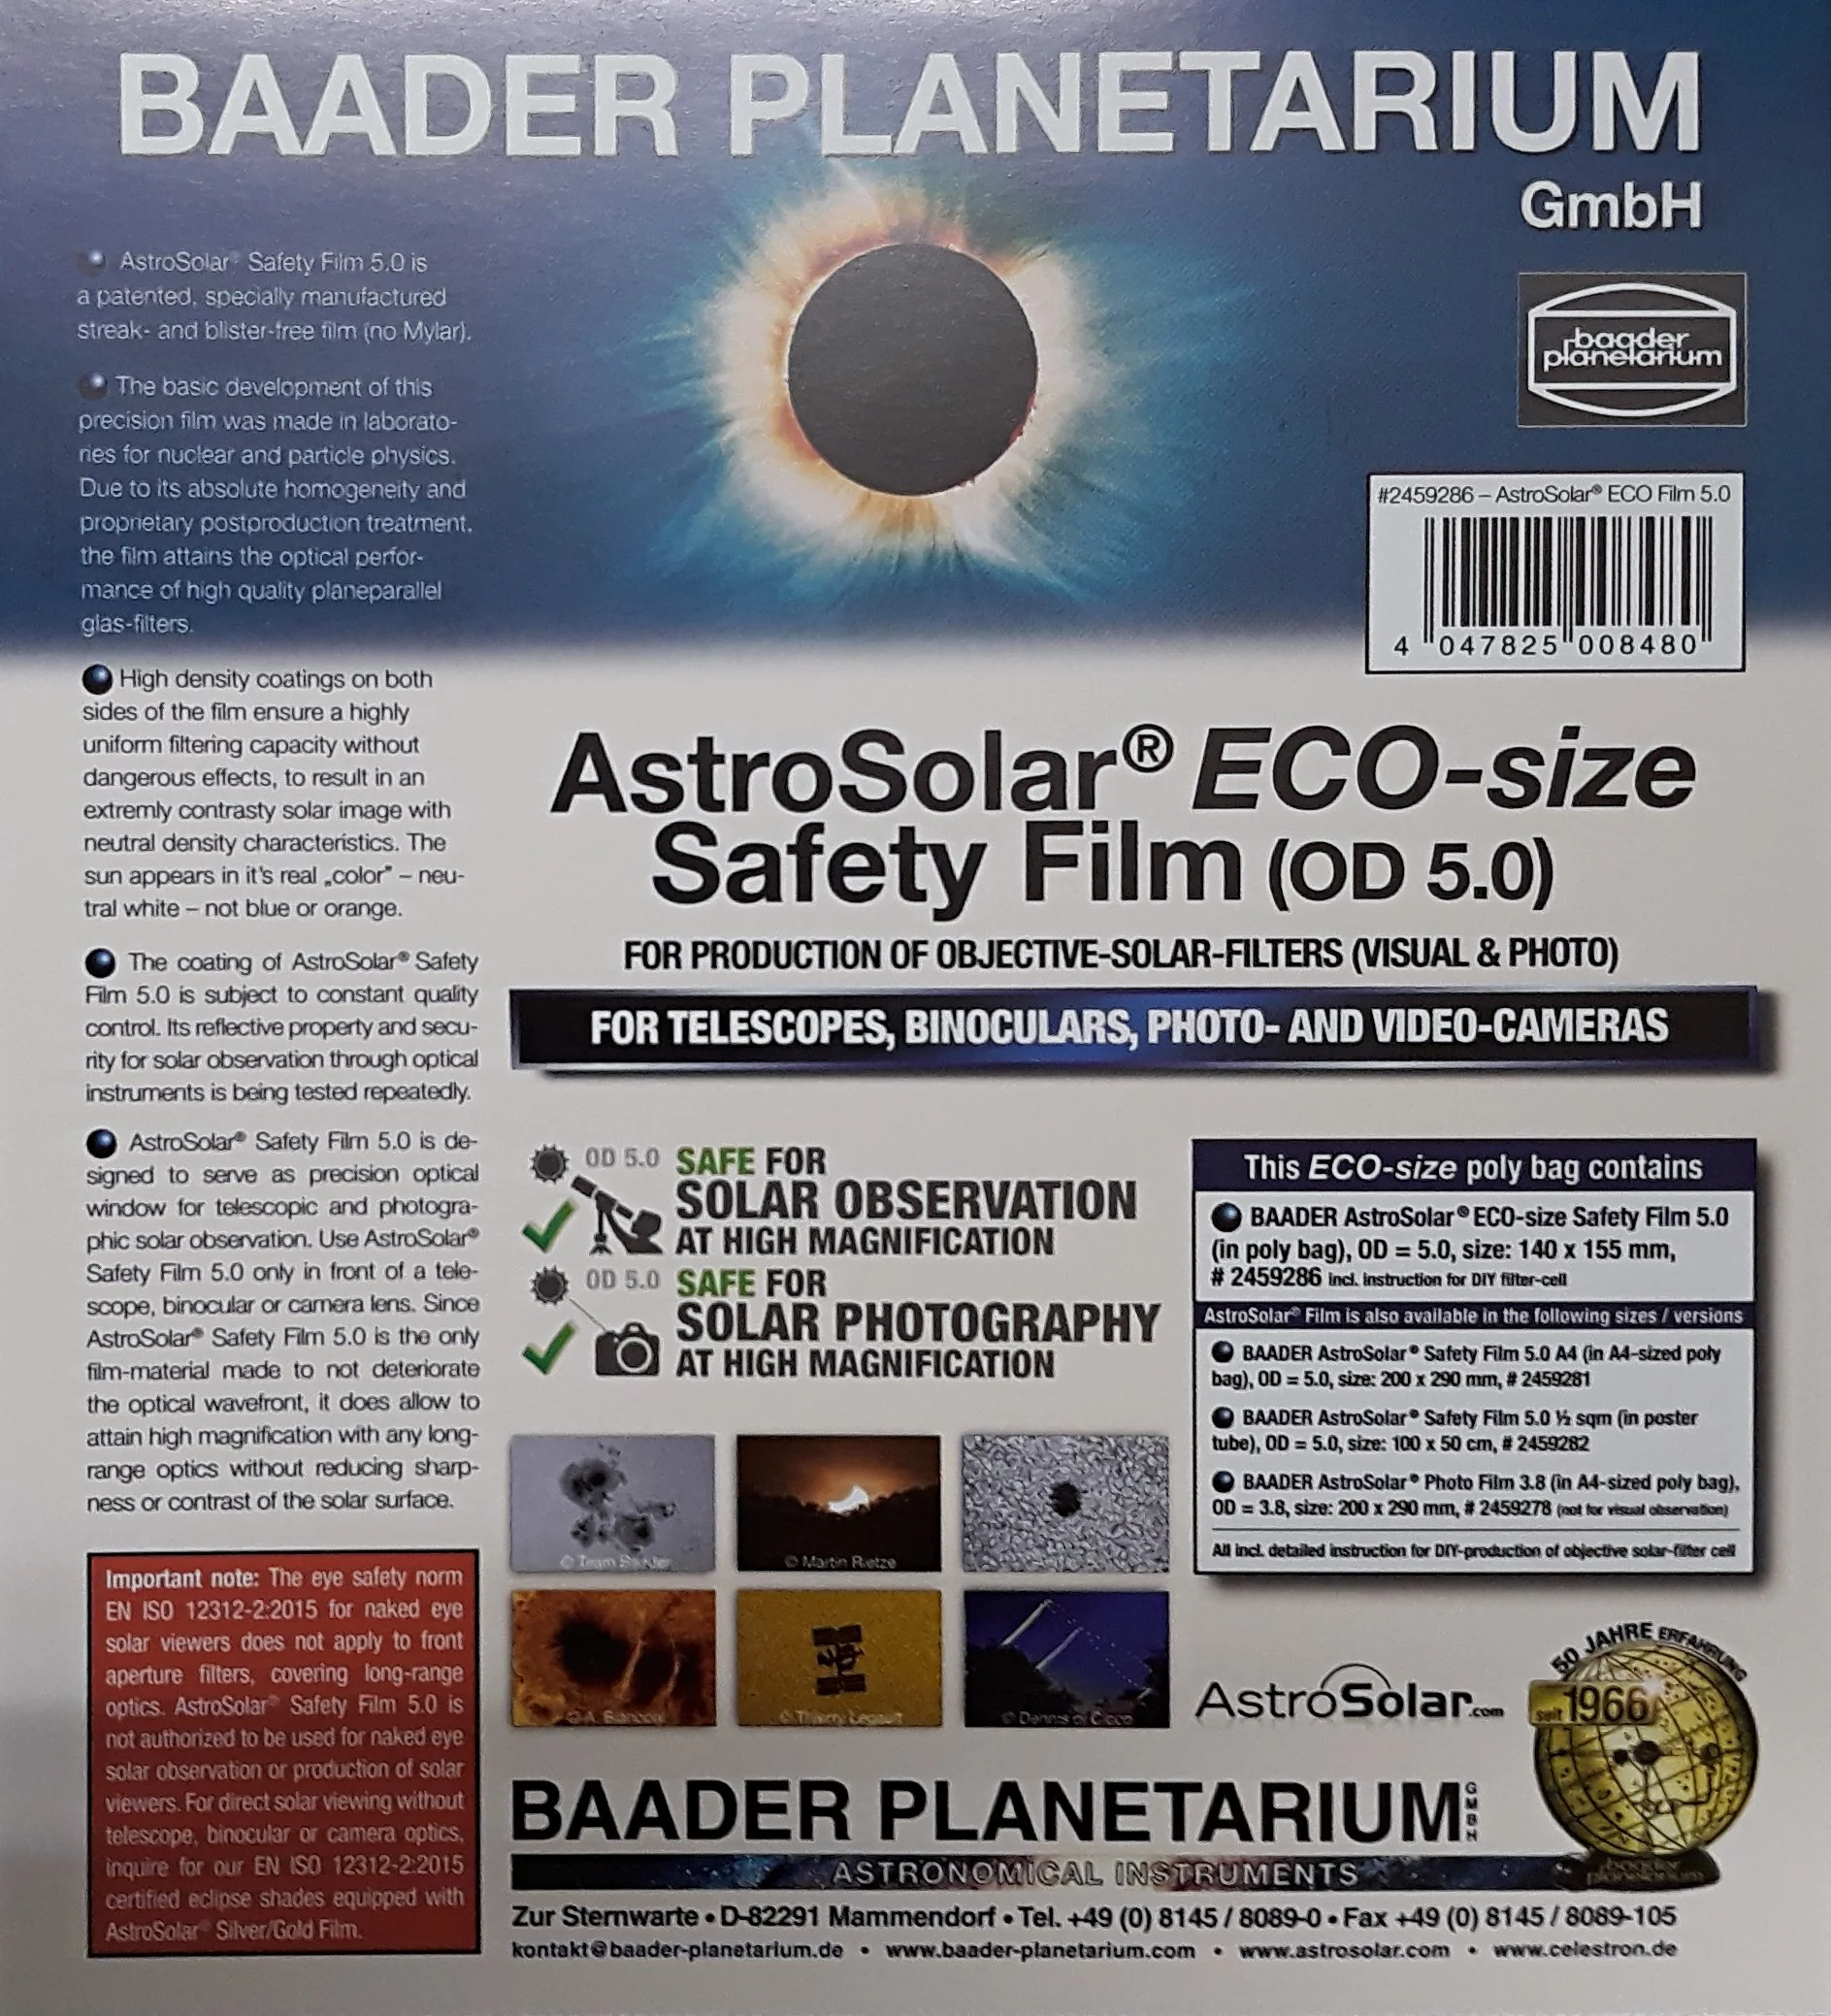
Baader Solar Filter Material
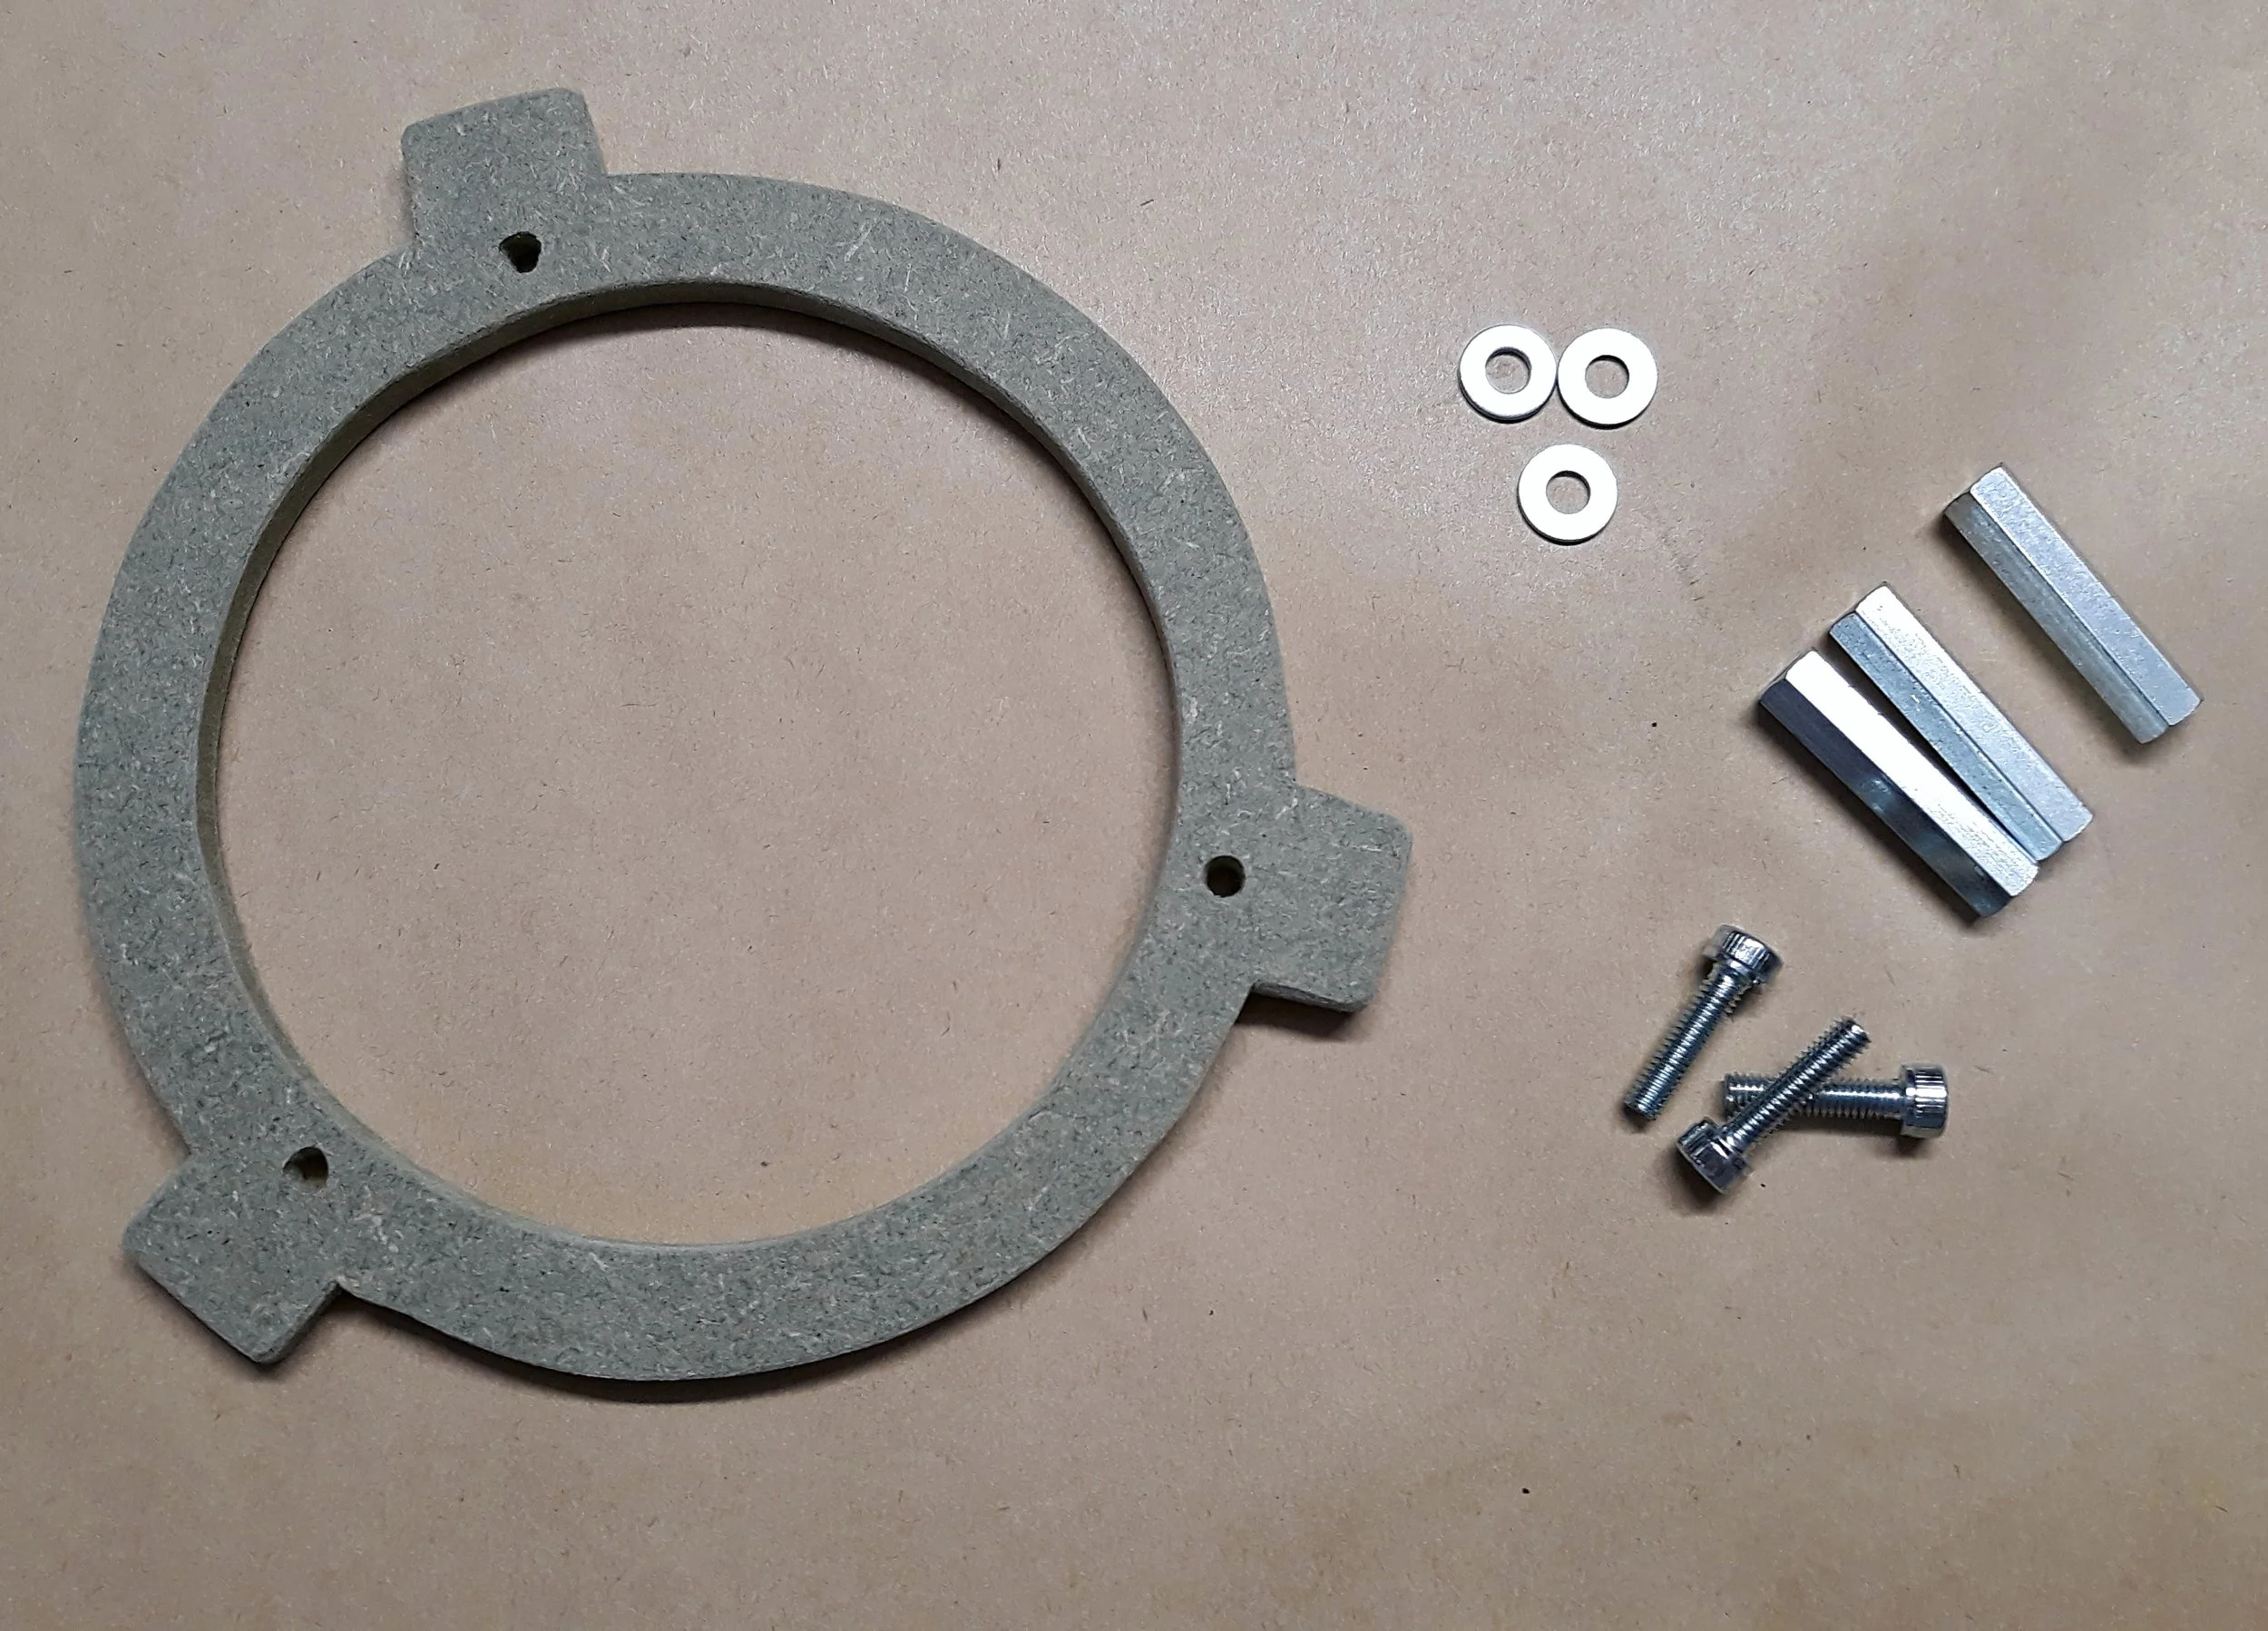
Parts ready for assembly
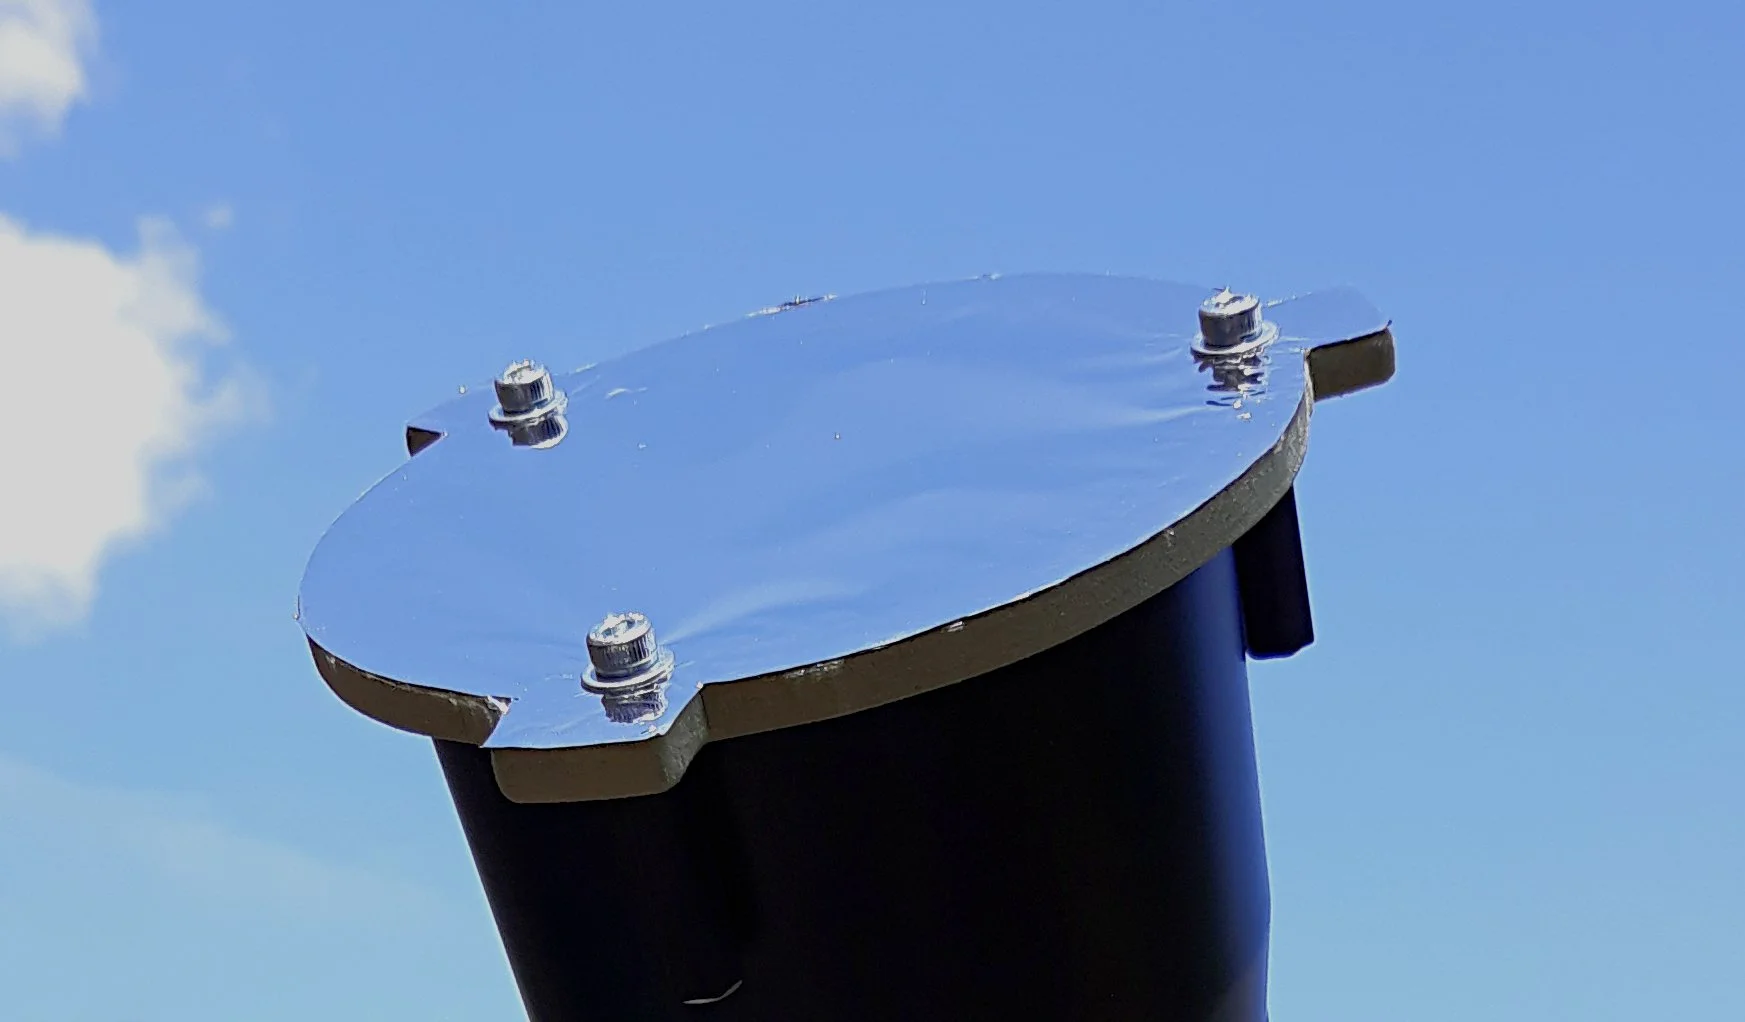
Finished Solar Filter installed ready for testing
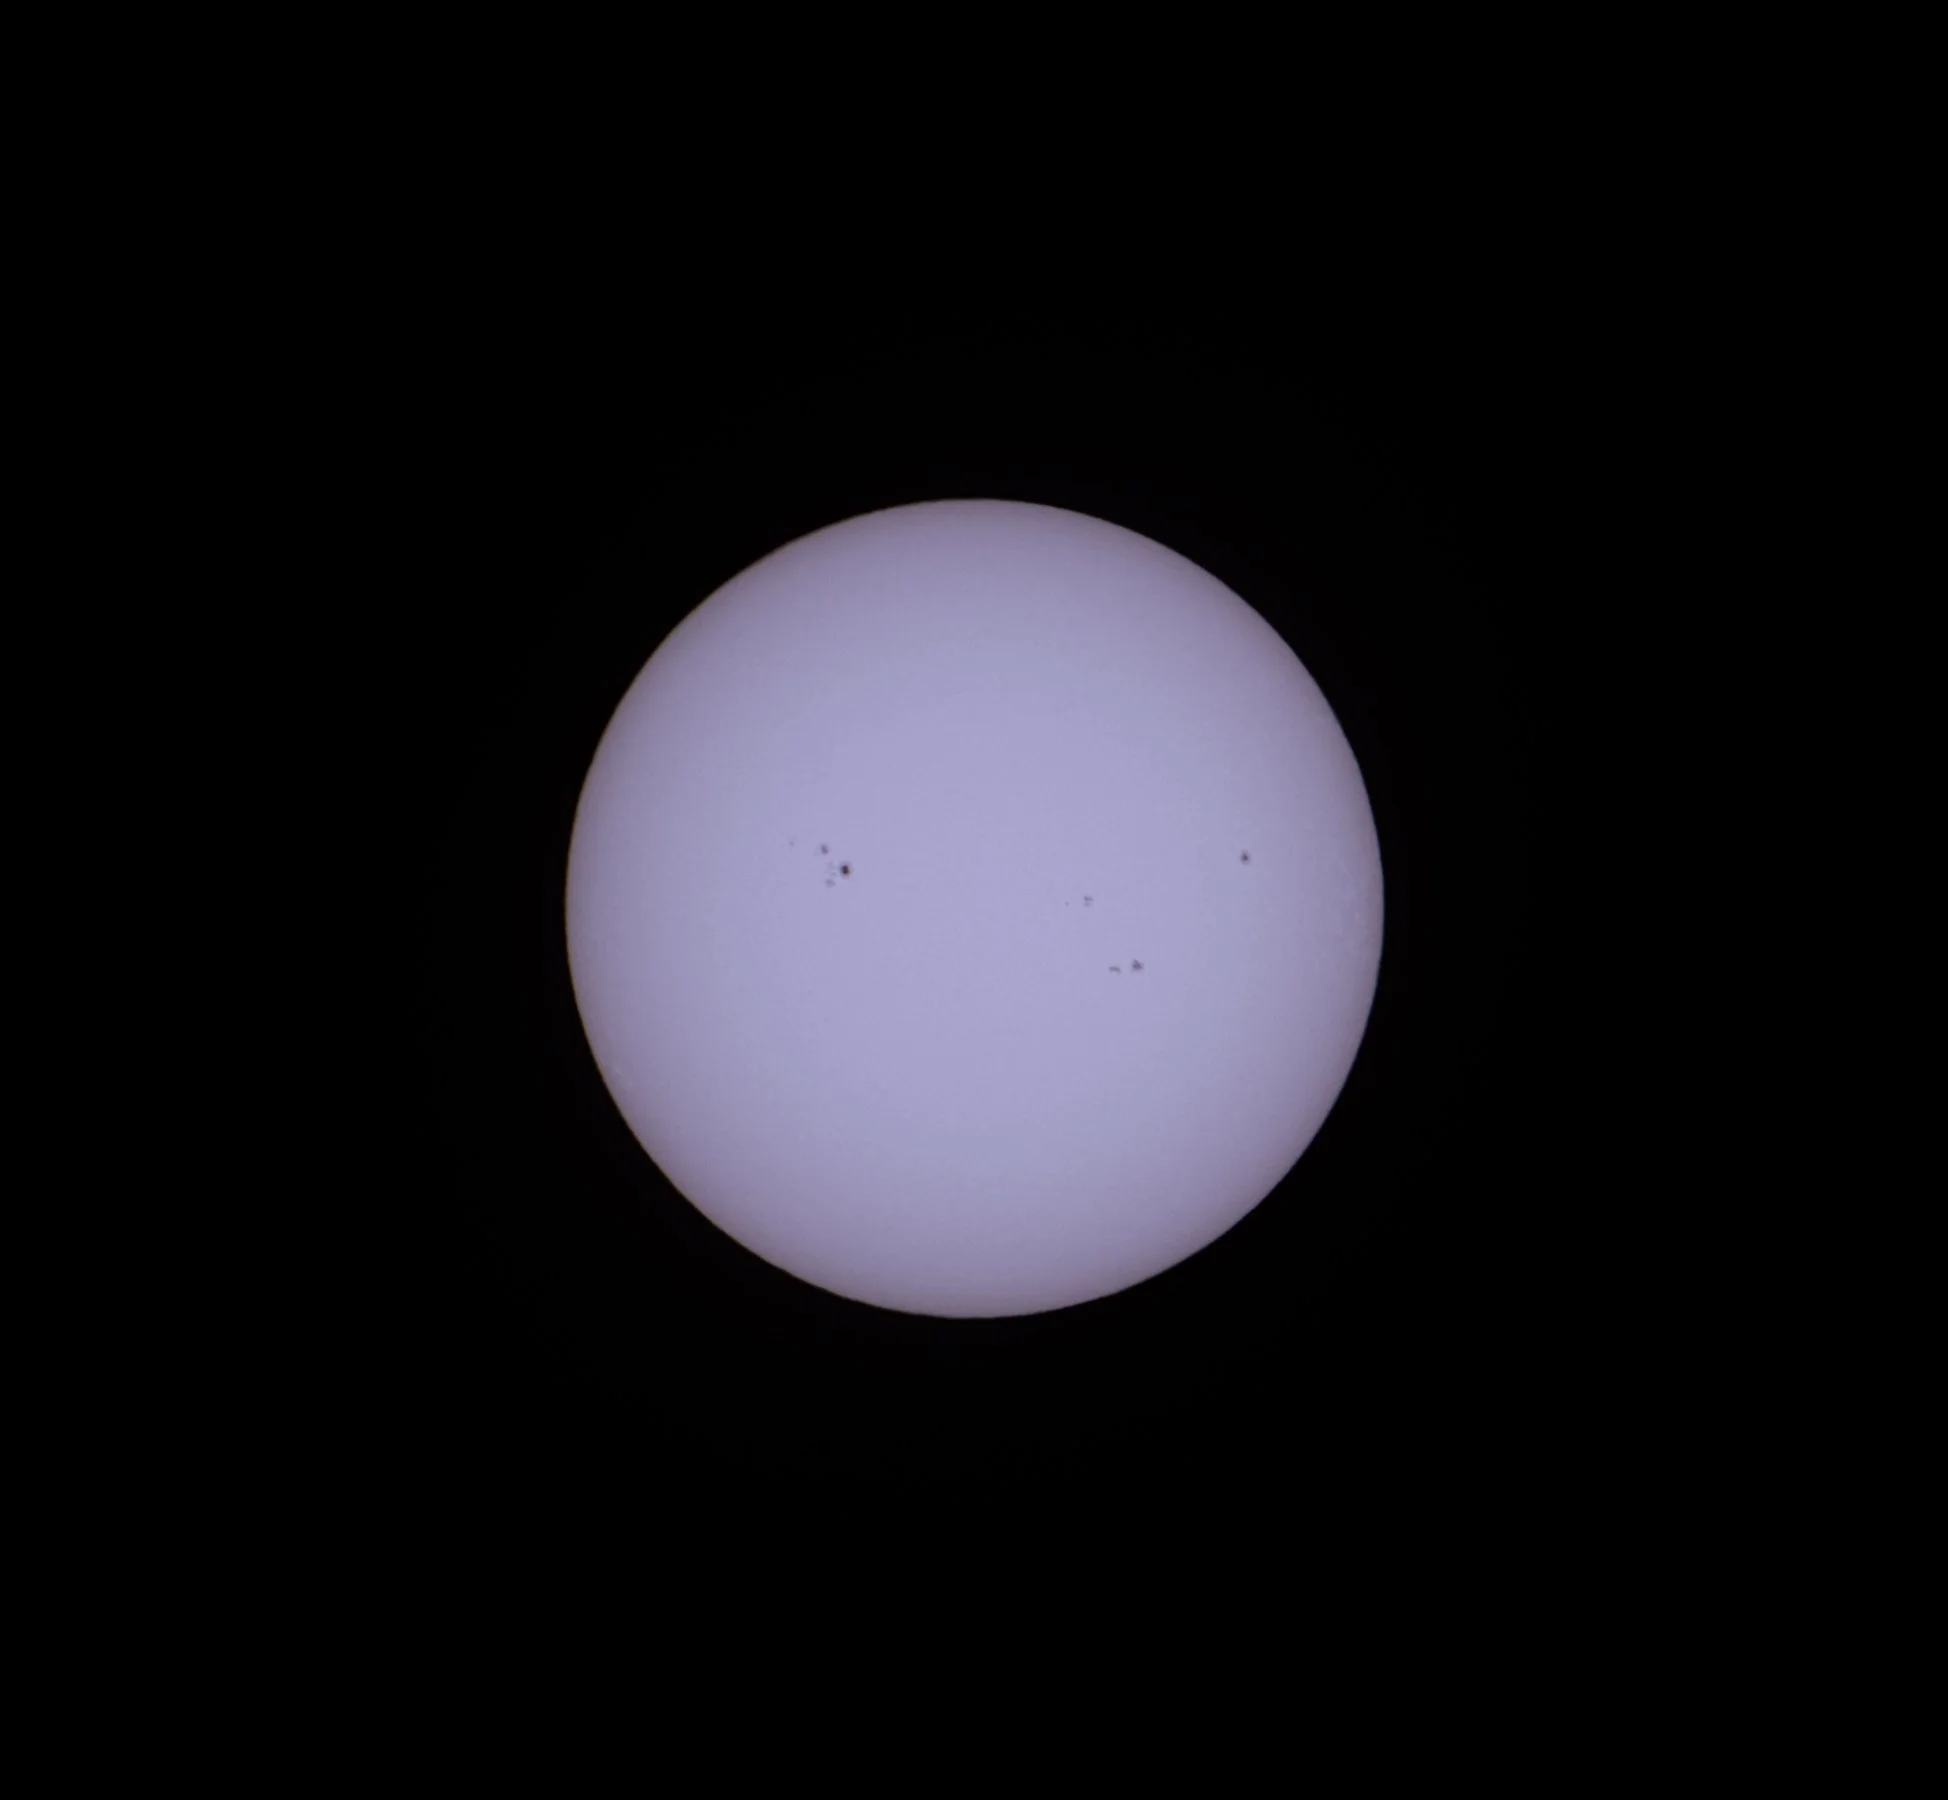
First test image of the Sun, 1/1250s exposure at F8, ISO 100
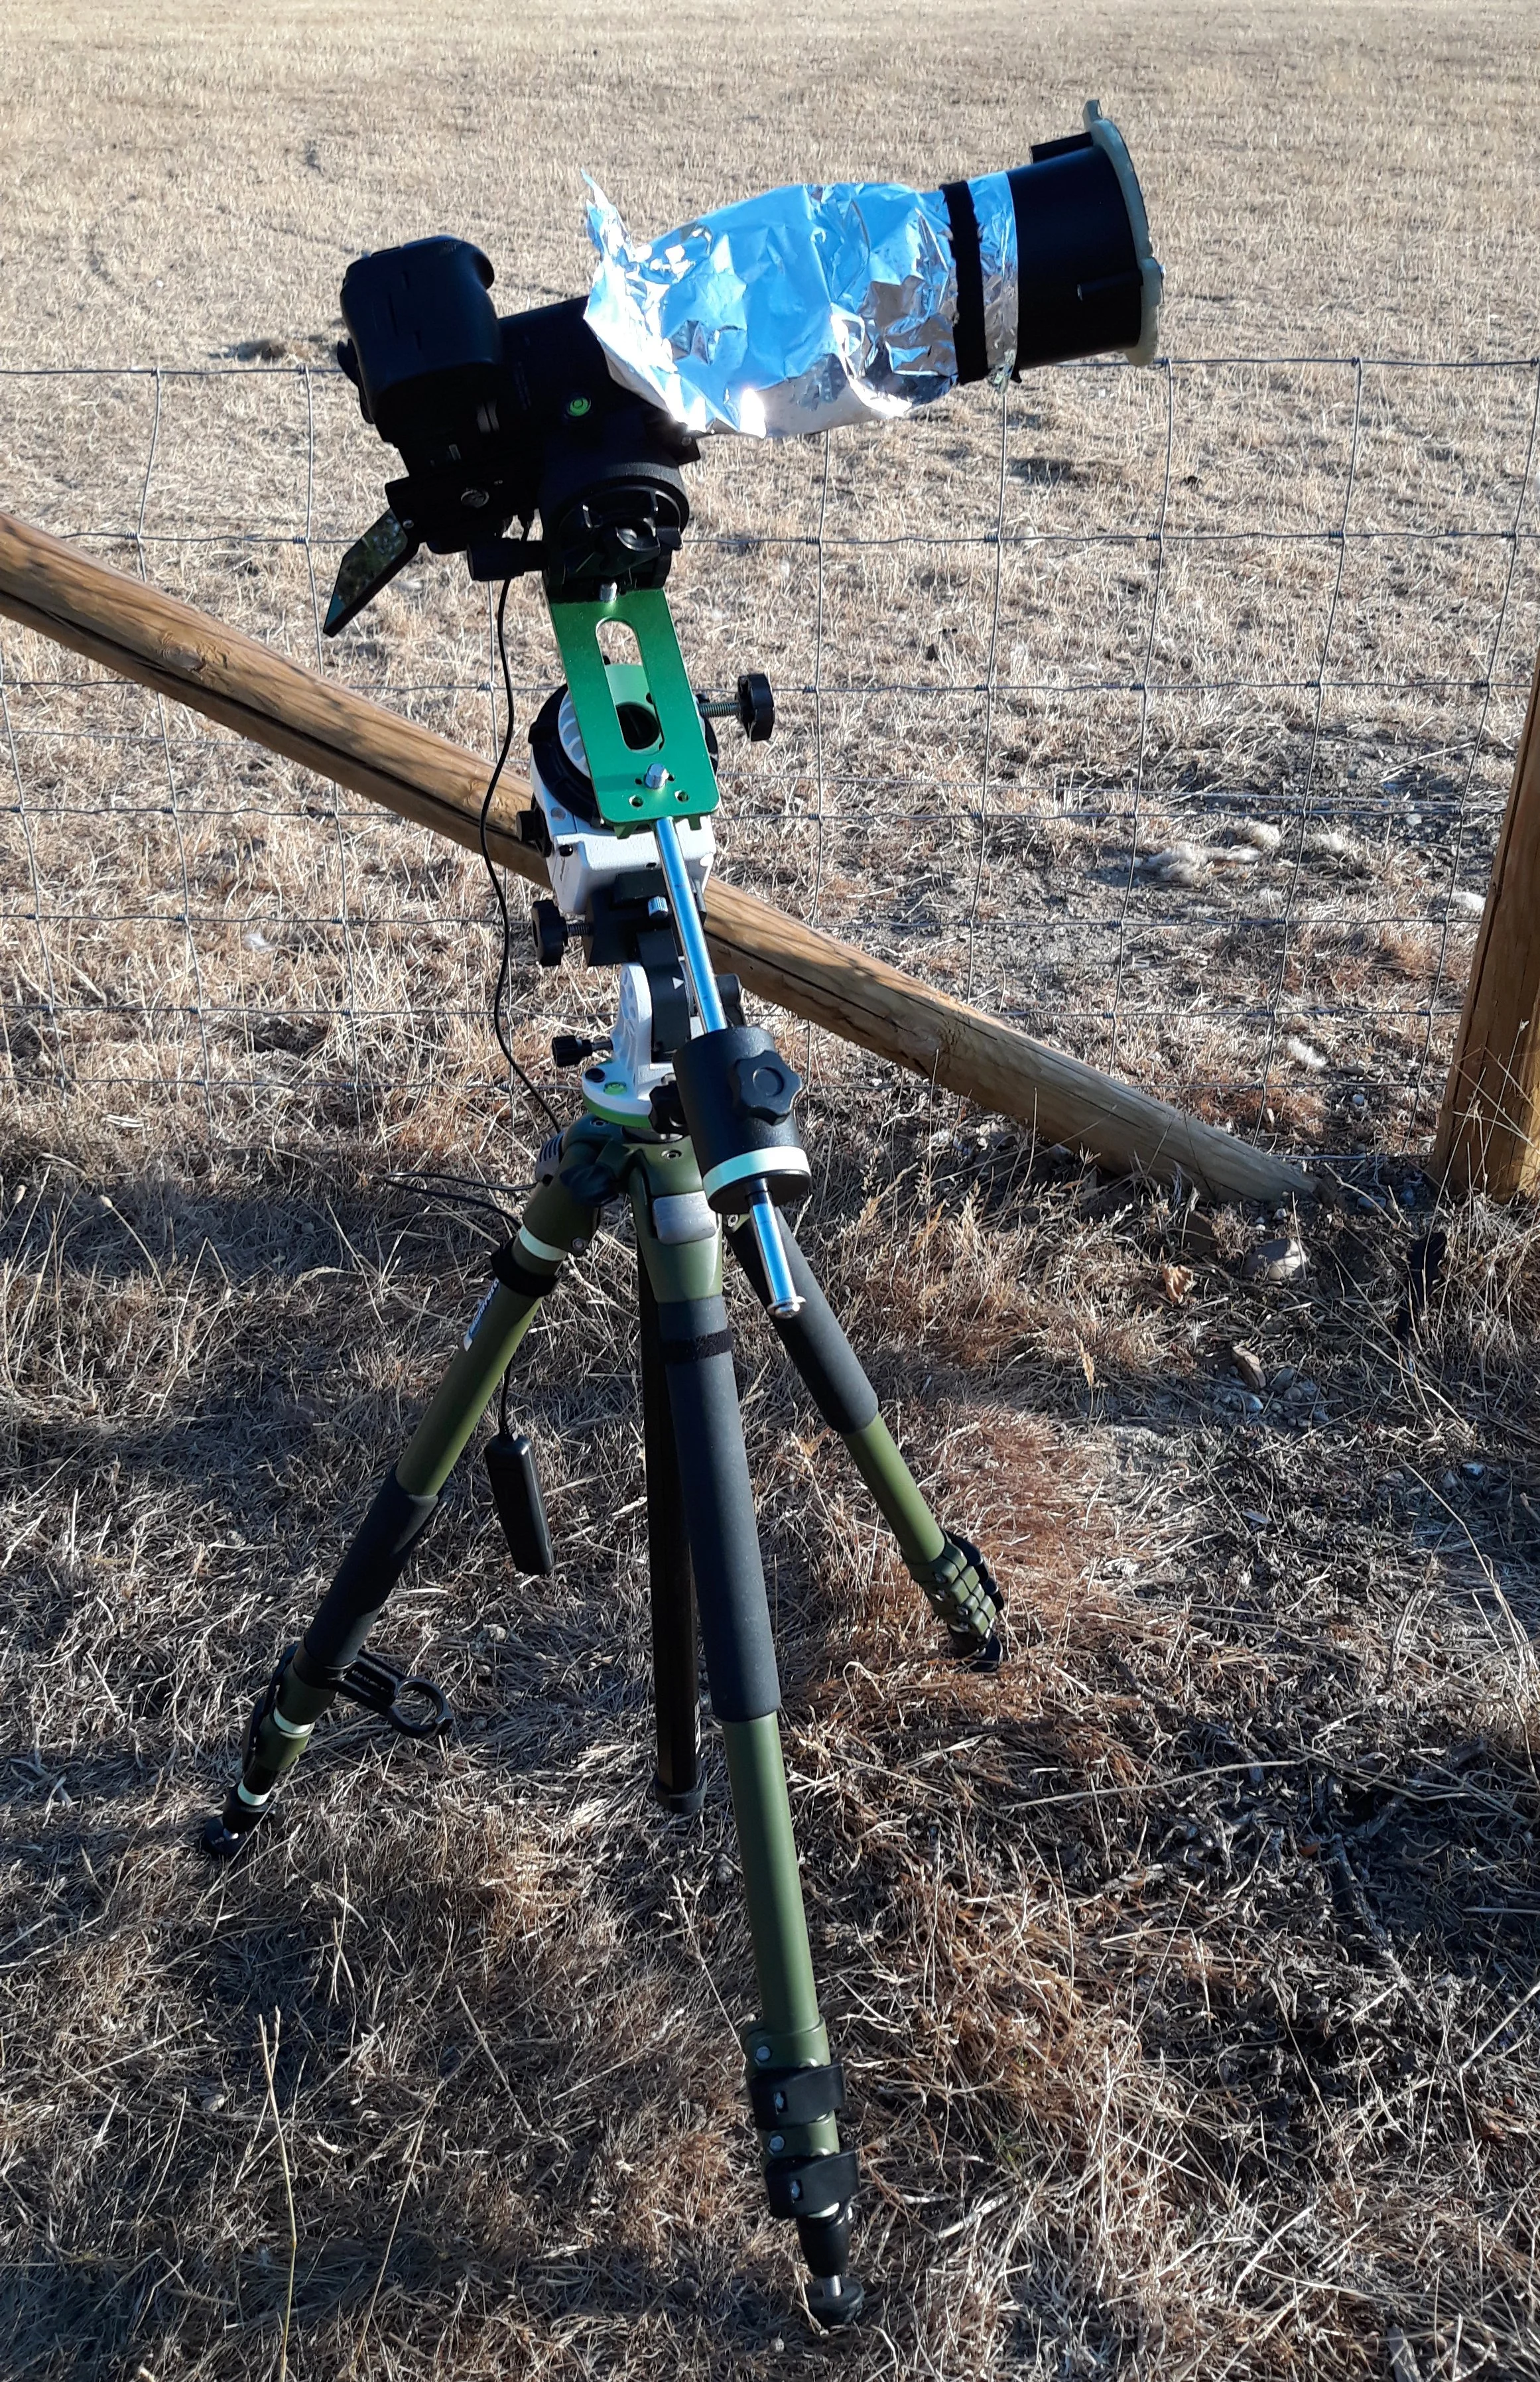
Canon EOS R5 with 400mm Lens, Solar Filter, and temporary heat shield
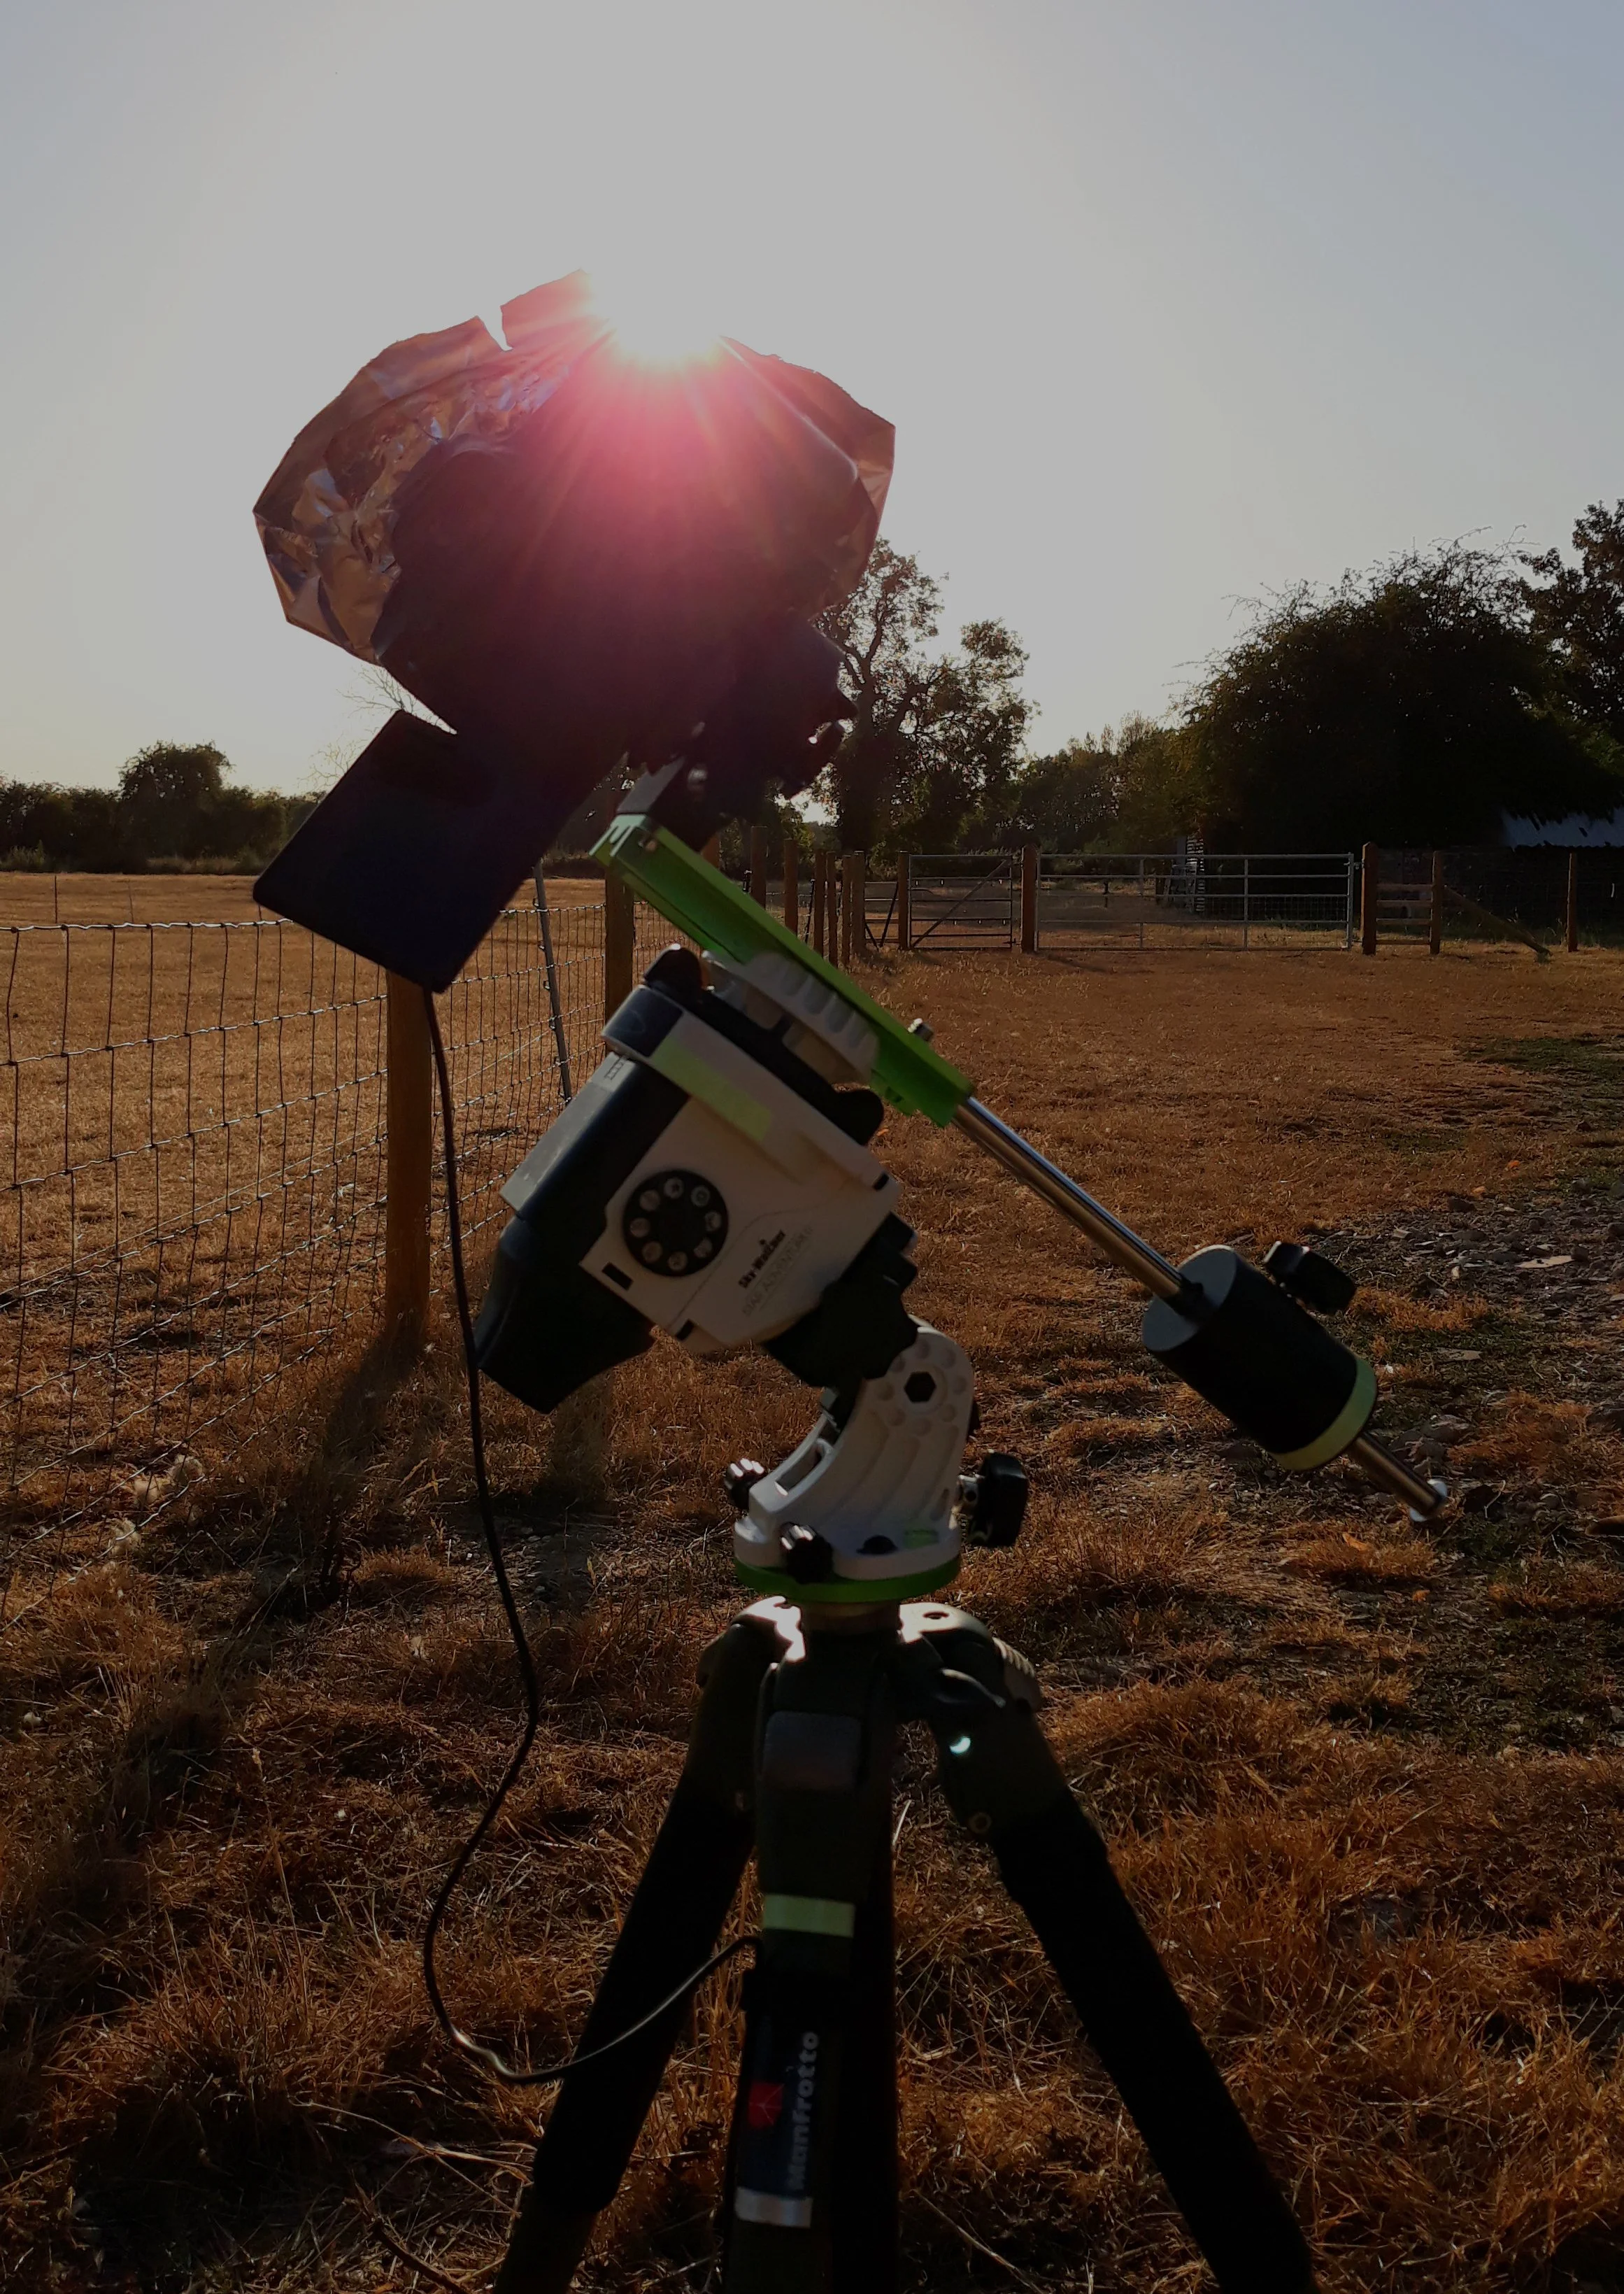
Extremely hot conditions while setting up the camera equipment!