

Owner’s review - Canon EOS R Astromodified
In this article I will offer my thoughts and opinions on using the Canon EOS R Mirrorless camera for deep-sky astrophotography.
The Canon EOS R was Canon’s first Mirrorless camera, released in October 2018. It featured a 30.3 megapixel sensor with a pixel size of 5.36 microns, but was much smaller and lighter than the EOS 5Dmk4 which it replaced. Canon also released an astrophotography version called the EOS Ra, with a modified I.R. filter making it much more sensitive to Hydrogen Alpha (Ha) light which is in the deep red part of the spectrum. The EOS Ra also had a 30x digital zoom feature, which was designed to make focusing on stars easier. Apart from that the two camera versions were identical.
Both the standard EOS R and the astrophotography Ra were discontinued after only a few years, as Canon released better equipped Mirrorless cameras such as the EOS R5 and R6. When released the EOS R was poorly reviewed by many critics, who compared it to superior cameras from Sony and Nikon. Due to the negative perceptions of the camera and the fact it was discontinued several years ago, second hand EOS R camera bodies can be bought very cheaply in comparison to other Mirrorless cameras. However most of the drawbacks and disadvantages of this camera which make it unpopular for normal daytime photography actually work in our favour as astrophotographers.
Negative perceptions
Being Canon’s first Mirrorless camera, it was expected that the EOS R would be a big improvement over previous DSLR camera bodies. Reviewers were quick to criticise the use of the same 30.3 megapixel sensor as the 5Dmk4, with only small improvements to autofocus performance. Yet this sensor offers a good resolution for astrophotography, from wide angle Milky Way landscapes to deep-sky close ups of Nebulae and Galaxies. The autofocus performance is irrelevant since all focusing is done manually using the lens focus ring or telescope.
The camera came with an innovative new feature called a ‘multi function bar’ which was pretty much universally described as a useless gimmick, and Canon have never incorporated it on any of their other cameras. The multi function bar can be disabled in the camera menu, as it is not needed.
Professional users, especially wedding photographers, were unhappy that the camera only had one memory card slot, meaning there was a chance of losing important images if the card was corrupted. When using the camera for astrophotography via a control system such as the ASiair, Sharpcap or N.I.N.A. images are saved to the computer as well as the memory card, so everything is duplicated.
It was hoped that the camera would feature In Body Image Stabilisation (IBIS) which helps to reduce camera shake when being used handheld for wildlife or sports photography. Since all long-exposure astrophotography is done using a tripod or star tracker/mount, the lack of IBIS is irrelevant.
The camera body has fewer buttons and controls compared to the DSLRs it was intended to replace. This is an advantage for night time use, meaning there is less chance of touching the wrong button by accident in the dark, plus the camera is usually controlled remotely anyway to avoid camera shake.
Positive features
Since most of the perceived drawbacks actually don’t matter for astrophotography, the EOS R is actually quite a bargain compared to other full frame digital cameras, and is actually often cheaper to buy than older designs like the 5Dmk4 DSLR. There are two key features which make this a far better option than a Canon DSLR, - the articulating rear screen and the lack of a mirror mechanism.
The articulating rear screen can be used instead of the viewfinder, meaning that framing up of the scene and focusing can be done comfortably if the camera body itself is at an angle when mounted on a telescope pointing up at the sky.
The lack of a mirror mechanism and the electronic shutter mode mean that there is no camera shake at all when taking photos, this is a major advantage compared to a DSLR which can shake quite considerably causing blurry images.
Other advantages include the lightweight body, which helps with stability on a tripod and helps with balance on a star tracker. The camera has plugs for USB-C and an external shutter release, meaning it can easily be controlled remotely to avoid camera shake. Readily available RF-EF lens adapters mean that the whole range of Canon EF lenses can be used, which are much cheaper to buy second hand compared to the newer RF lenses, and also most EF lenses have mechanical focus rings which are much better for astrophotography.
Turning an EOS R into an EOS Ra
I purchased my EOS R body in September 2024, replacing a 5Dmk4 DSLR. I chose the camera based on all the points detailed above, and because finding a genuine EOS Ra for sale in the UK is very difficult. As soon as it arrived I sent it away to be astromodified by SpaceTinkerer (look for his shop on eBay and at spacetinkerer.com) and after a few days it arrived back converted and ready for use. The modification involved removing the standard filter from in front of the camera sensor and replacing it with a U.V./I.R. cut filter, making the sensor much more sensitive to red light. This modification is done because Emission Nebulae made of Hydrogen and Sulfur emit light in the deep red part of the spectrum, which hardly shows up on a normal camera.
Purchasing and modifying the camera body cost just under £1000, which sounds like a lot but is actually much cheaper than a full-frame astronomy camera, with the advantage that it can still be used during the day with a custom white balance setting and a bit of colour management while editing images. The only real drawback compared to a dedicated astronomy camera is that sensors get hot when taking long-exposure photographs, and astronomy cameras have cooling mechanisms built in to deal with this. I then made two more small changes, putting black tape over the amber warning light on the front of the camera, and putting small pieces of flourescent tape around some of the important buttons on the back so that I could see them in the dark without turning on a torch.
Digital noise and defective pixels
Despite being fairly old sensor technology, the 30.3 megapixel CMOS sensor does produce nice images. Being an uncooled sensor, digital noise can be a problem on long exposures so I take a full set of calibration frames every session. Bias frames can be taken once and then reused, they are simply taken at 1/8000 second exposure time, ISO matched to the Light frames (actual images), with the body cap on the camera to completely block out the light. I took a set of 100, and processed them in Siril to create a Master Bias frame. Dark frames are again taken with the body cap on to exclude all light, but they are temperature sensitive and must be taken at the same temperature as the Light frames, the same exposure time and ISO setting. Flat frames are taken to reveal any dust on the lens or sensor, and any vignetting (darkening around the edge of the image). These are taken at the same ISO setting, but the exposure time doesn’t matter as long as the image brightness is correct.
The sensor on my particular camera has a few hot and cold pixels (show up as blue or red) but these are easily taken care of during image processing. I always use the camera at ISO 2500 because of something known as ‘Input-referred Read Noise’, which can cause dark/black images to look grainy at low ISO settings. Daytime photographers generally like to use as low ISO setting as possible, often ISO 100, but at night this will result in worse quality images compared to a higher ISO. Looking at the charts on photonstophotos.net the best compromise for an EOS R is ISO 2500, to keep Read Noise levels down without badly affecting dynamic range.
Another important technique to reduce digital noise when using a star tracker/equatorial mount is known as ‘Dithering’. This means after taking a few exposures, slightly moving the camera (only by a few pixels) so that the same pixels aren’t always recording the same details. This reduces the effect of a phenomenon called ‘Walking Noise’, which can cause lines that look like scratches across the final image. By slightly moving the camera, fine details are recorded by several different pixels and then averaged out during the image stacking and editing process. This also helps the image stacking software to identify and remove dead pixels and hot/cold pixels.
Using filters
A dedicated astronomy camera and telescope rig has plenty of options for mounting filters, from standard threads inside the imaging train for single filters, to removable filter drawers and rotating filter wheels for multiple filters. It is not as simple when using a DSLR or Mirrorless camera with matching lenses. Some basic light pollution fillters are available with threads to fit the front element of the lens, such as 49mm and 72mm which I have for my regular Canon EF lenses. Some custom sized ‘Clip filters’ can be used inside the camera body right in front of the sensor, but the choice is limited. Standard sized 2” or 1.25” astronomy filters are much more difficult to install, yet they have the greatest range of types available. I decided to try and modify an aftermarket lens adapter to accept 2” filters, so that i could choose from the wide variety of filters on the market.
Genuine Canon drop-in filter holders are very expensive, and are only available as clear, polarising and variable neutral density filters. An aftermarket manufacturer called Meike sells a cheaper copy of the Canon system, so I bought a second-hand set from eBay to try and modify. First I tried removing the glass from the clear filter but it was well glued in place. Next I disassembled the variable neutral density (VND) filter which had two pieces of glass, one could be removed after unscrewing some tiny screws, and the other was glued in but with only a few dabs of glue and a section of plastic trim. Using a lens spanner I carefully removed the retaining ring from my Optolong L-eXtreme dual narrowband filter and took out the glass. The glass fitted perfectly into the recess of the VND filter holder and the plastic trim sat on top, then the whole stack of loose pieces was pushed back into the lens adapter. The tight fit in the adapter slot sandwiched it all together and held the glass perfectly in place. Success! I have used this setup with three different Optolong filters so far, and it has worked perfectly with each type. For full colour RGB targets like Galaxies I use a plain RF-EF adapter which doesn’t have any filter inside, and then a basic light pollution filter on the camera lens. Alternatively a 2” light pollution filter could be installed in the modified adapter.
Final thoughts
I have been using the modified EOS R as my only astrophotography camera since September 2024 and have been pleased with the images taken so far. It does have some drawbacks compared to dedicated astronomy cameras with high quality Sony sensors and cooling systems, but it is cheaper and more versatile. I have used it with a simple remote shutter release/intervalometer, controlled remotely using the ASiair controller, and via a laptop running the N.I.N.A. software program. It still works as a daytime camera with a few adjustments to colour balance during editing (the photos have a slight brown/orange tint). All photos are taken in RAW file format to give maximum flexibility when editing. The RAW format files also work perfectly in astrophotography processing software such as Deep Sky Stacker and Siril. Battery life is ok with genuine Canon batteries, not so good with cheap aftermarket ones. A plug in ‘Dummy Battery’ power cable means it can be run all night from an external power supply, which is much better. The camera seems to cope with frost and condensation although i try to protect it as much as possible, a thin plastic food bag and an elastic band are good for this purpose. Firmware updates are available free from the Canon website, although being an obsolete model i’m not expecting many more firmware updates to be released.
For examples of image quality, see my astrophotography gallery page, almost all the images were taken with this EOS R Astromodified Mirrorless camera.
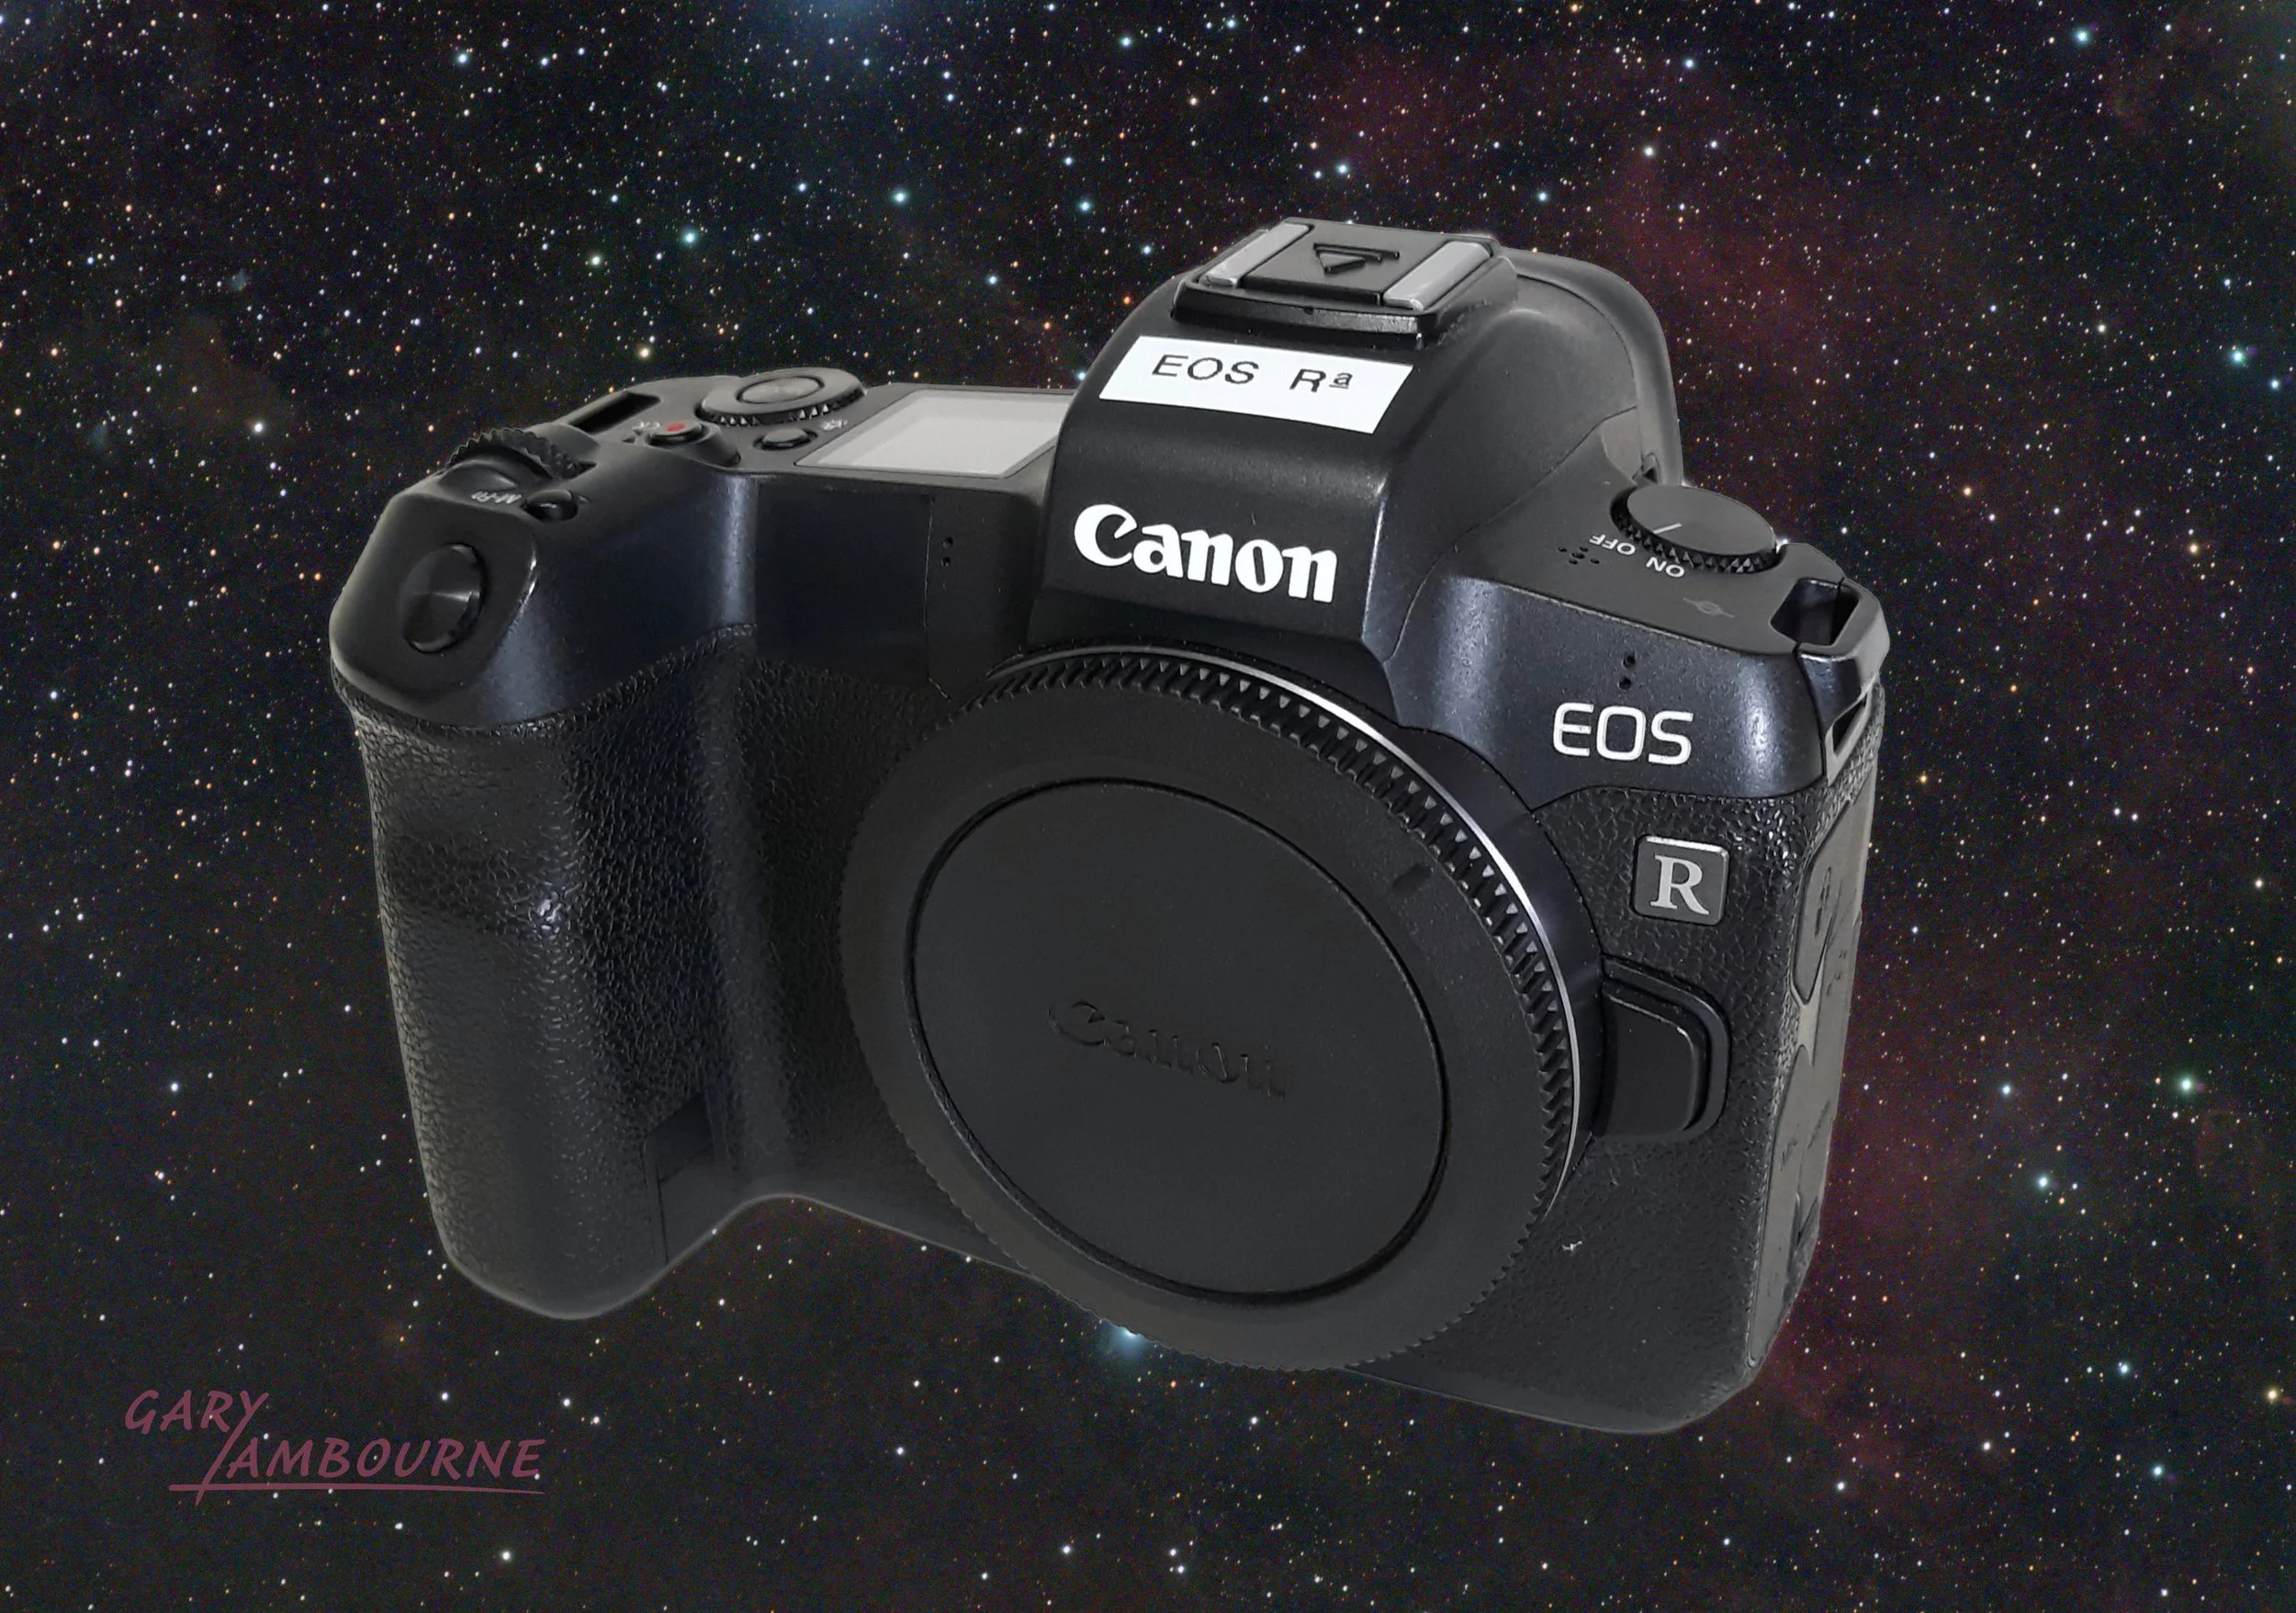
Canon EOS R Astromodified
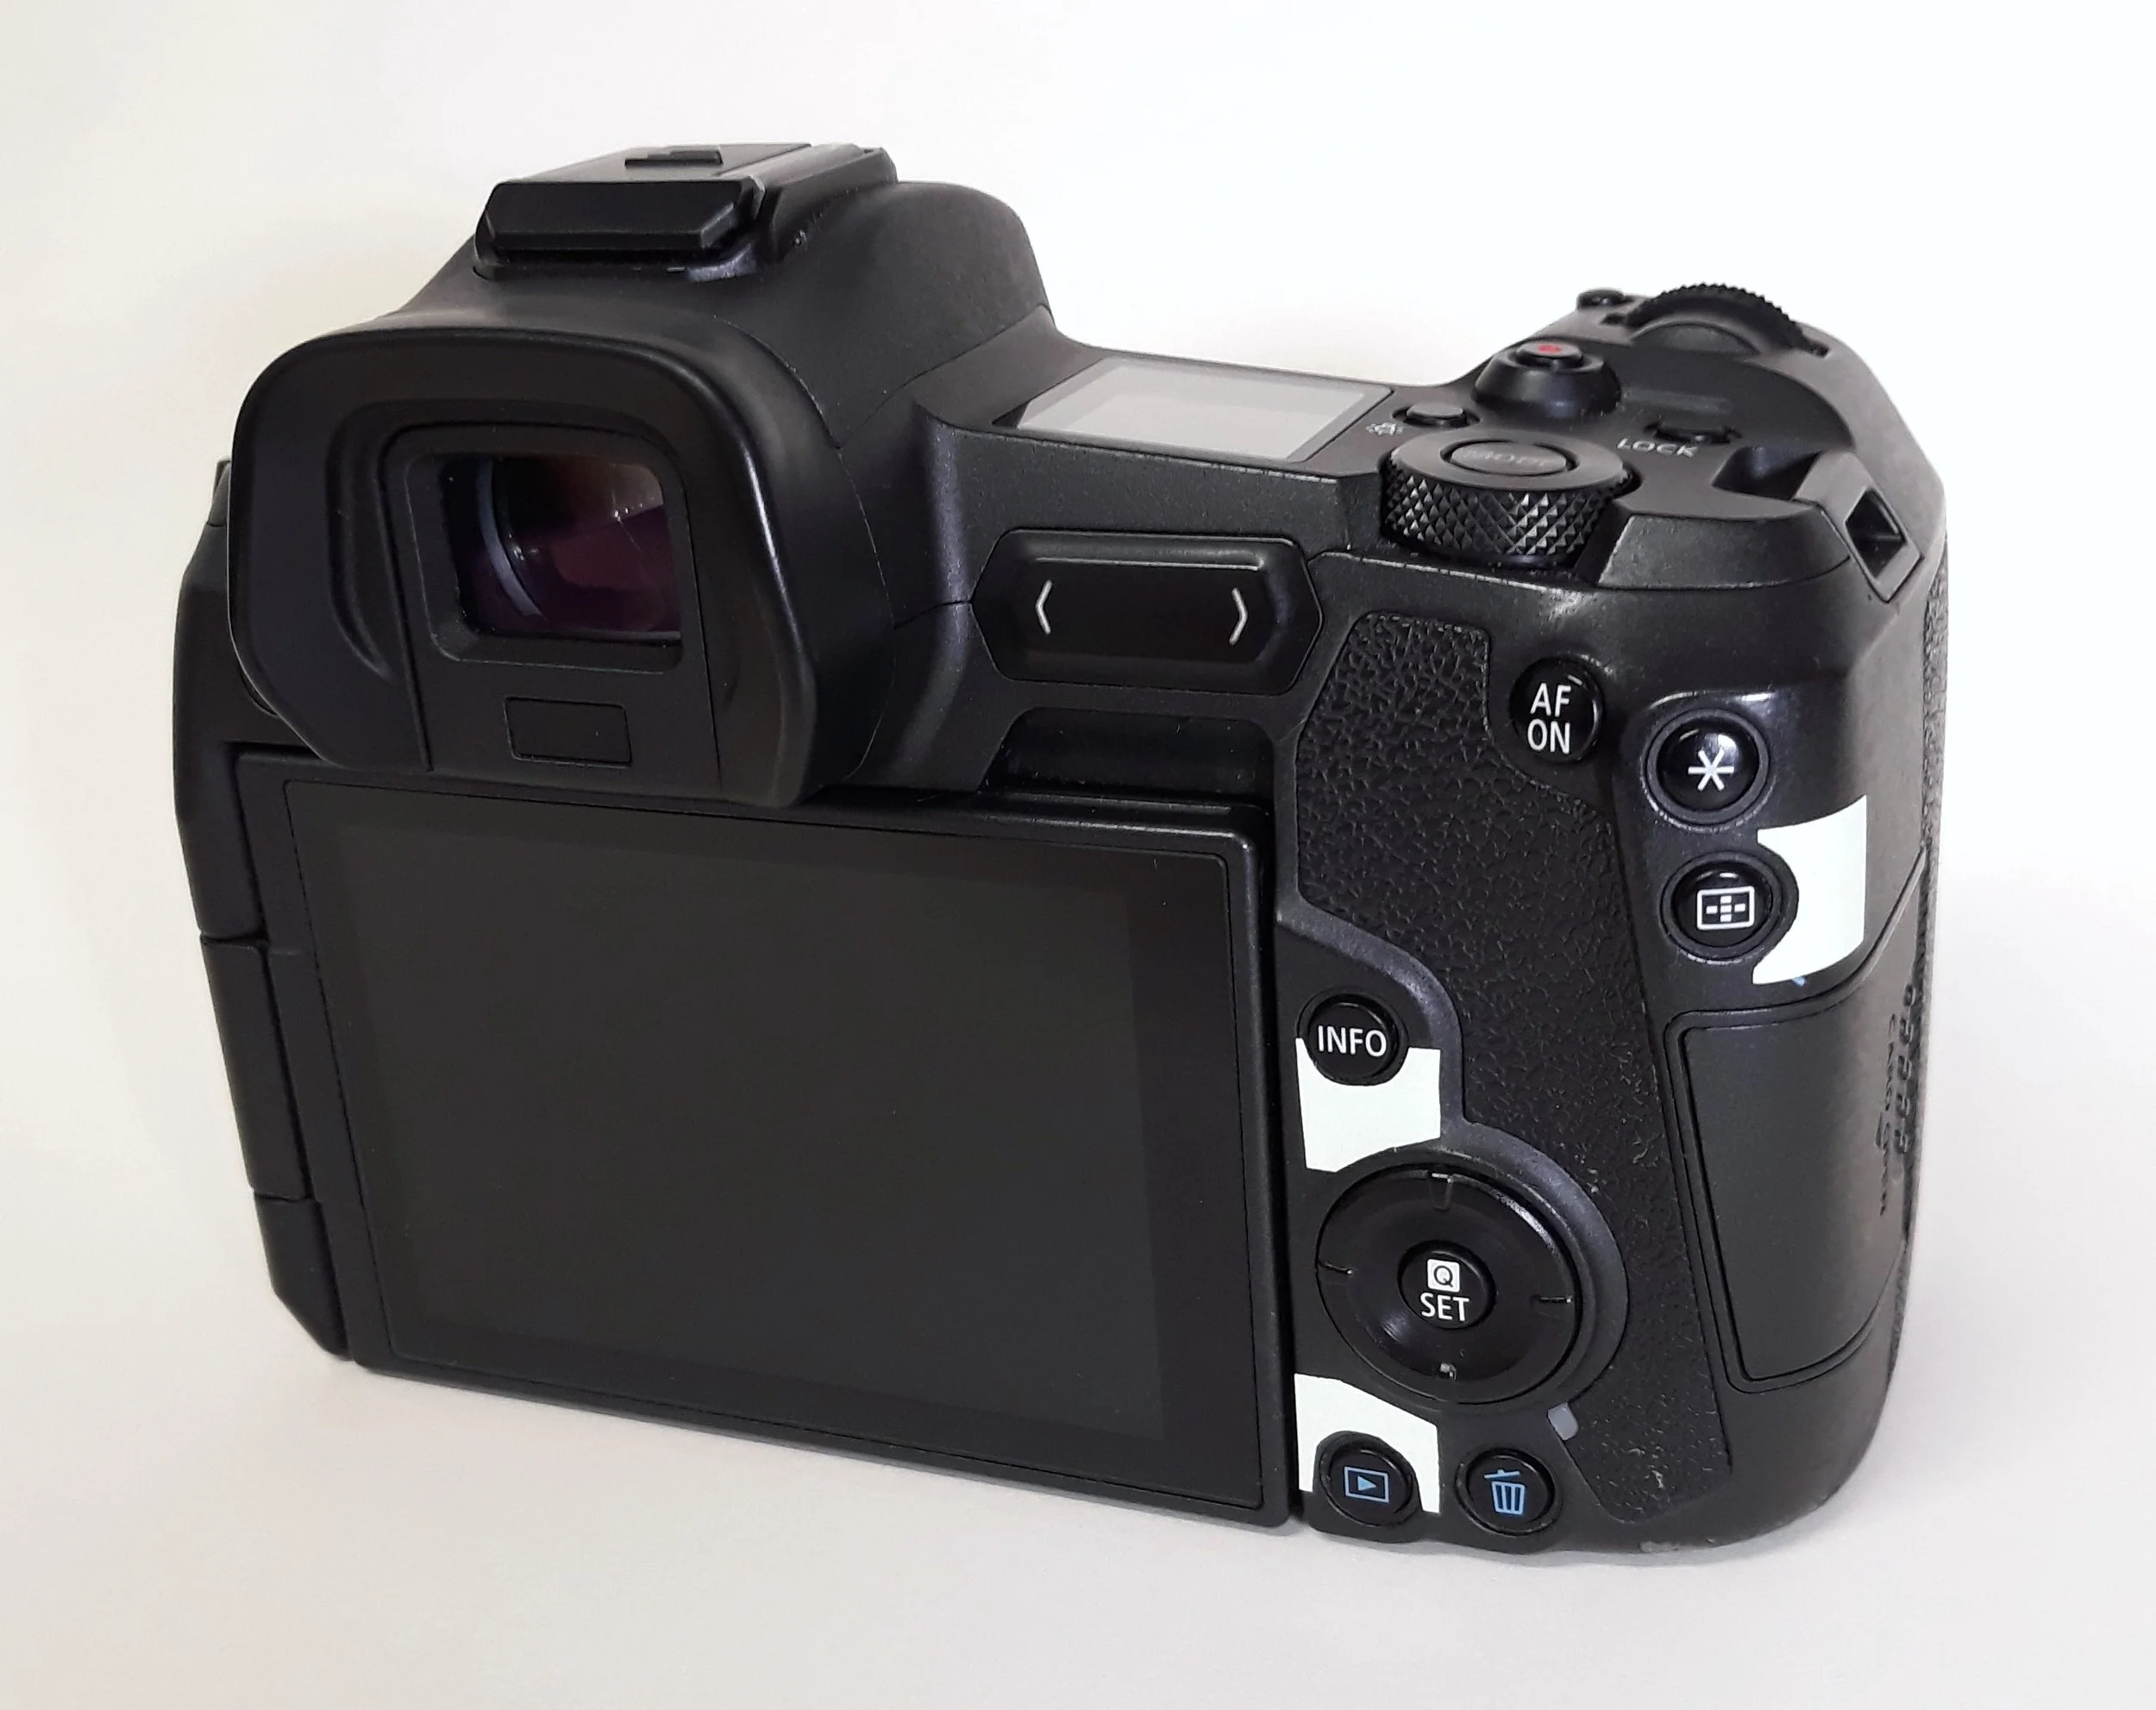
EOS R with flourescent tape around the important buttons
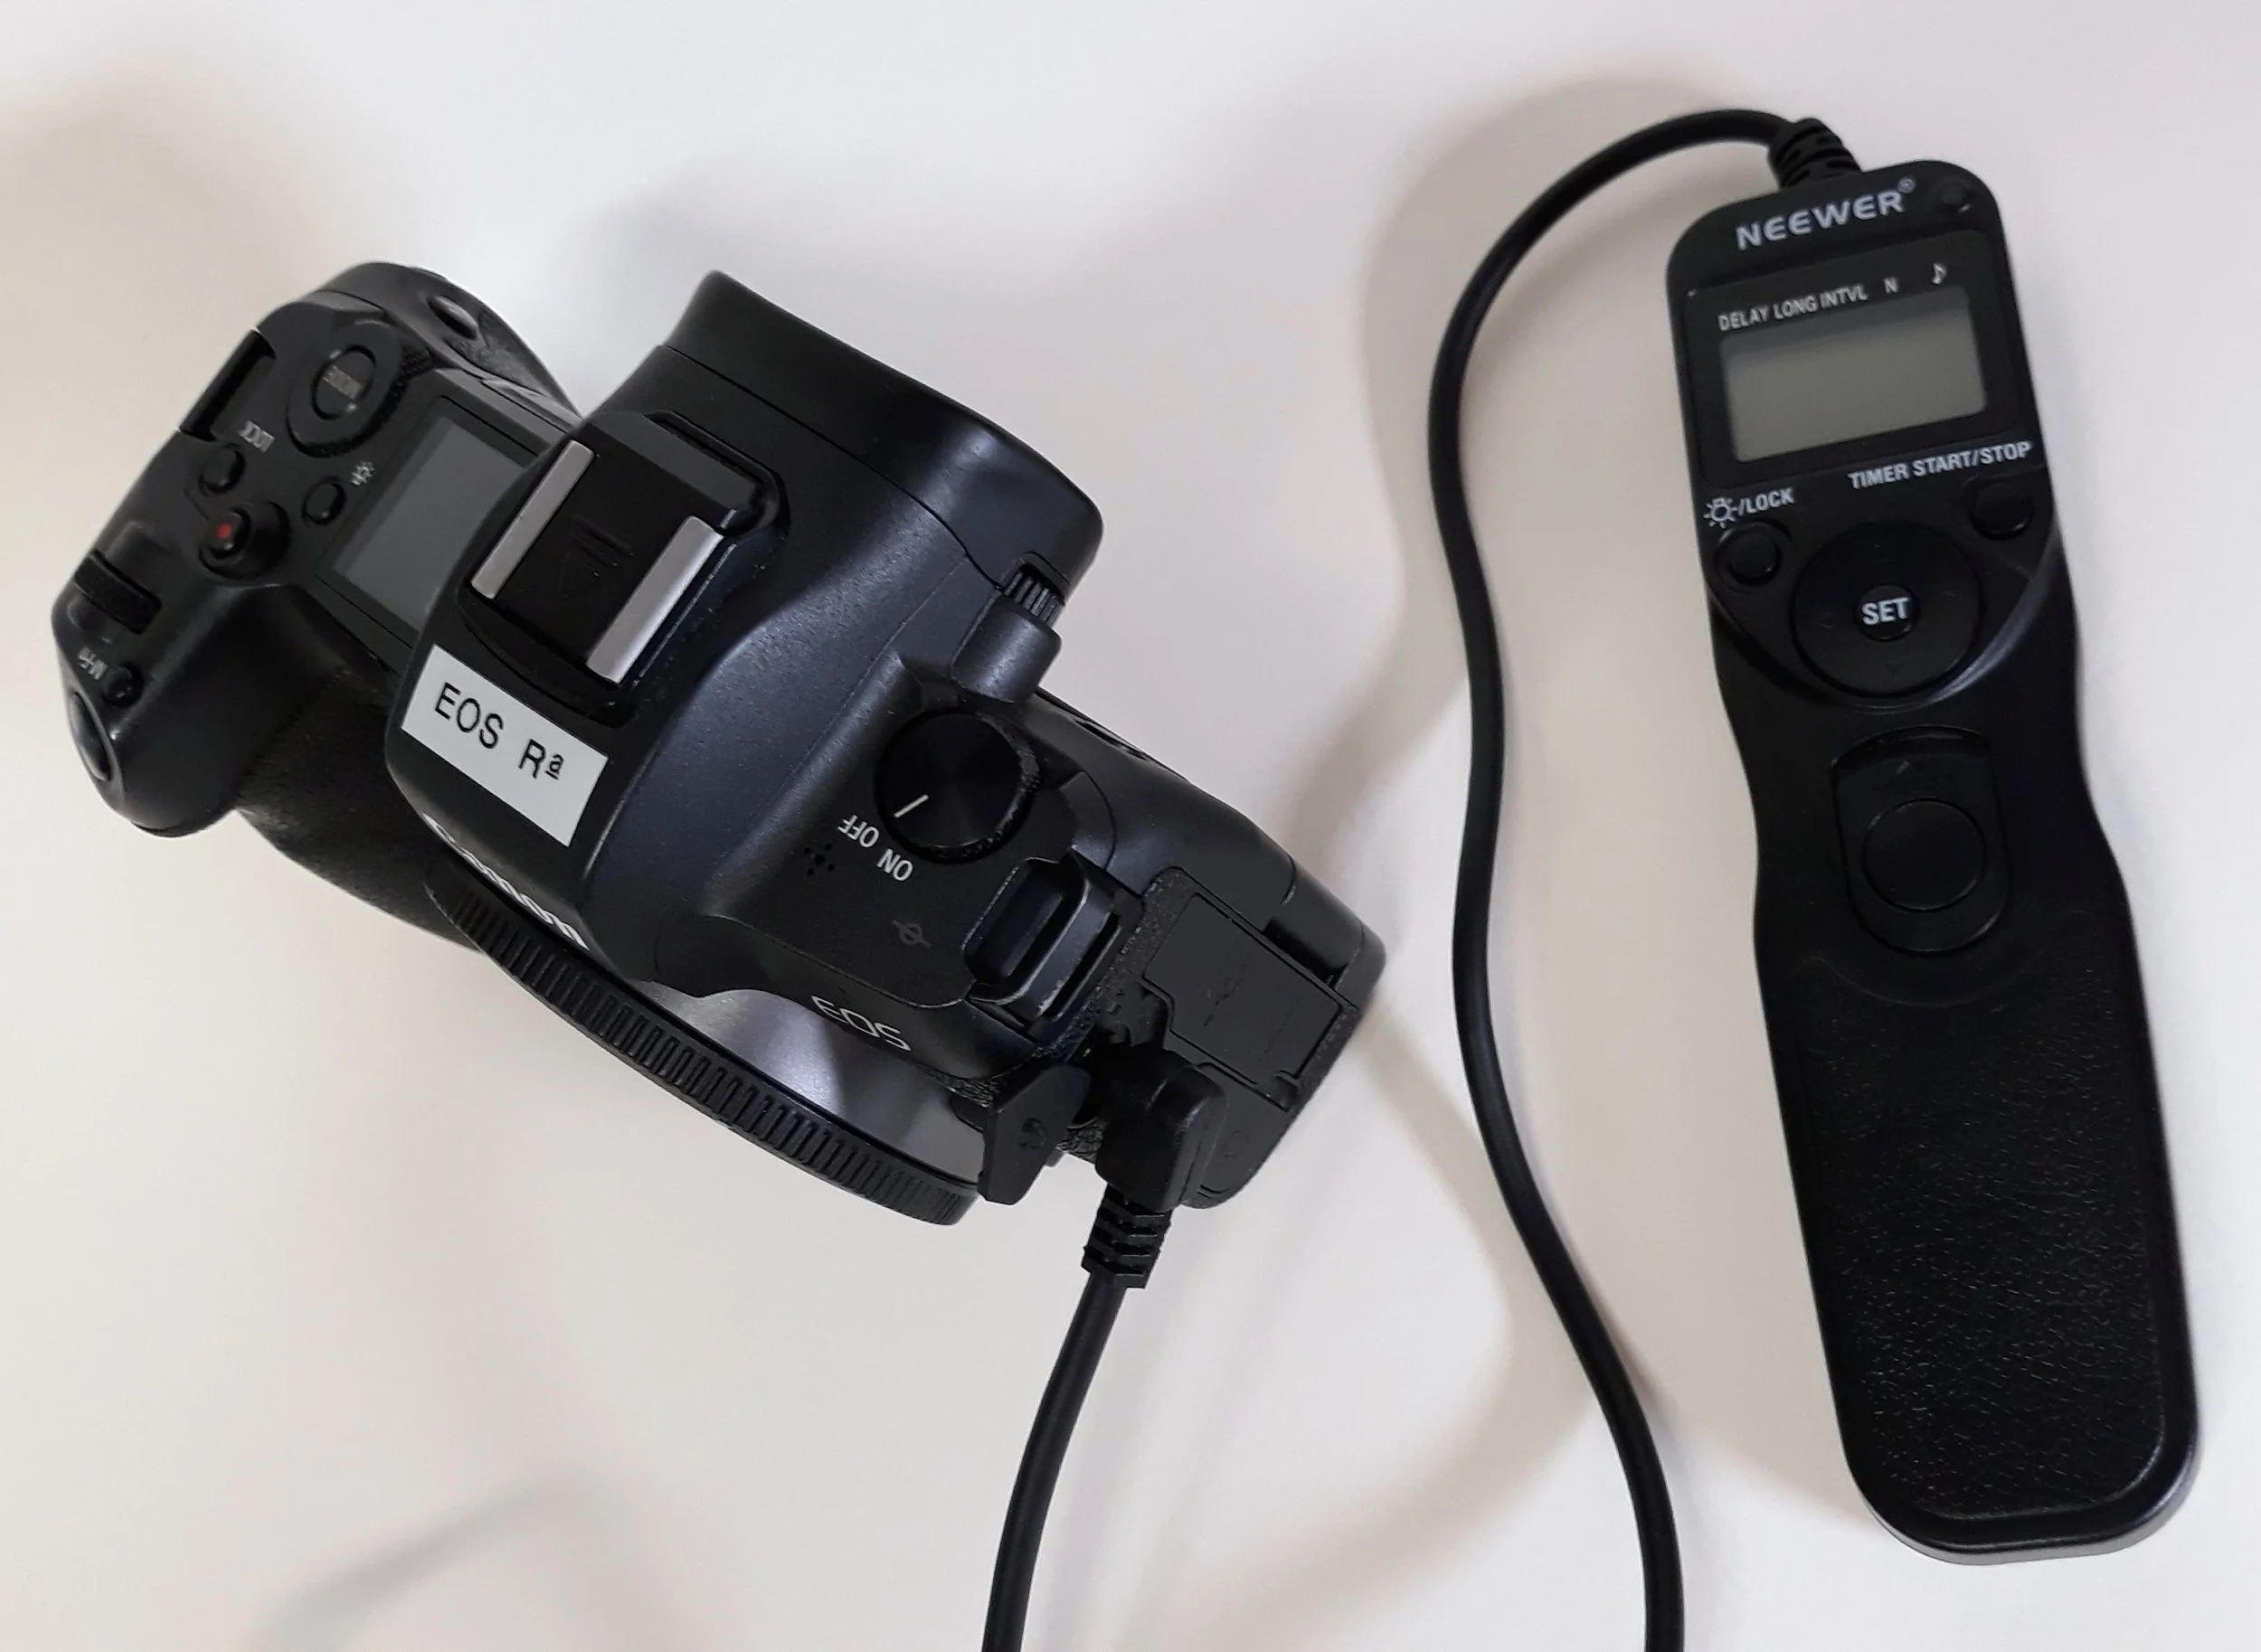
EOS R with external intervalometer
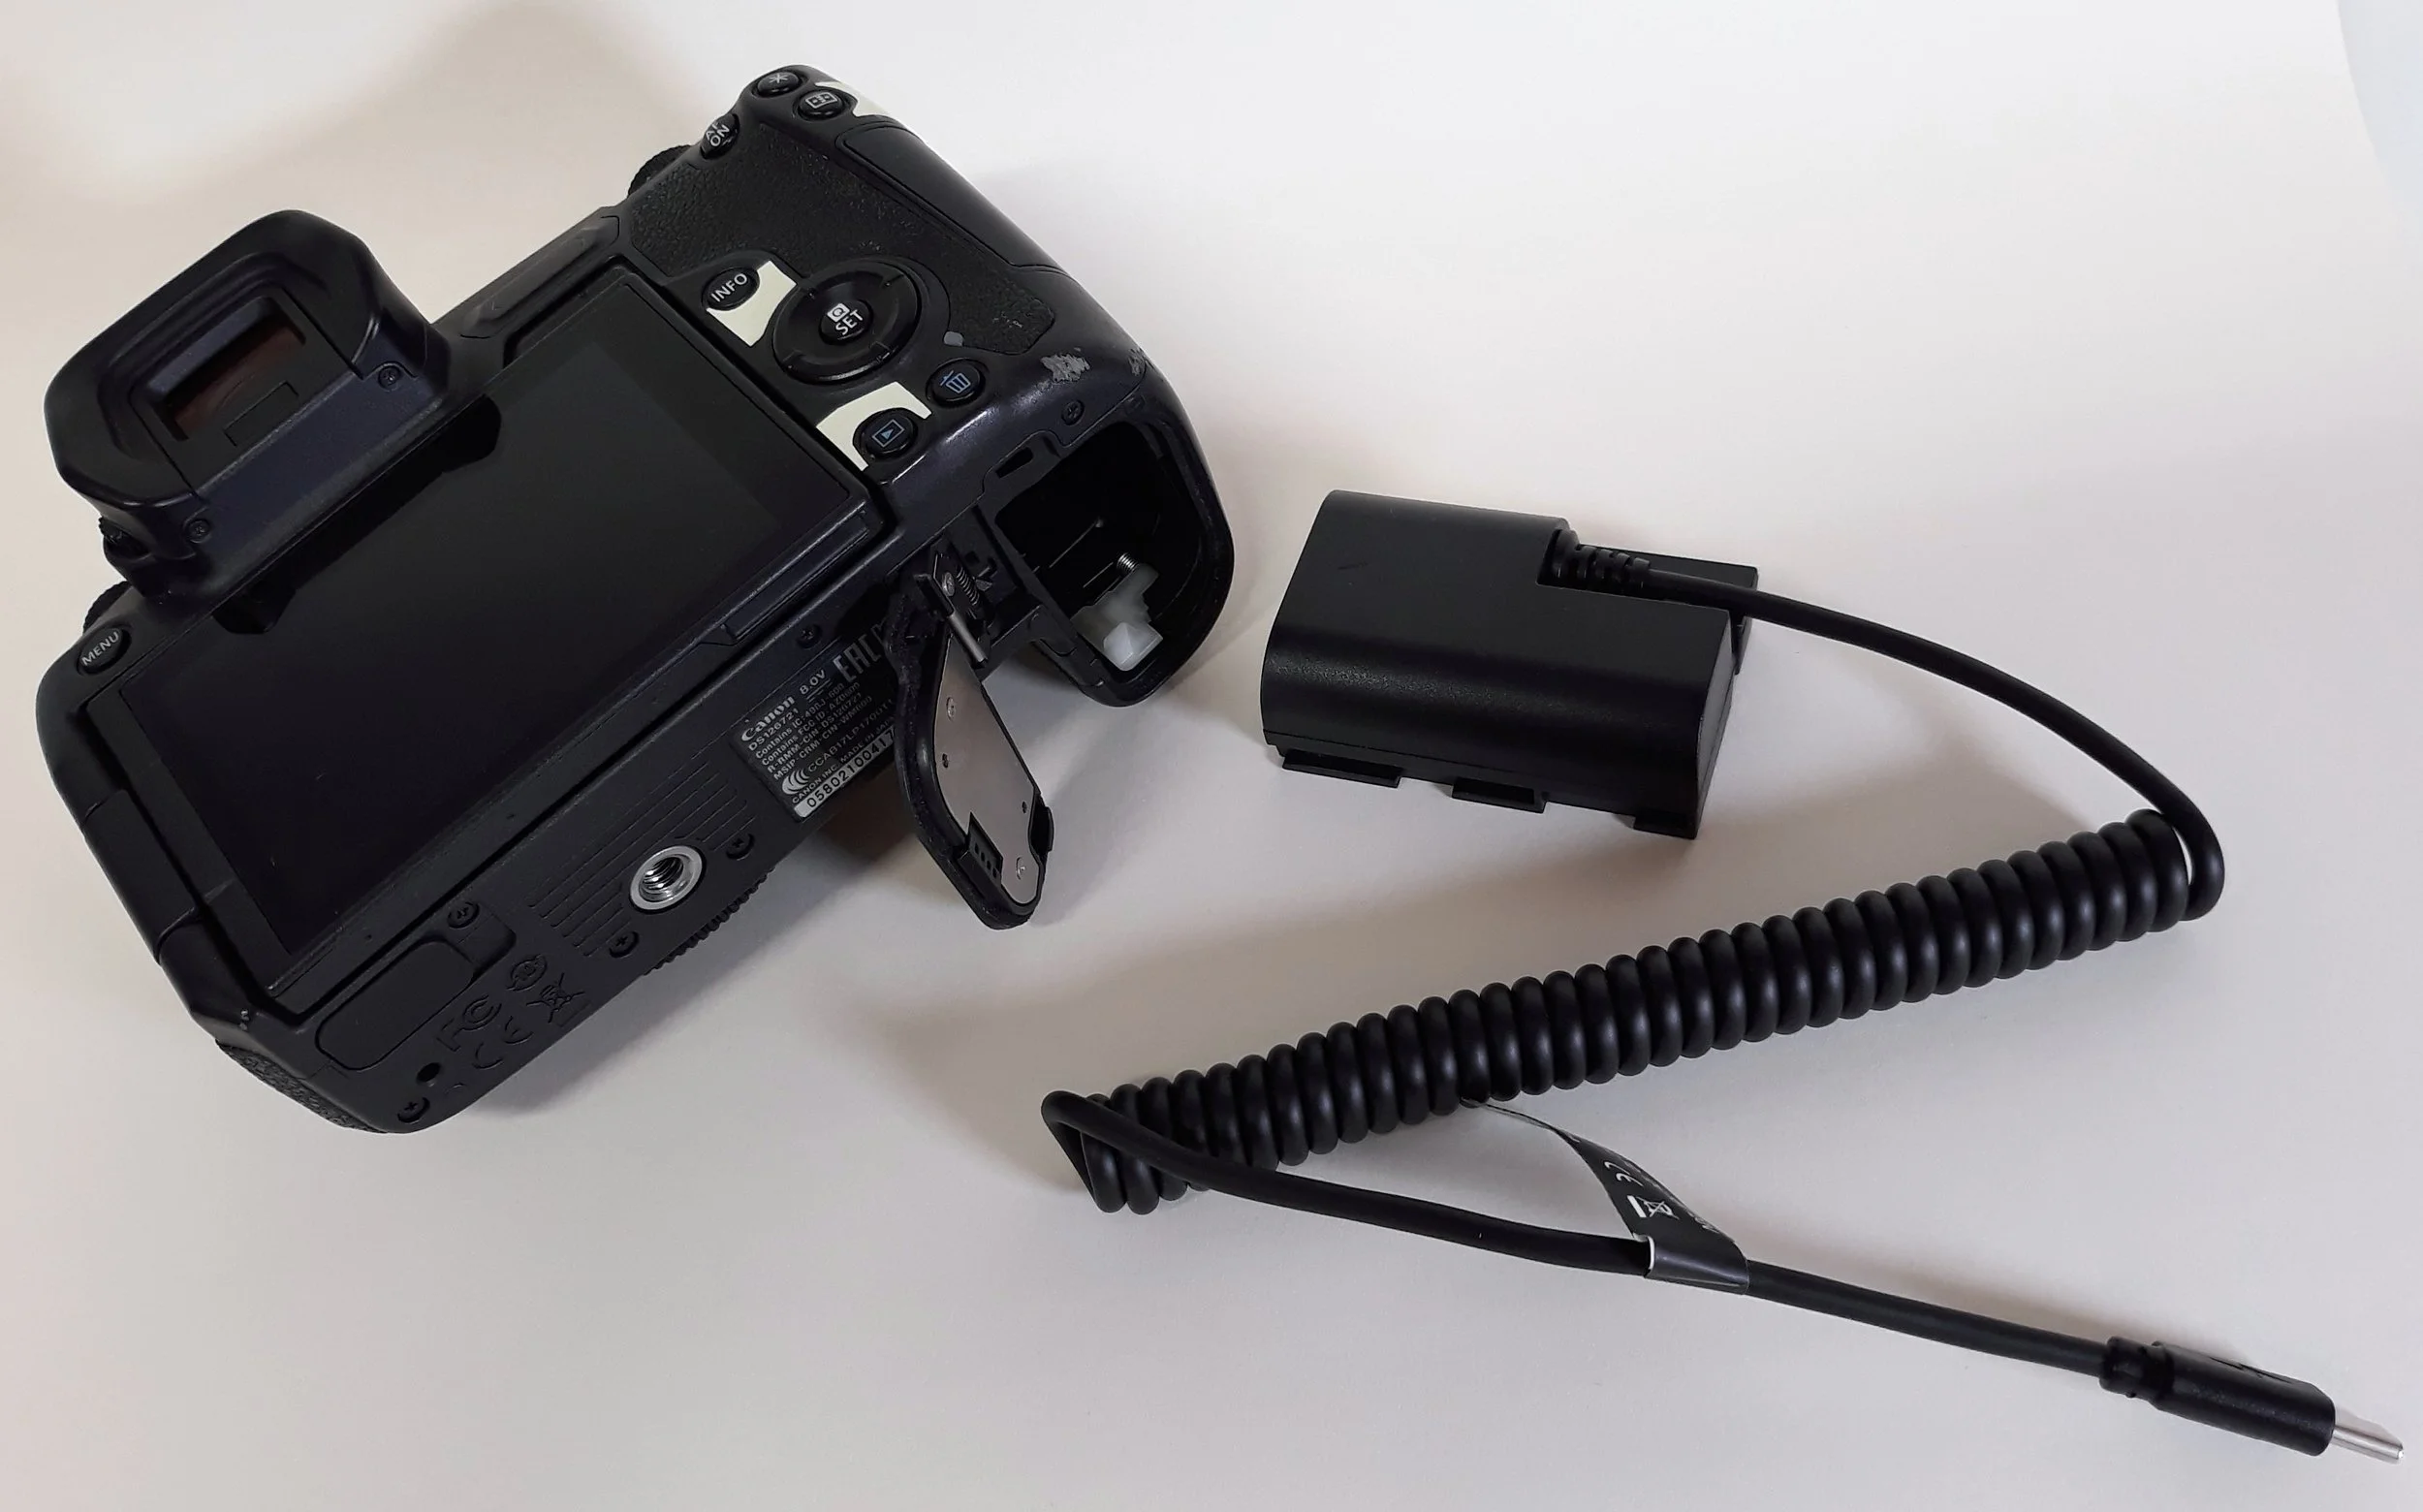
EOS R with ‘Dummy Battery’ style external power supply
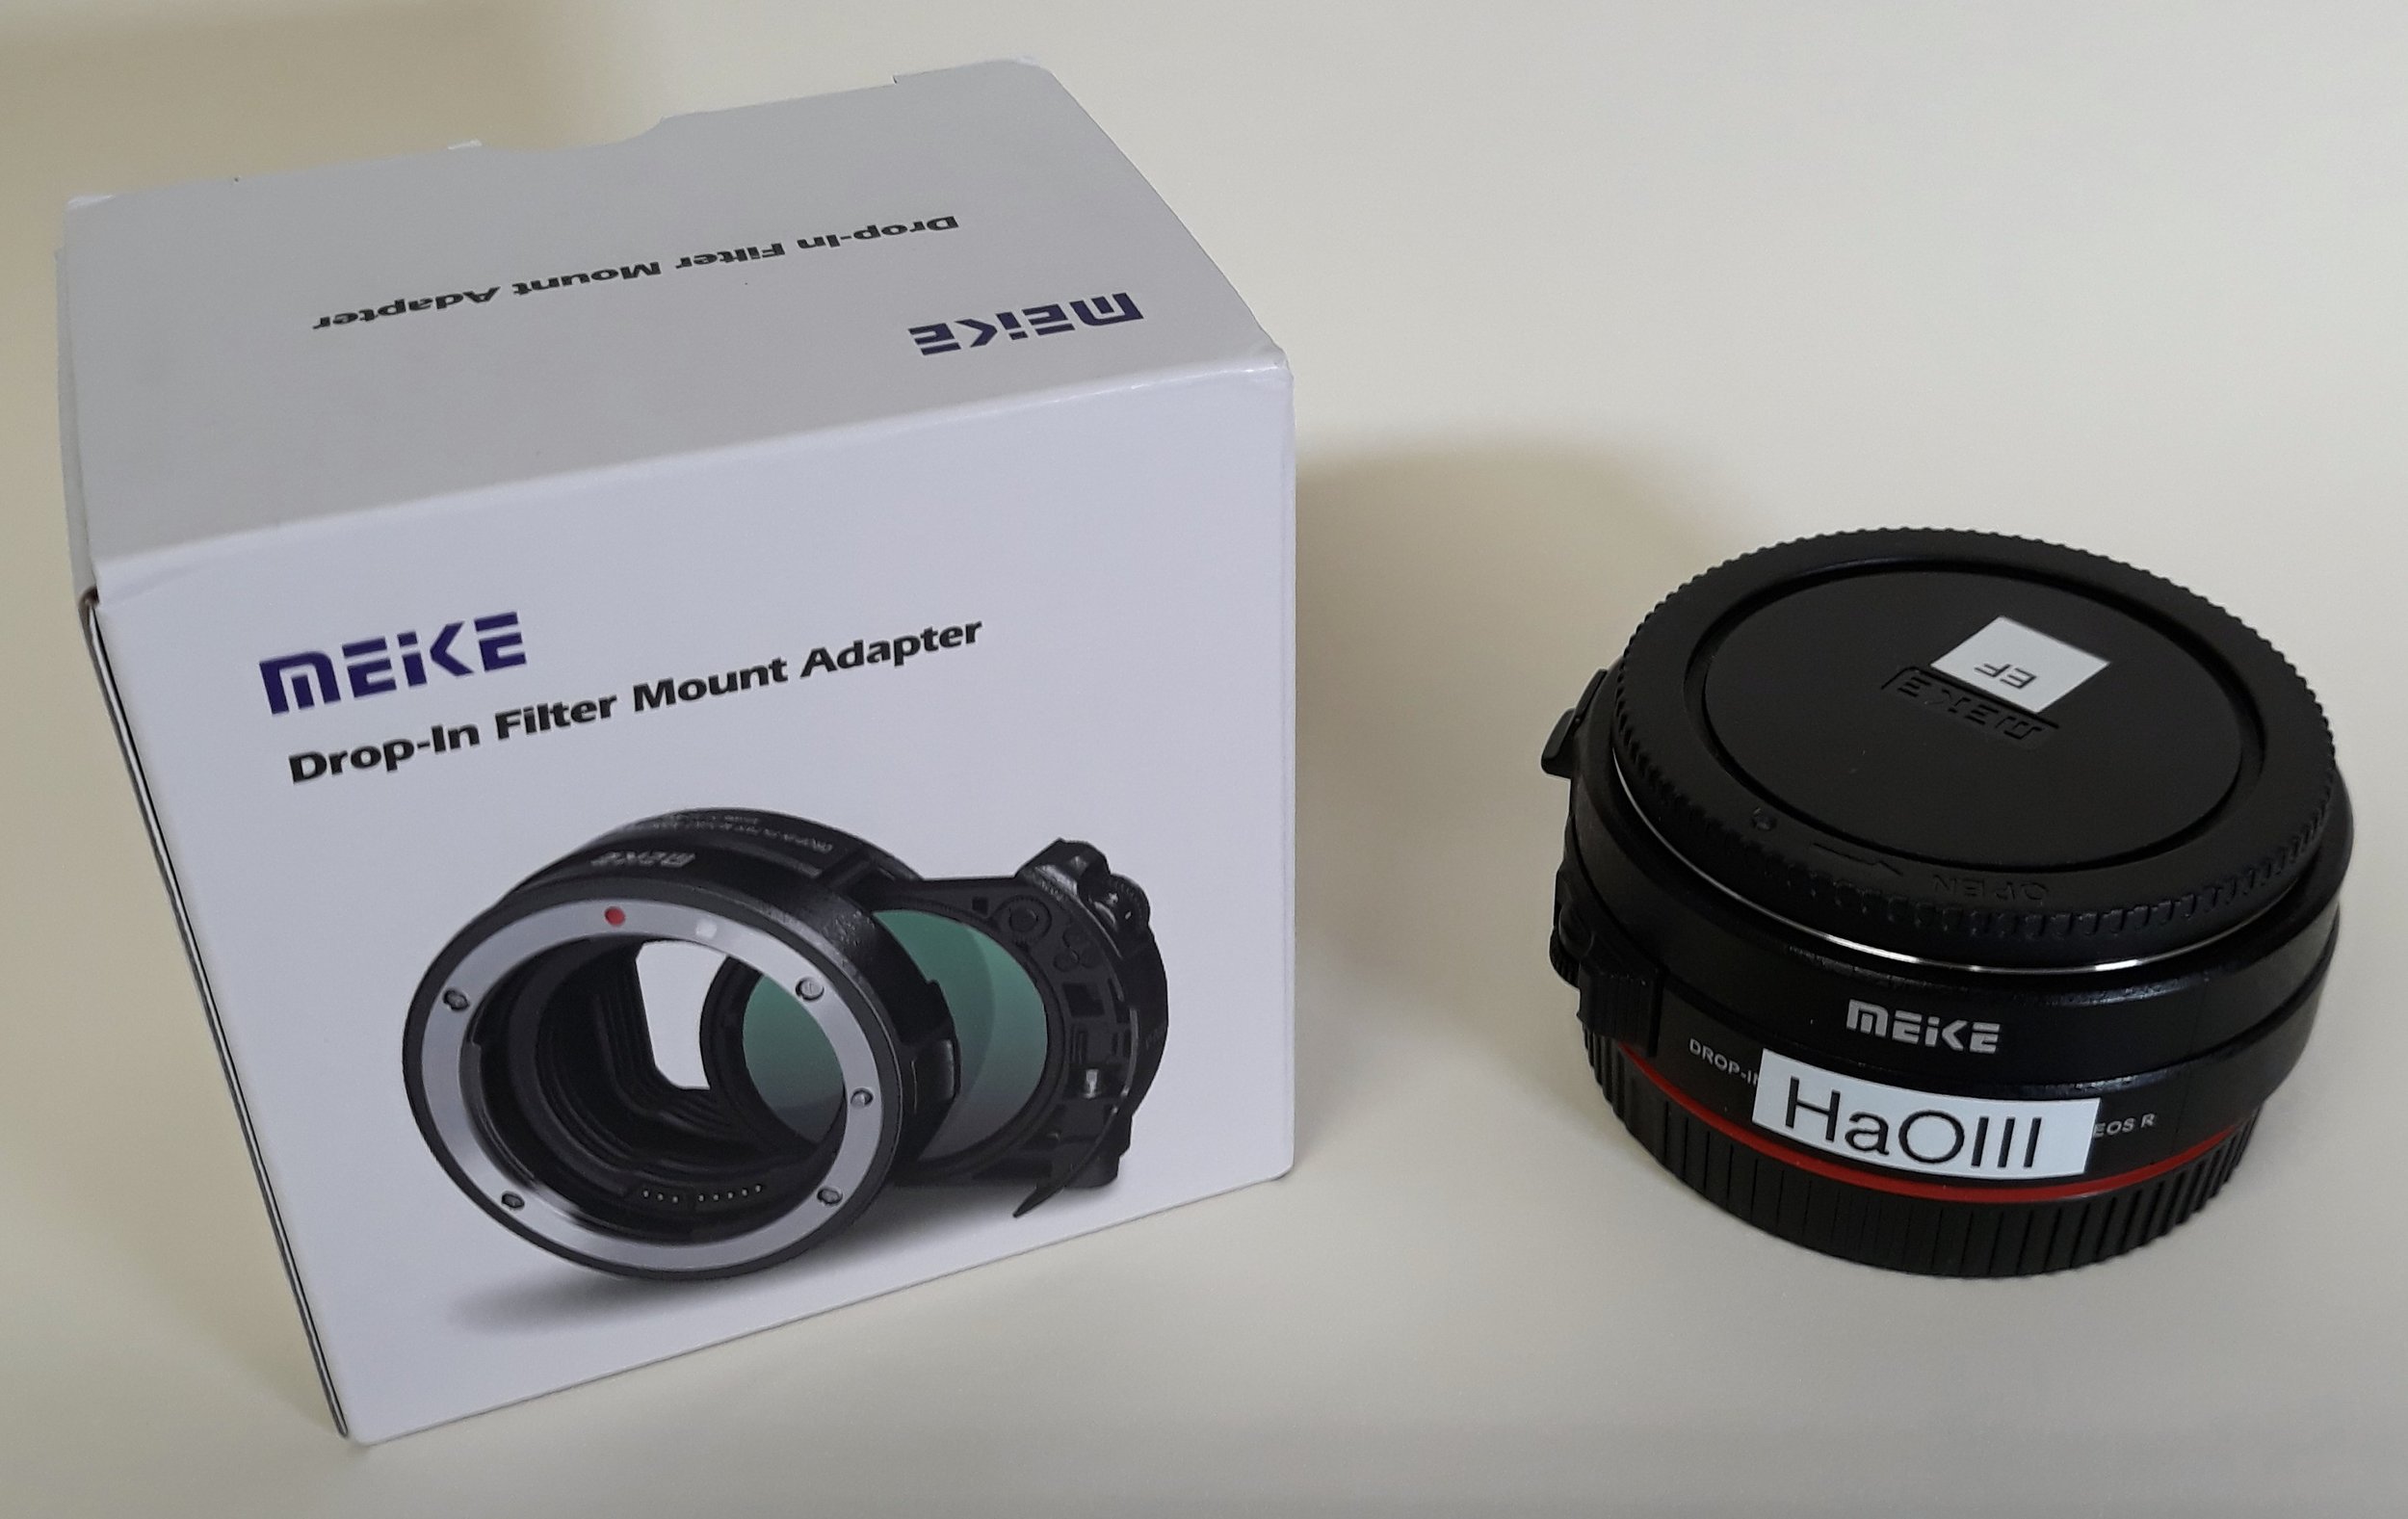
EOS RF-EF Lens adapter modified to accept a dual-narrowband filter
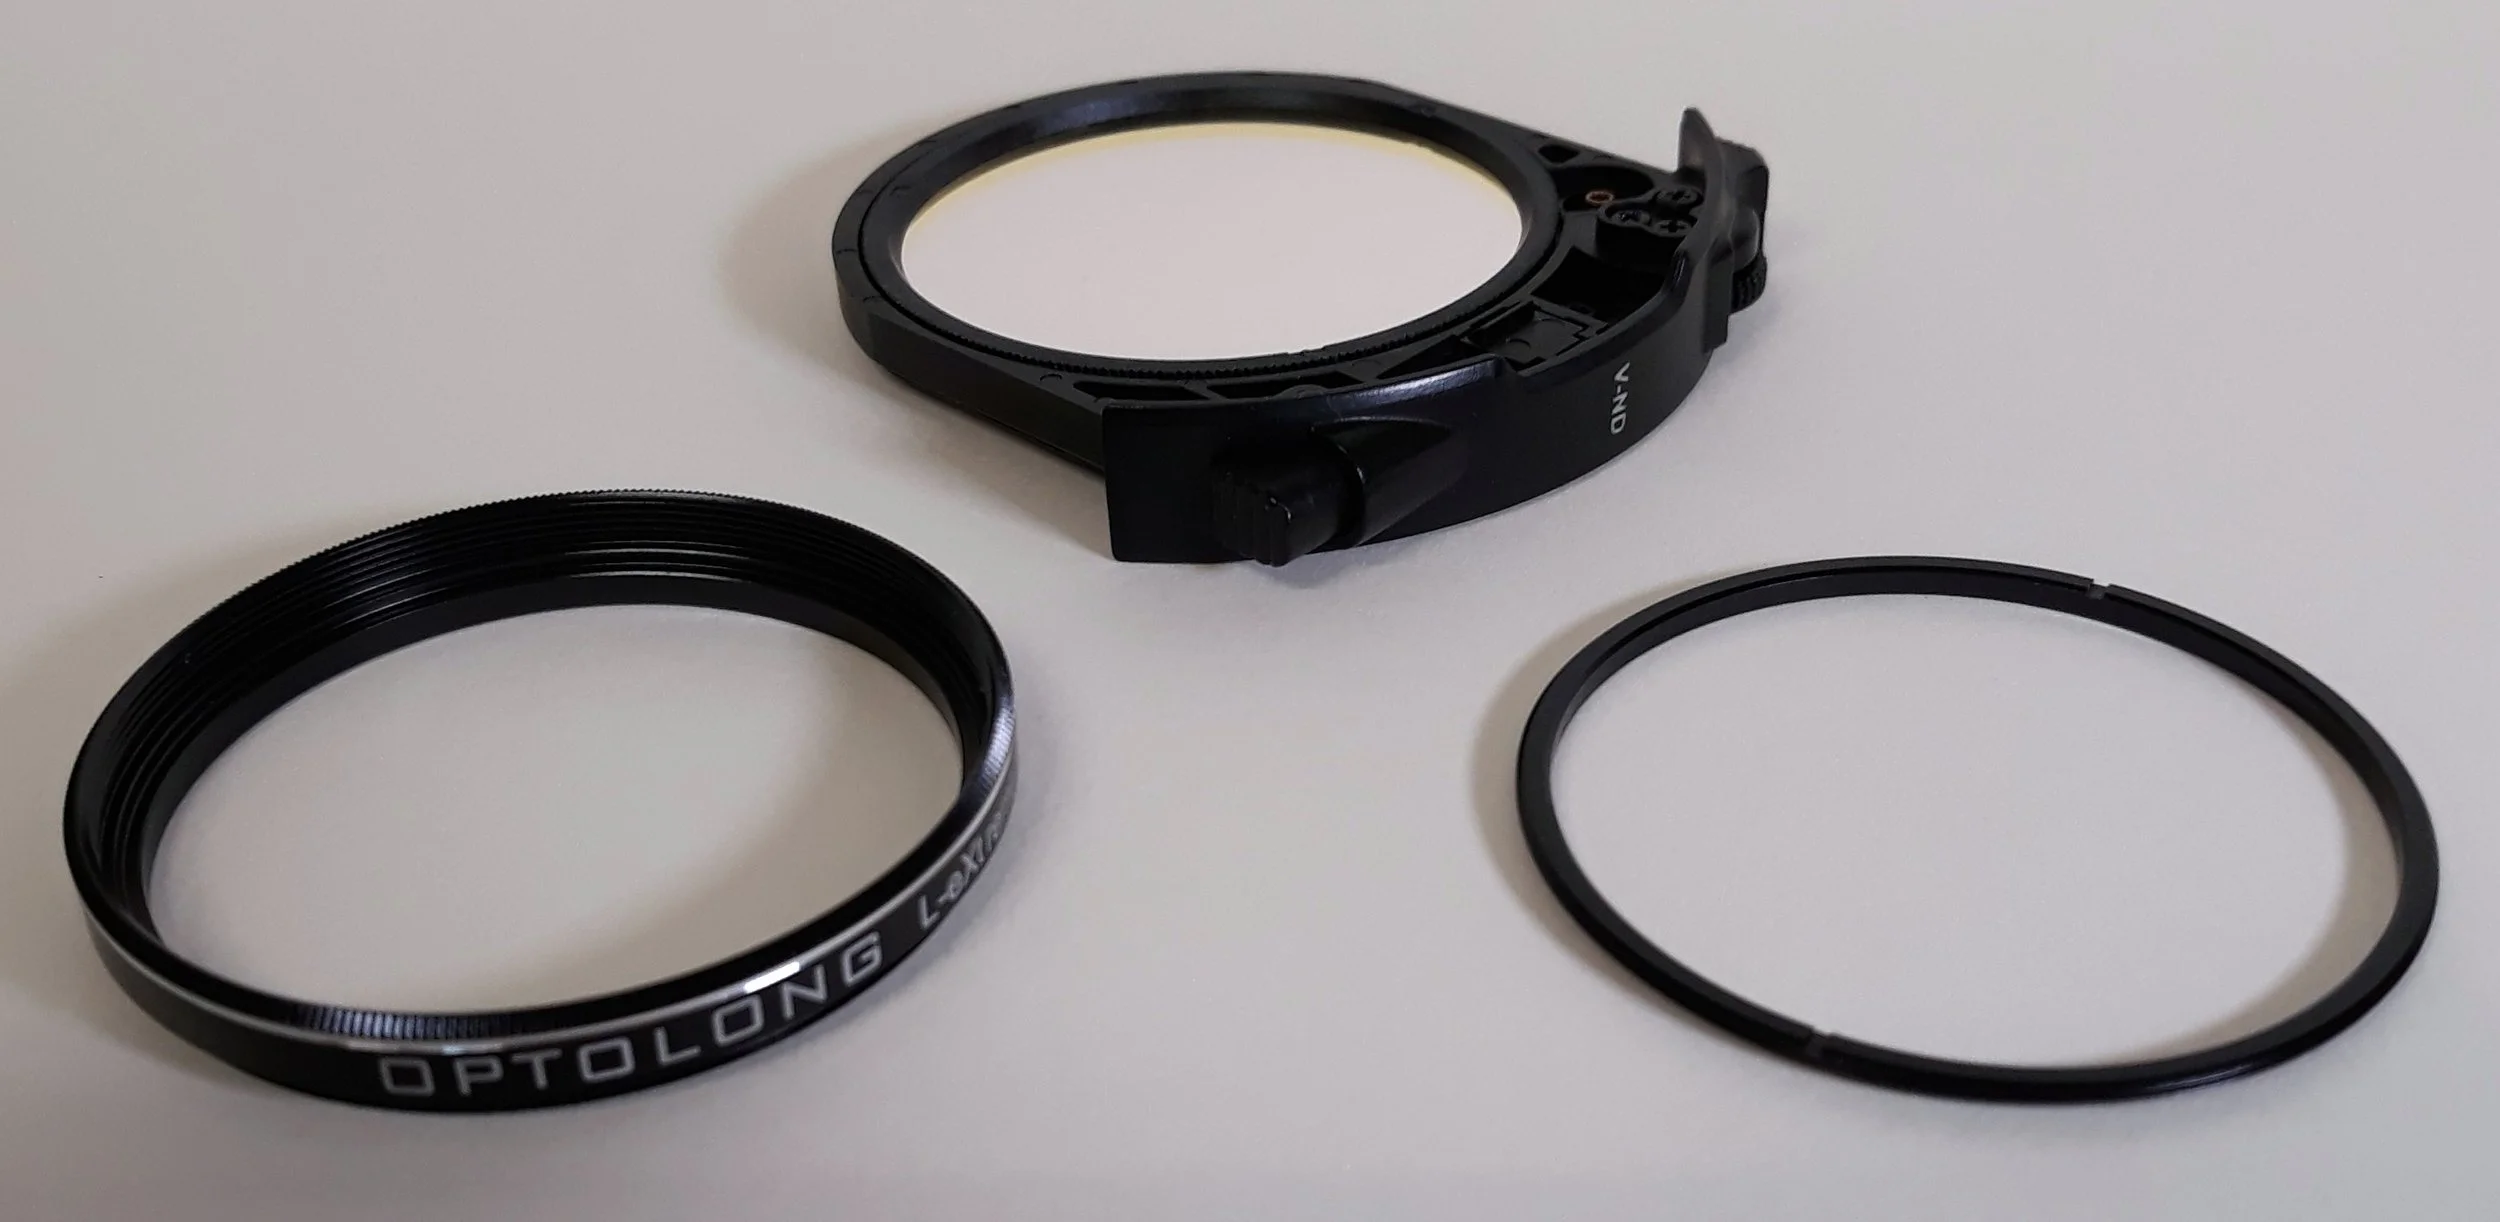
Filter holder modified to take an Optolong L-eXtreme dual-narrowband filter
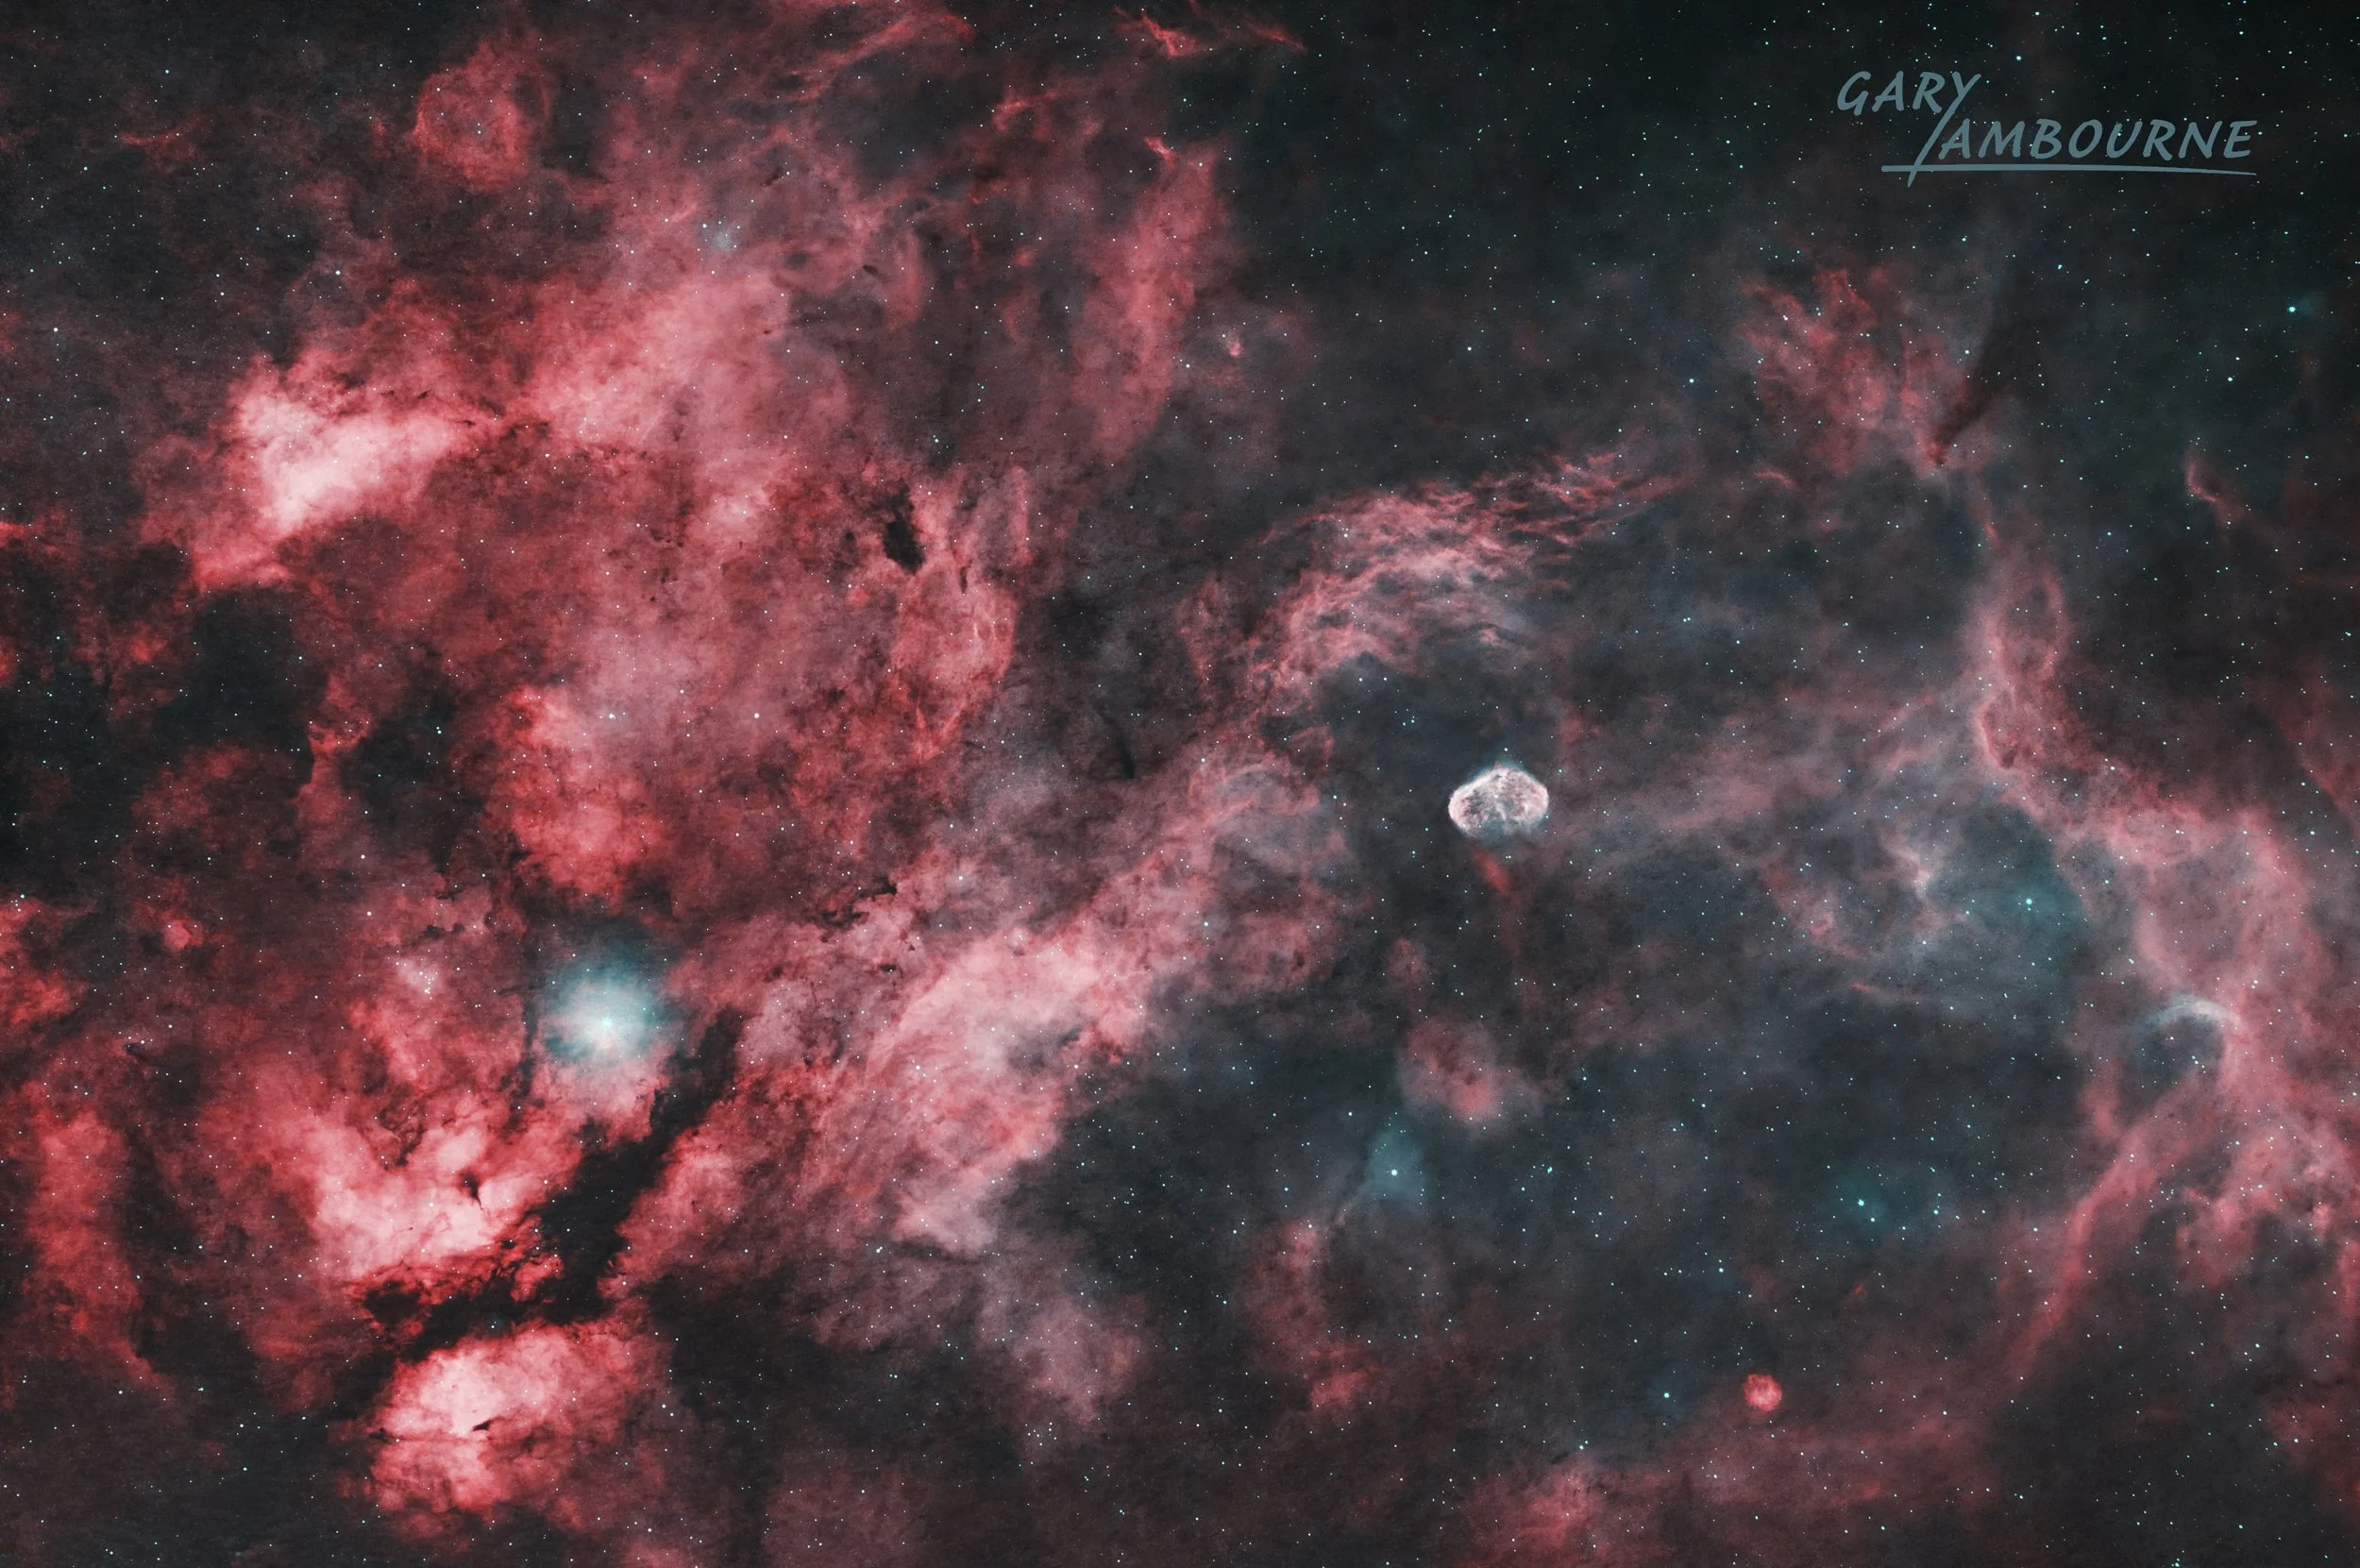
Sadr Region and Crescent Nebula taken using Canon EOS R Astromodified